Rack Adapter Instructions
AM700 Audio Measurement Set Service Manual
6–97
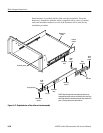
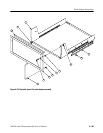
5. Insert the chassis sections attached to the AM7FR1 rack adapter into the
intermediate sections.
6. Press both stop latches, and push the adapter into the cabinet rack until the
latches snap into the stop latch holes.
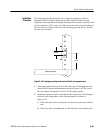
7. Adjust the alignment of the stationary sections according to the following
procedure.
a. Loosen the mounting screws at the front of both stationary sections.
b. Allow the tracks to seek their normal positions with the adapter centered
in the rack.
c. Tighten the mounting screws.
d. If the tracks do not slide smoothly, check for correct spacing between the
rear supports.
e. Check the vertical positioning of the instrument front panel with respect
to adjacent instruments or panels and the alignment of the thumb screw.
If not correct, reposition as necessary.
f. When the track operates smoothly, install the measurement set into the
AM7FR1 rack adapter.
The special finish on the sliding surfaces of the tracks provides permanent
lubrication. However, if the tracks do not slide smoothly even after proper
adjustment, a thin coating of paraffin rubbed onto the sliding surfaces may
improve the slides operations.
Mounting the AM700 in the Adapter
The following steps describe how to remove the handle of the AM700 to install
the AM700 in the rackmount adapter. Place all the small parts in a container for
safekeeping in case the handle is reinstalled at a later time.
1. Disconnect the power cord from the AM700.
2. Place the handle so that it is in a forward position.
3. Place the measurement set, bottom down, on a secure flat work surface.
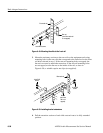
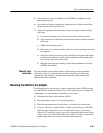
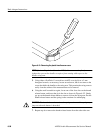
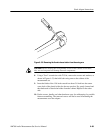
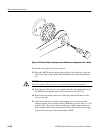
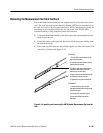
4. Using a 1/16 inch or smaller, flat-bit screwdriver, insert the tip of the blade
under the edge of the plastic cover over the handle screws, as shown in
Figure 6–51, and gently pry the cover off to expose the handle screw. Either
cover is okay; only one of the handle screws must be loosened to permit the
handle swing arms to be removed from the measurement set.
Slide-Out Track
Lubrication


