Rack Adapter Instructions
AM700 Audio Measurement Set Service Manual
6–95
The following procedure describes how to attach the stationary section to
untapped rack rails using the hardware provided, adjust the slide-out track
alignment, and mount the rack-adapted instrument in the cabinet rack. If the rack
rails are tapped for 10-32 screws, the slide-out tracks can be mounted in front of
the front rails and in back of the rear rack rails using pan head screws. The flat
bar nuts are not needed.
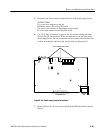
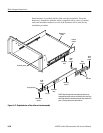
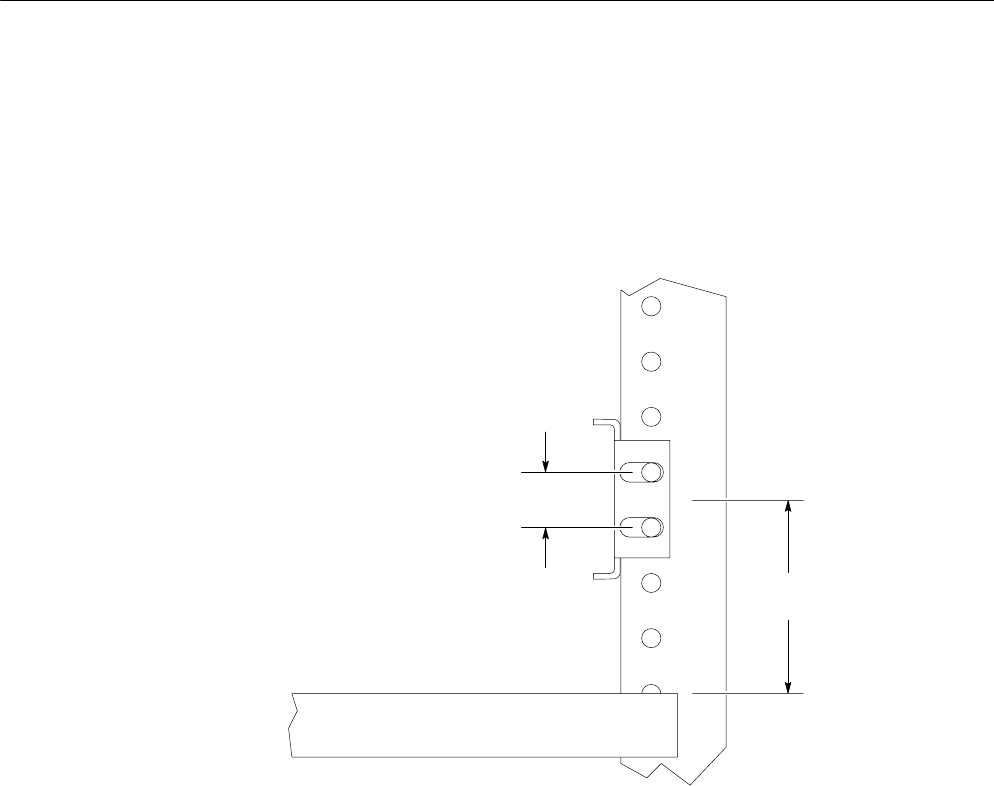
Adjacent equipment
1.75 in.
0.500 in.
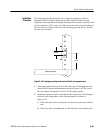
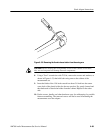
Figure 6–48: Locating mounting holes on front Rrails of equipment rack
1. Select appropriate mounting holes in the front rails of the equipment rack,
observing the clearance measurements shown in Figure 6–48. The front of
the rack adapter is designed to fit in a 8.75-inch high opening.
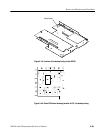
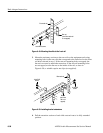
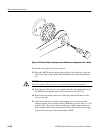
2. Mount the stationary sections (with the bracket extensions) to the untapped
front rack rails using either of the following methods as shown in
Figure 6–49.
a. If the front rails are not countersunk, use the truss head screws and bar
nuts.
b. If the front rails are countersunk, use the flat head screws and bar nuts.
Installation
Procedure


