Polycom RealPresence Collaboration Server (RMX) 1500/2000/4000
17-28 Polycom, Inc.
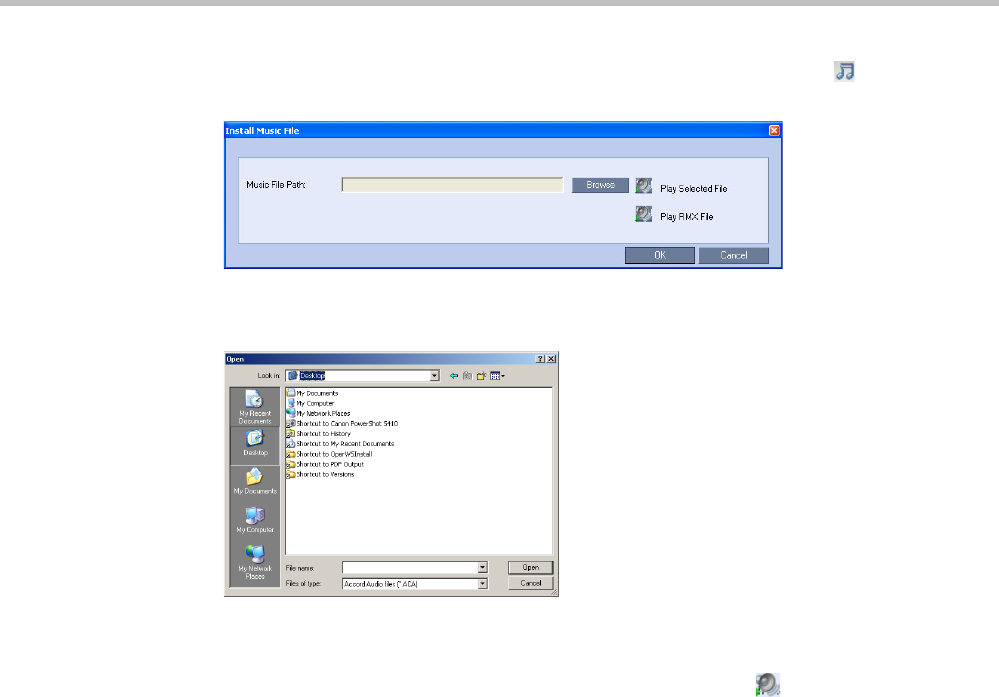
2 In the IVR Services list toolbar, click the Replace/Change Music File ( ) button.
The Install Music File window opens.
3 Click the Browse button to select the audio file (*.wav) to upload.
The Open dialog box opens.
4 Select the appropriate audio *.wav file and then click the Open button.
The selected file name is displayed in the Install Music File dialog box.
5 Optional. You can play the selected file by clicking the Play
() button.
a Click Play Selected File to play a file on your computer.
b Click Play RMX File to play a file already uploaded on the RMX.
6 In the Install Music File dialog box, click OK to upload the file to the MCU.
The new file replaces the previously uploaded file and this file is used for all
background music played by the MCU.
Creating Audio Prompts and Video Slides
The RMX is shipped with default voice messages (in WAV format) and video slides that are
used for the default IVR services. You can create your own video slides and record the voice
messages for different languages or customize them to your needs.
Recording an Audio Message
To record audio messages, use any sound recording utility available in your computer or
record them professionally in a recording studio. Make sure that recorded message can be
saved as a Wave file (*.wav format) and that the recorded format settings are as defined in
steps 4 and 5 on page 17-29. The files are converted into the RMX internal format during the
upload process.
This section describes the use of the Sound Recorder utility delivered with Windows 95/98/
2000/XP.


