31
Parts of the MV-8000 and what they do
Parts of the MV-8000 and what they doMain FeaturesContents Sampling Editing a sampled sound
15.
button
Press this button when you want to use the V-LINK functionality (it will light blue).
This lets you control externally-connected V-LINK compatible video equipment from
the MV-8000, allowing you to “perform” on the video device.
1.
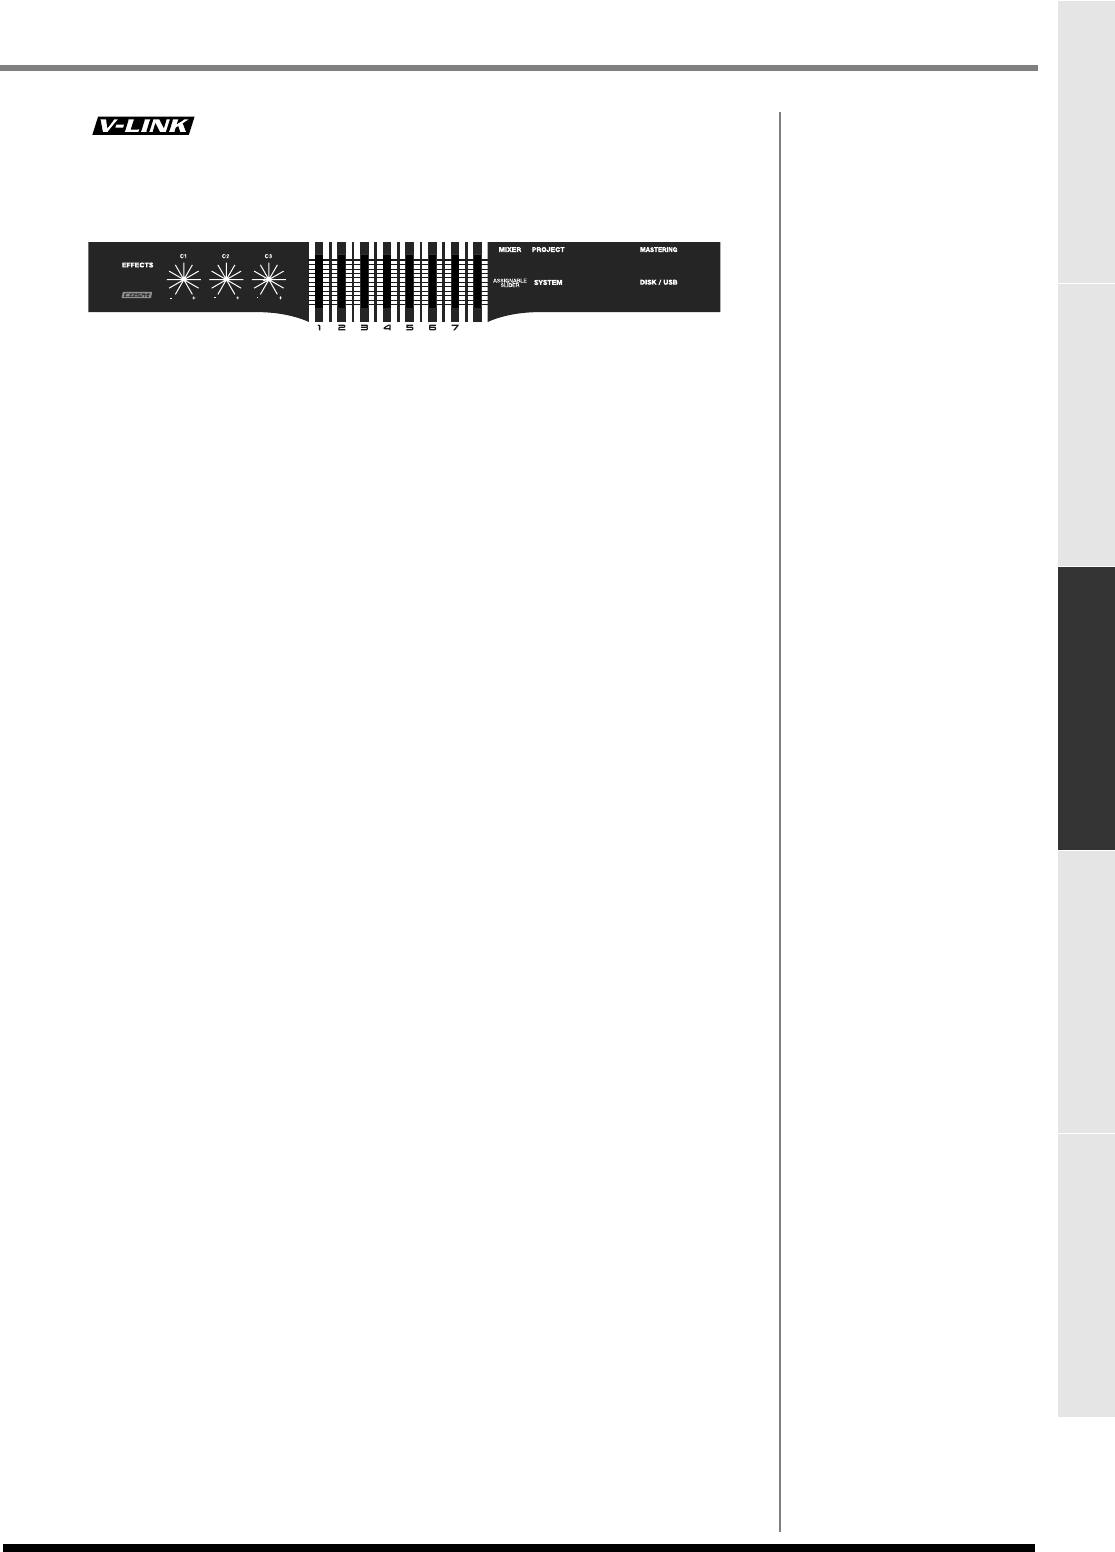
EFFECTS button
Press this button when you want to make effect settings (it will light orange). The
MV-8000 provides built-in MFX (multi-effect), delay/chorus, and reverb effects.
2.
C (control) knobs
These control knobs let you adjust effect parameter values directly.
3.
Sliders
Normally you will use these as mixer sliders. The parameters that are adjusted by the
sliders will change depending on the screen shown in the LCD. The Assignable Slider
function and the V-LINK function will also change the parameters controlled by these
sliders.
4.
MIXER button
Accesses the
MIXER
(p. 378) screen (indicator lit orange).
5.
PROJECT button
Accesses the
PROJECT MENU screen
(p. 308) (indicator lit orange), letting you load
or save a project.
6.
ASSIGNABLE SLIDER button
Press this button when you want to use the sliders as controllers to transmit MIDI
messages (indicator lit orange).
7.
SYSTEM button
Accesses the
SYSTEM MENU screen
(p. 319) (indicator lit orange), letting you make
system settings for the MV-8000.
8.
SEQUENCE button
Accesses the
SEQUENCE screen
(p. 205) (indicator lit orange). The screen that
appears is the MV-8000's basic screen.
9.
SONG SETUP button
Accesses the
SONG SETUP MENU screen
(p. 256) (indicator lit orange), letting you
make settings for a song saved within a project, and select songs.
10.
INSTRUMENTS button
Accesses the
INSTRUMENTS screen
(p. 265) (indicator lit orange), where audio data
recorded using the sampler or imported from another source can be prepared for use
as an instrument. These instruments are managed as “patches” and can be recalled for
use at any time.
11.
AUDIO PHRASES button
Accesses the
AUDIO PHRASES
(p. 301) screen (indicator lit orange). An “audio
phrase” is a piece of audio data with an appreciable length (e.g., a rhythm pattern of
several measures). Here you can manage and edit audio phrases.
12.
MASTERING button
Accesses the
MASTERING MENU screen
(p. 338) (indicator lit orange). Here you can
use the mastering tool kit to add the final finishing touches to the two-channel audio
data (WAV file) created by mixing down the sequencer playback.
13.
DISK/USB button
Accesses the
DISK/USB MENU screen
(p. 329) (indicator lit orange). Here you can
perform maintenance on the internal disk, use the CD player function, and
communicate with your computer via USB.


