


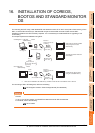
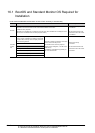
16. INSTALLATION OF COREOS, BOOTOS AND STANDARD MONITOR OS
16.3 BootOS and Standard Monitor OS Installation Using SD card or USB Memory
16 - 5
9
UTILITY FUNCTION
10
COMMUNICATION
INTERFACE SETTING
(COMMUNICATION SETTING)
11
DISPLAY AND
OPERATION SETTINGS
(GOT SET UP)
12
CLOCK SETTINGS AND
BATTERY STATUS DISPLAY
(TIME SETTING AND DISPLAY)
13
FILE DISPLAY AND
COPY (PROGRAM/DATA
CONTROL)
14
GOT SELF CHECK
(DEBUG AND SELF
CHECK)
15
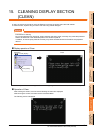
CLEANING DISPLAY
SECTION (CLEAN)
16
INSTALLATION OF
COREOS, BOOTOS AND
STANDARD MONITOR OS
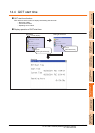
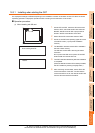
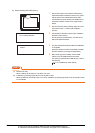
16.3.1 Installing when starting the GOT
The displayed message is different depending on the installation condition of standard monitor OS. When the screen
requesting operation is displayed, operate the GOT according to the instructions on the screen.
Operation procedure
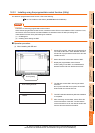
(1) When installing with SD card
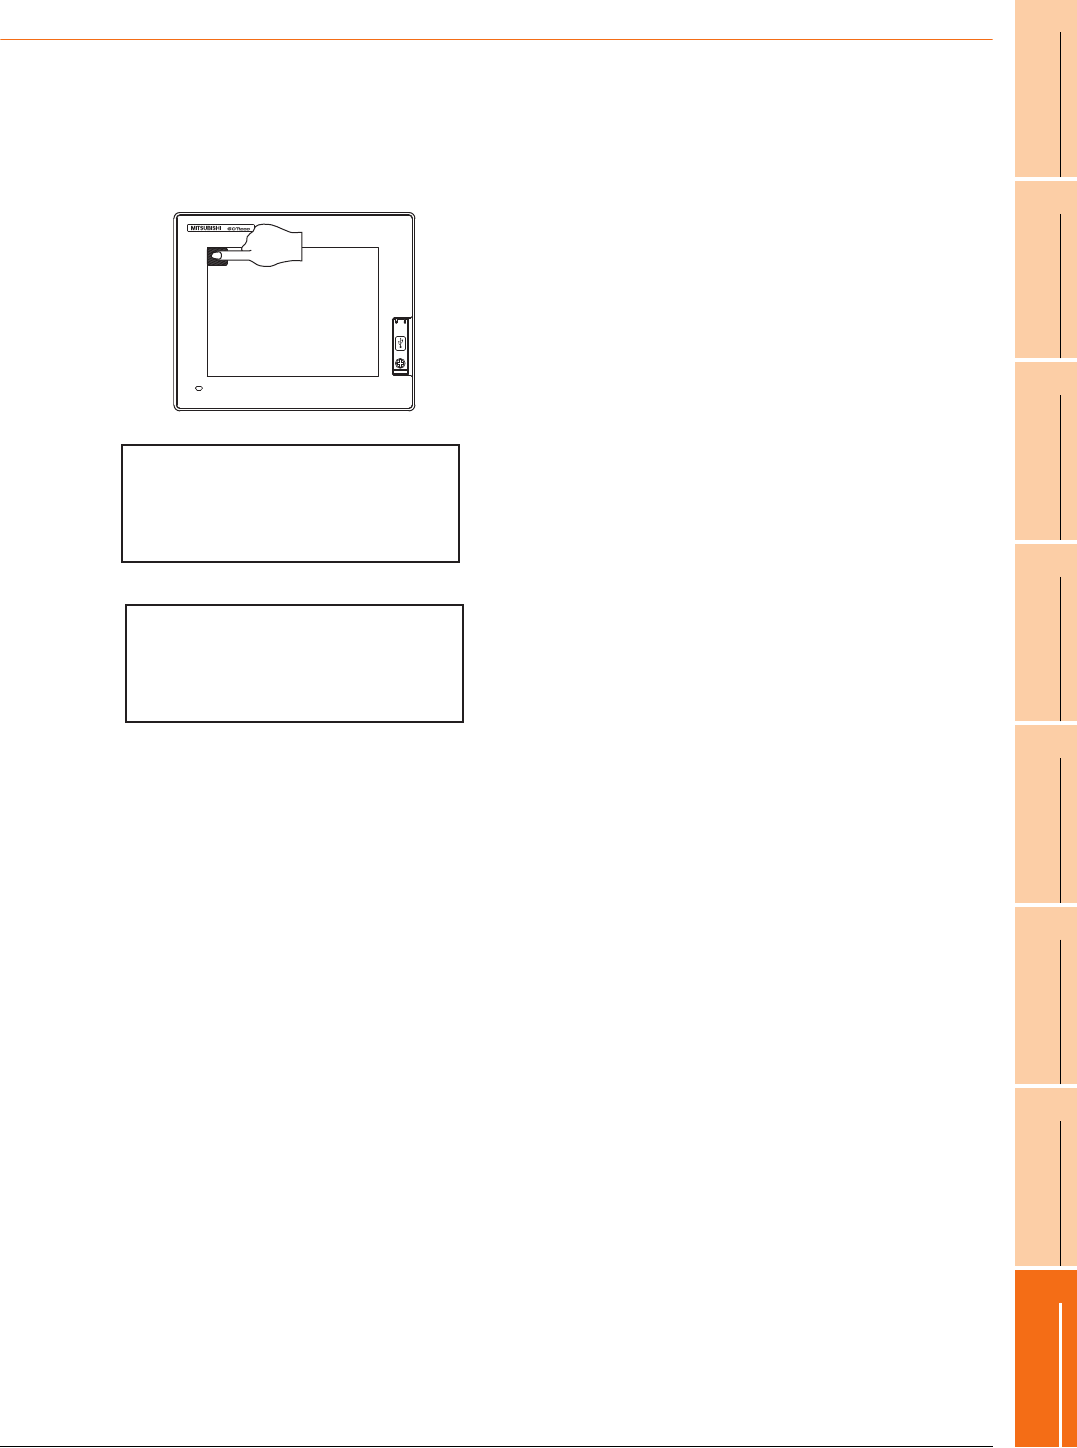
1. Power OFF the GOT, switch the SD card access
switch to OFF, and install the SD card where the
BootOS, standard monitor OS or project data is
stored in the SD card interface of the GOT.
2. Switch ON the SD card access switch of GOT.
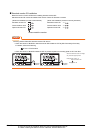
3. Power on the GOT while pressing upper left corner
of the GOT screen. (1-point press installation
function)
4. The BootOS or standard monitor OS is installed in
the built-in flash memory.
The SD card access LED is lit during the install
execution.
Do not pull out the SD card or power off the GOT
while the SD card access LED is lit.
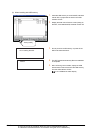
5. The GOT restarts automatically after the installation
is completed.
(When the standard monitor OS is already installed,
the GOT restarts by touching the [OK] button.)
6. After confirming normal restart, switch off the SD
card access switch of the GOT. Confirm that the
card access LED is not lit, and remove the SD card
from the SD card interface of the GOT.
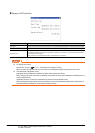
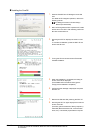
Now installing BootOS.
Reboot.