


6/08 ST 3000 Release 300 and SFC Model STS103 User’s Manual 177
9.4 Replacing PWA, Continued
Procedure, continued
Table 55 Replacing PWA, continued
Step Action
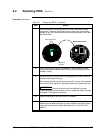
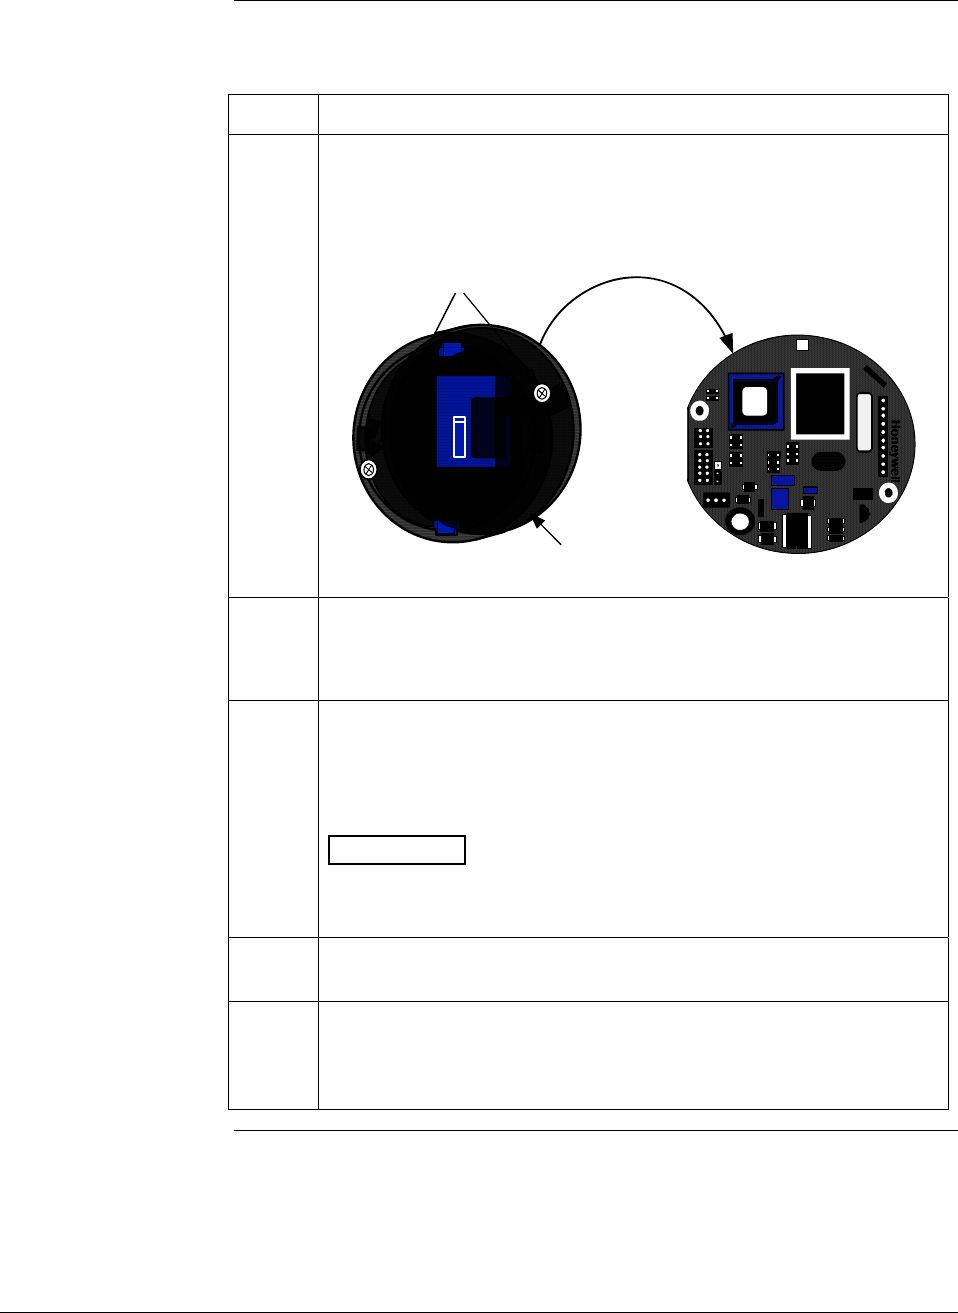
7
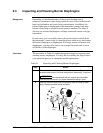
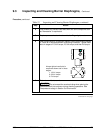
Note orientation of mounting bracket on PWA (side without cable
connectors). Remove screw retainers from other side of mounting
screws so you can remove screws and mounting bracket from PWA.
Set PWA aside.
PWA Connector Side
Mounting
Bracket
Mounting Screws
W
R
W
1
XXXXXX ASSY XXXXXXXX-XXX
REV
X
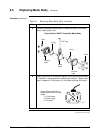
8
Orient mounting bracket as noted above, install mounting screws
through bracket and replacement PWA, and install retainers to hold
screws in place.
9
Reverse actions in Steps 2 and 3, as applicable, to install PWA and
bracket to transmitter housing.
We recommend that you lubricate end-cap O-ring with silicon grease
such as Dow Corning #33 or equivalent before you replace end cap.
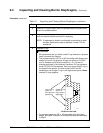
ATTENTION
Be sure to orient Local Smart Meter for proper
viewing through end-cap window. You can rotate the meter mounting
orientation in 90 degree increments.
10
Return transmitter to service and turn ON power.
11
If applicable, verify Local Smart Meter configuration data.
Reconfigure selected engineering units and lower and upper display
range values as required. (See Subsections 6.11 and/or 6.12 for
details.)