


Correcting a Vocal Track (Pitch Fix)
9
Mixdown and bounce operations
91
AW1600 Owner’s Manual
6
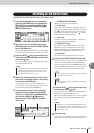
Raise the [STEREO] fader and the fader of
the destination track channel to about 0dB
on the scale.
7
Press the RTZ [ ] key to rewind the song
to the beginning, then press the PLAY [ ]
key while holding the REC [●] key.
Song playback will begin and the processed data will
be recorded to the destination track.
If the CTRL mode is set to SCALE or NOTE and you
have an external MIDI keyboard connected, use the
keyboard to play the required harmony notes for the
chorus parts while listening to the vocal track.
8
Set the channel fader for the source track to
an appropriate level while listening to play-
back of the song.
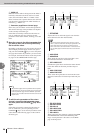
9
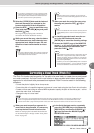
Move the cursor to RATE and use the
[DATA/JOG] dial to increase the pitch cor-
rection level while listening to song play-
back.
The pitch of notes in the source vocal track will be
corrected to the pitch of the nearest note.
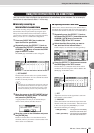
10
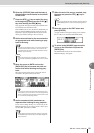
Set the sound and pitch parameters as
required while listening to song playback.
If you want to change the key of a vocal track, set the
PITCH parameter. If you want to create a chorus part,
set the CTRL parameter to NOTE.
11
When the end of the song is reached, stop
the song and press the RTZ [ ] key to
rewind.
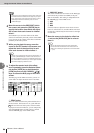
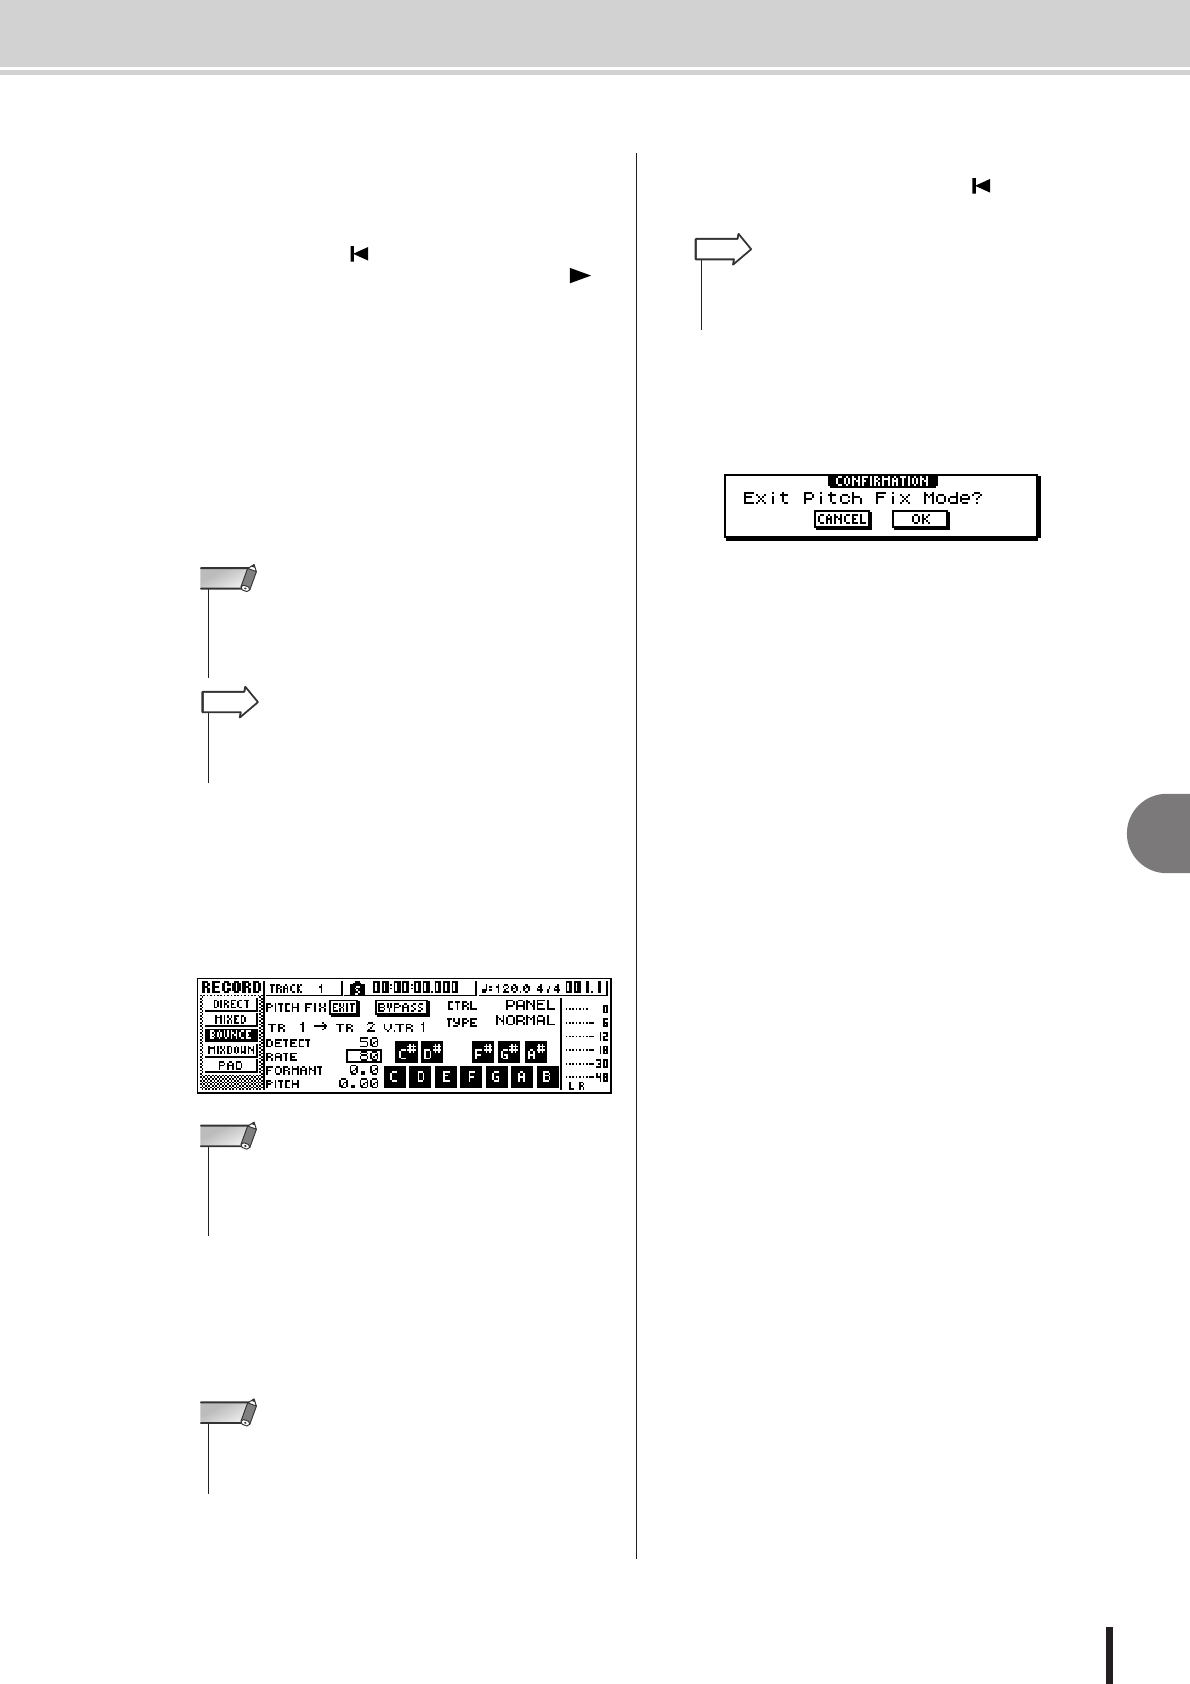
12
Move the cursor to the EXIT button and
press [ENTER].
A popup window will appear asking you to confirm
that it’s OK to exit from the PITCH FIX mode.
13
To return to the BOUNCE page move the
cursor to the OK button and press the
[ENTER] key.
The PITCH FIX mode will be exited and the
BOUNCE display will appear.
• The fader of the destination track – the track to which the pro-
cessed vocal track will be recorded – has no effect on the
recorded signal. The source track fader determines the final
balance, so set it with care.
NOTE
• When Auto Punch-in/out is engaged, you can monitor the
source track channels during playback even when not record-
ing.
HINT
• If you know the which notes should and should not be used
for correction, you can turn them on or off via the graphic key-
board, or change the CTRL mode as required and turn notes
on or off via the corresponding method.
NOTE
• While making the required correction setting you can select
the BYPASS mode to monitor the pre-correction display set-
tings and sound.
NOTE
• If you’re not satisfied with what has been recorded, press the
[UNDO/REDO] button to undo the recording and go back to
step 7.
HINT