


Exporting WAV files and importing audio CD or WAV files
139
AW1600 Owner’s Manual
12
Track editing
9
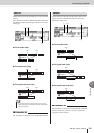
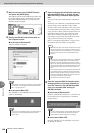
In the AW1600 screen, move the cursor to
the CANCEL button and press the [ENTER]
key.
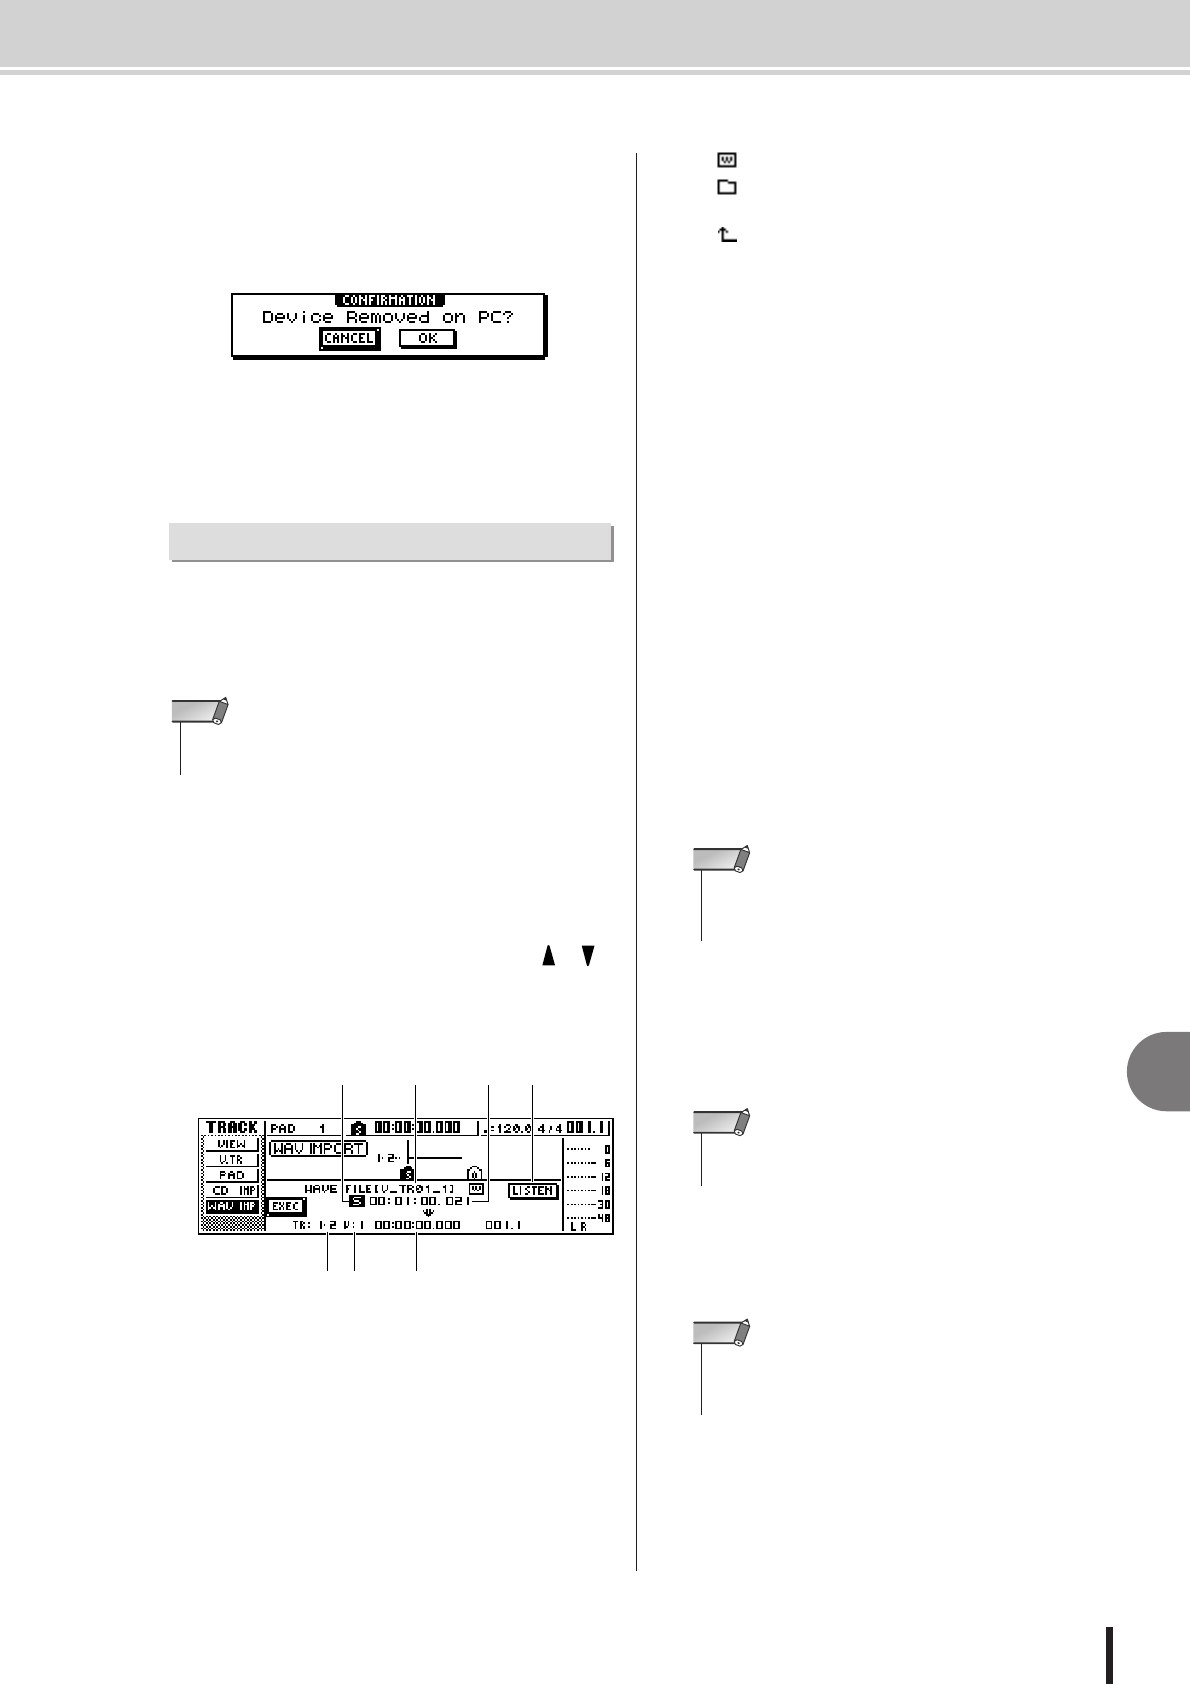
A popup window confirming whether the AW1600 has
been safely removed from the computer will appear.
10
To return to the normal mode move the cur-
sor to the OK button and press the [ENTER]
key.
This procedure allows you to import WAV files transferred
from a computer to the “Transport” folder to be imported
into specified audio tracks. This is useful when importing
WAV files you have edited on your computer into the
AW1600.
1
Begin by transferring the required WAV files
from your computer to the AW1600 “Trans-
port” folder (→ p. 137).
2
In the Work Navigate section, repeatedly
press the [TRACK] key or hold down the
[TRACK] key and use the CURSOR [ ]/[ ]
keys to access the TRACK screen WAV
IMPORT page.
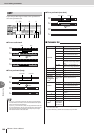
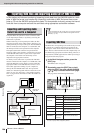
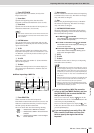
This page shows the following information.
1 From WAVE File
Selects the WAV file that will be imported.
If the media contains folders (directories), move to the
folder that contains the WAV file you want to import,
and then specify the desired WAV file.
The icons shown here have the following meaning.
• ...........Indicates that a WAV file is selected.
• ...........Indicates that a folder in the same level is
selected.
• ...........Indicates that the folder in the next higher
level is selected.
B Mono/stereo
Indicates whether the WAV file selected for importing
is monaural (M) or stereo (S). This field is for display
only, and cannot be changed.
C Size
Indicates the playback length (in msec) of the WAV
file selected for importing. This field is for display
only, and cannot be changed.
D LISTEN button
You can move the cursor to this button and press the
[ENTER] key to repeatedly hear the currently selected
WAV file.
E To TR
Selects the track number into which the WAV file will
be imported.
F To V.TR
Selects the virtual track number (1–8) into which the
WAV file will be imported.
G To Start
Specifies the starting location (in counter-display for-
mat) of the import-destination to which the WAV file
will be imported.
3
Move the cursor to the From WAVE file field,
and turn the [DATA/JOG] dial to select the
WAV file that you want to import.
The WAV files stored in the “Transport” folder will be
displayed (→ p. 144).
4
Use the To TR, To V.TR, and To Start fields to
specify the track number, virtual track num-
ber, and starting location into which the
WAV file will be imported.
Importing WAV Files
•For information on importing WAV file data into the AW1600 pads,
refer to “Importing From a Computer To the Pads” on page 120.
NOTE
2
765
31 4
• Only 16-bit or 24-bit, 44.1 kHz, mono or stereo WAV files can
be imported. Also, WAV files having a different bit depth from
the song cannot be imported.
NOTE
• The maximum number of WAV files that can be displayed is
100.
NOTE
• If the import-destination already contains data, it will be over-
written. Be careful not to accidentally overwrite important
data.
NOTE