


AW1600 Owner’s Manual
Importing From a Computer To the Pads
11
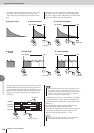
Quick loop sampler
120
WAV files imported into the AW1600 from a computer via the USB interface can be assigned to
the pads.
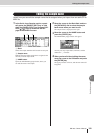
With the AW1600 connected to a computer via a USB
cable, copy the required file(s) from the computer’s hard
disk to the “Transport” folder in the AW1600. For details
see “Transferring WAV Files To and From a Computer” on
page 137.
1
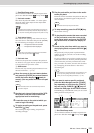
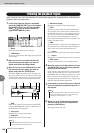
In the Quick Loop Sampler section, repeat-
edly press the [SAMPLE EDIT] key or hold
down the [SAMPLE EDIT] key and use the
CURSOR [ ]/[ ] keys to access the WAV
IMPORT page of the SAMPLE screen.
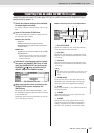
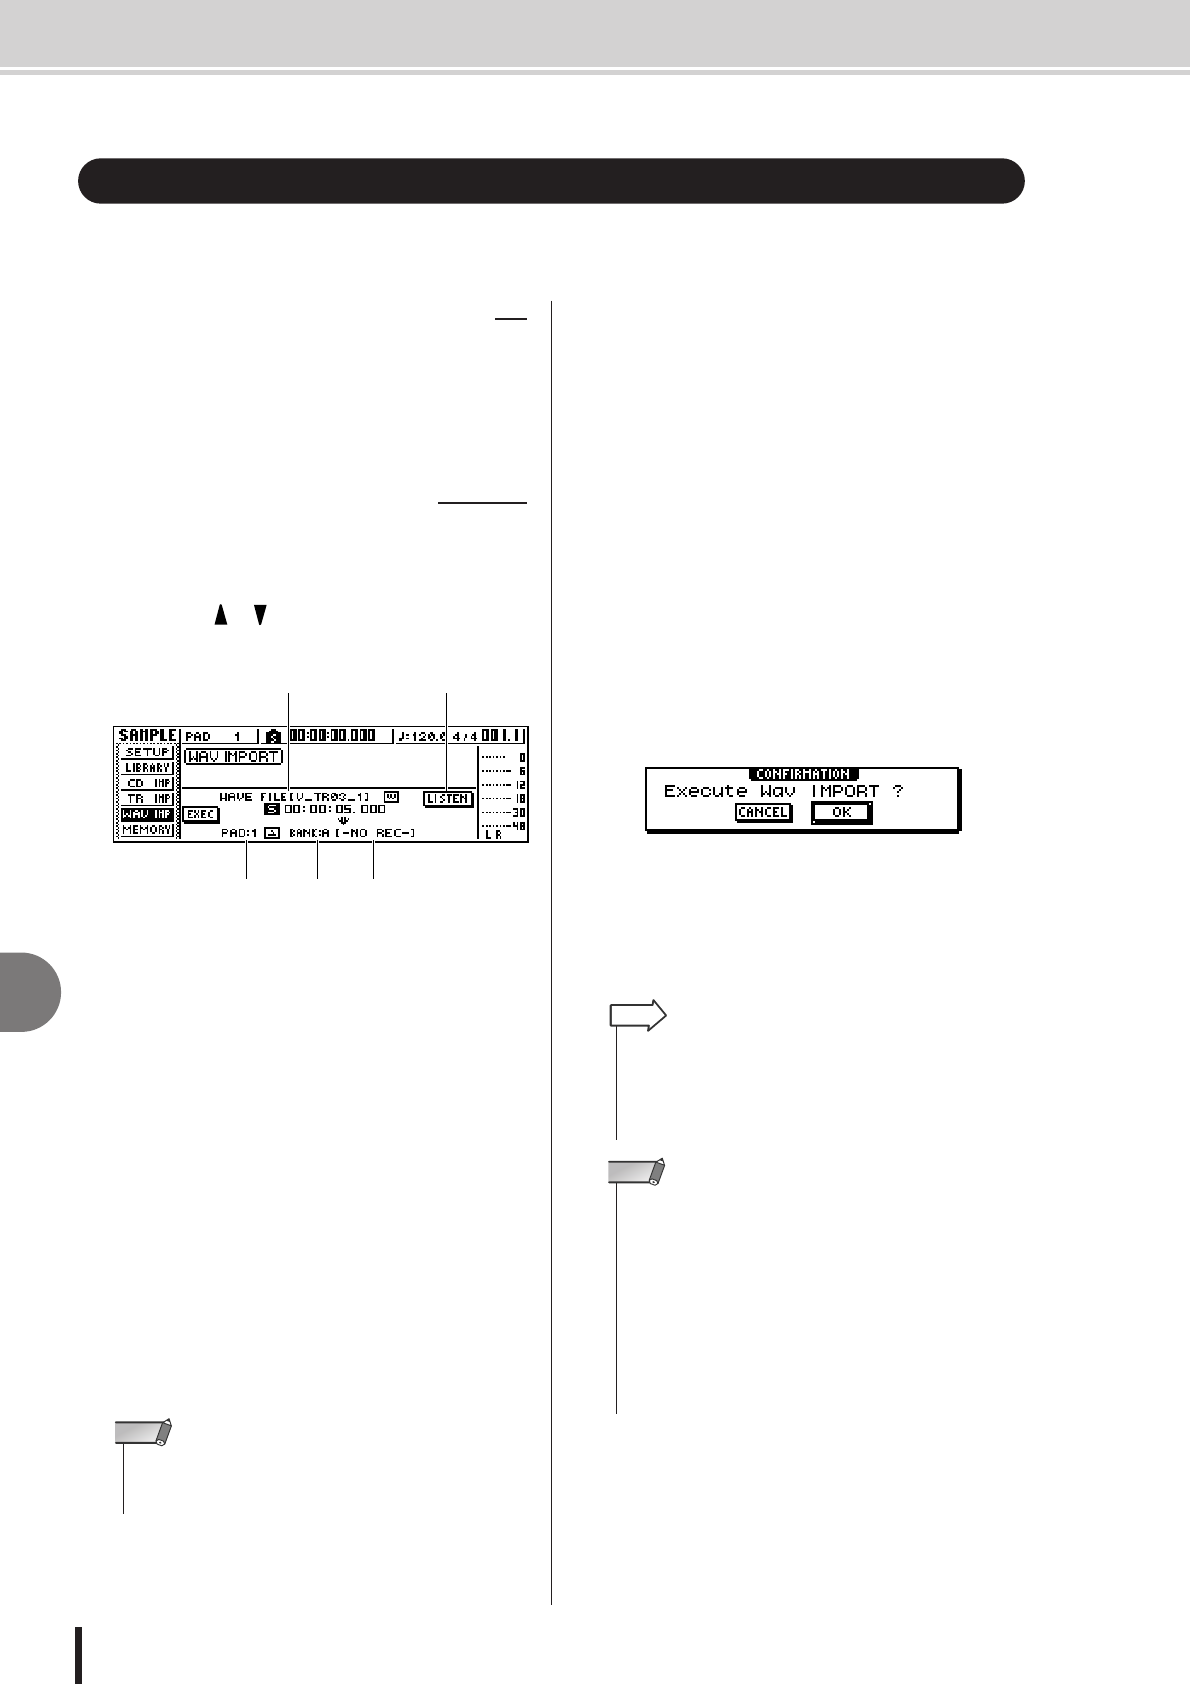
This page contains the following items.
1 From WAVE File
Specifies the WAV file that will be imported.
B LISTEN button
If you move the cursor to this button and press the
[ENTER] key, the currently selected WAV file will be
played back repeatedly.
C To PAD
Selects the pad number (1–4) to which the WAV file
will be imported.
D To BANK
Selects the sample bank (A–D) to which the WAV file
will be imported.
E NAME
Indicates the name of the sample that is currently
assigned to the import-destination sample bank. If
nothing is assigned, this will indicate [-NO REC-].
This field is only for display, and cannot be edited.
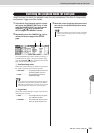
2
Move the cursor to the From WAVE File
field, and turn the [DATA/JOG] dial to select
the WAV file that you want to import.
WAV files to be imported must first be copied from the
computer’s hard disk to the “Transport” folder on the
AW1600 internal hard disk. WAV files stored in sub-
folders within the Transport folder can also be used.
For details see “Transferring WAV Files To and From
a Computer” on page 137.
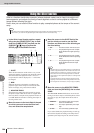
3
Use the To PAD and To BANK fields to spec-
ify the pad/sample bank into which the data
will be imported.
4
When you have finished specifying the data
to be imported, move the cursor to the
EXEC button and press the [ENTER] key.
A popup window will appear, asking you to confirm
the operation.
5
To execute the import, move the cursor to
the OK button and press the [ENTER] key.
Importing will begin. If you decide to cancel the
import, move the cursor to the CANCEL button and
press the [ENTER] key.
Importing From a Computer To the Pads
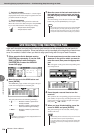
■ Importing WAV files from a computer
■ Assigning WAV files to the pads
E43
1 2
• Only 16-bit or 24-bit, 44.1 kHz, mono or stereo WAV files can
be imported. Also, WAV files having a different bit depth from
the song cannot be imported.
NOTE
• The imported sample will be assigned the same name as the
WAV file from which the data was imported. You are free to
edit this name later (
→
p. 121).
• The imported sample will be saved together with the current
song.
HINT
•A total of up to approximately 47 seconds (approximately 29
seconds in 24-bit songs) of samples can be imported into the
Quick Loop Sampler. If you specify a WAV file that exceeds
this amount, an error message will be displayed, and the
import operation cannot be executed.
• If you import once again into the same pad and sample bank,
that sample will be overwritten by the newly imported data. If
you want to keep the previously-imported sample, you must
import the new data into a different pad or sample bank.
• It is not possible to import samples while the AW1600 is run-
ning.
NOTE