


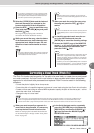

AW1600 Owner’s Manual
Bounce (ping-pong) recording procedure
9
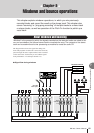
Mixdown and bounce operations
88
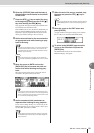
Here’s how to perform the bounce (ping-pong) recording procedure, which lets you combine mul-
tiple tracks onto one or two tracks.
1
Lower the [STEREO] fader to the – ∞ posi-
tion.
2
In the Quick Navigate section, repeatedly
press the [RECORD] key or hold down the
[RECORD] key and use the CURSOR [ ]/
[] keys to access the BOUNCE page of
the RECORD screen.
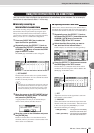
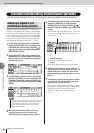
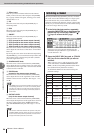
In the BOUNCE page you can select the bounce-
source tracks, and record them via the L/R bus onto
one or two bounce-destination tracks.
1 TRACK (upper line)
Selects the bounce-source tracks.
B Bus L/R
The two horizontal lines indicate the L/R bus signal
route. This lets you see the on/off status of the signals
that are sent from the bounce-source tracks, and see
the selected bounce-destination track(s).
C TRACK (lower line)
Here you can select the bounce-destination track(s).
D SAFE button
When you move the cursor to this button and press the
[ENTER] key, all bounce-source and bounce-destina-
tion assignments will be cancelled.
E BUS button
When you move the cursor to this button and press the
[ENTER] key, the right side of the screen will show a
fader for adjusting the output level of the L/R bus, and
a dedicated level meter for the L/R bus.
F PITCH FIX button
Position the cursor at this button and press [ENTER]
to engage the PITCH FIX mode. Use PITCH FIX to
correct the pitch and other properties of a vocal track
(→ p. 89).
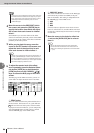
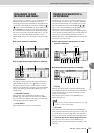
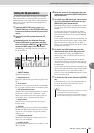
3
In the upper TRACK area,
select a bounce-source
track, move the cursor to
the symbol for that track,
and press the [ENTER] key.
Each time you press the [ENTER]
key, the screen will change as fol-
lows.
4
Select other bounce-source tracks in the
same way.
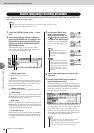
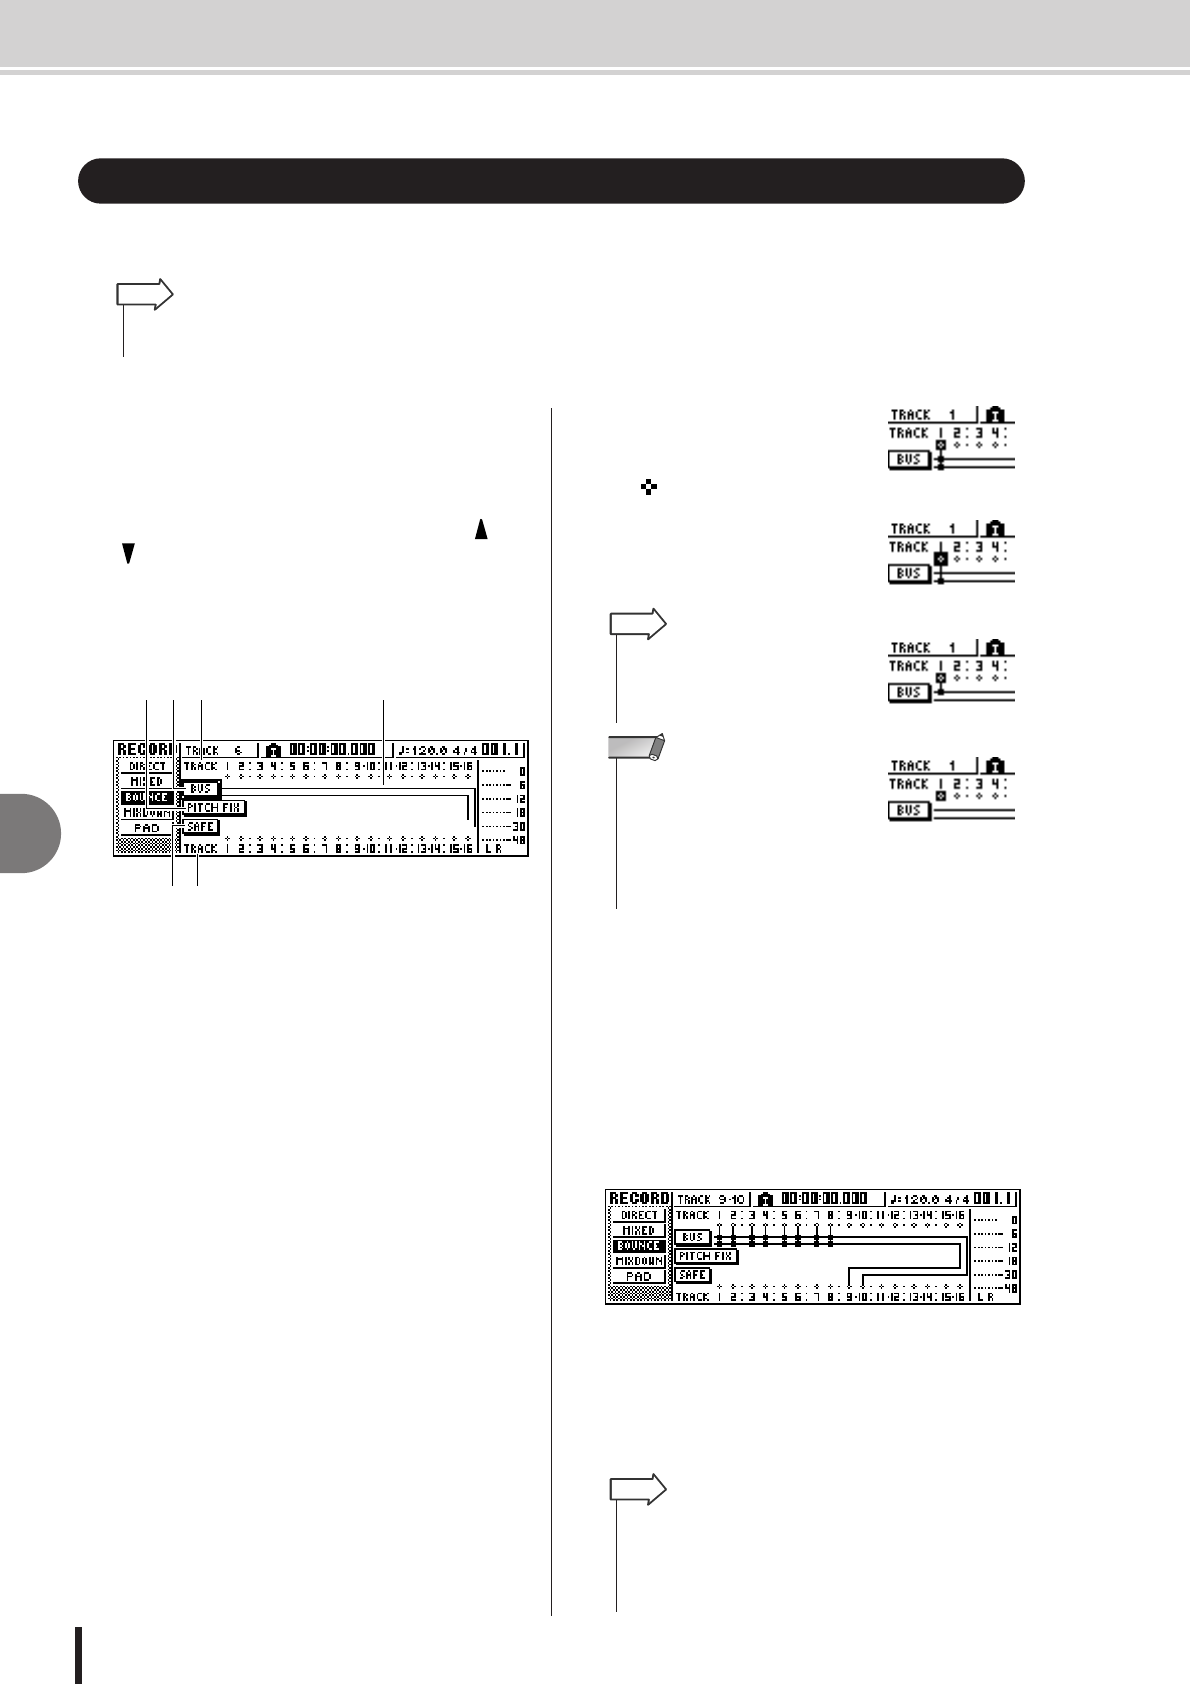
5
Use the [TRACK SEL] keys to select a
bounce-destination track.
The [TRACK SEL] key will blink red, indicates that
the corresponding track is selected as the bounce-des-
tination. A line will appear in the screen to indicate the
connection to the track. (To cancel your selection,
press the same key once again.)
You can select up to two bounce-destination tracks. If
you select track 1, 3, 5, or 7, bus L will be connected.
If you select track 2, 4, 6, or 8, bus R will be con-
nected. If you select track 9/10–15/16, bus L will be
connected to the odd-numbered track, and bus R will
be connected to the even-numbered track.
Bounce (ping-pong) recording procedure
• If you plan to add an effect to a specific track, be sure to insert the effect you plan to use into
the appropriate track channel beforehand (
→
p. 99).
HINT
3
1 25F
4
• If a track channel is selected as a
bounce-source, its assignment to
the L/R bus will automatically be
turned off.
HINT
• The track numbers of muted tracks
will be displayed as “M” (mute), but
you can still record to muted tracks.
• Since 24-bit songs can have a maxi-
mum of 8 play tracks (
→
p. 143),
tracks 9 – 16 are muted and will not
play back.
NOTE
• If you move the cursor to the SAFE button and press the
[ENTER] key, all connections will be cancelled.
• EQ and dynamics settings will be “flat” for the track channels
of the tracks you select as the recording-destination.
HINT