


AW1600 Owner’s Manual
Parts of the AW1600 and what they do
2
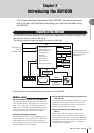
Introducing the AW1600
18
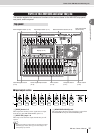
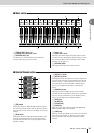
1 [SONG] key
This key accesses the SONG screen, where you can save
or load songs, and perform the shut-down procedure.
B [CD] key
This key accesses the CD screen, where you can write or
play an audio CD, and backup or restore data.
C [TRACK] key
This key accesses the TRACK screen, where you can
check whether each track contains data, and switch the
virtual tracks that will be used for recording and playback.
D [EDIT] key
This key accesses the EDIT screen, where you can copy or
erase tracks.
E [REMOTE] key
This key accesses the REMOTE screen, where you can
use the front panel faders and [TRACK SEL] keys to con-
trol an external MIDI device or sequencer software on
your computer.
F [UTILITY] key
This key accesses the UTILITY screen, where you can
make MIDI, oscillator, and digital input settings, and for-
mat the hard disk.
1 [RECORD] key
This key accesses the RECORD screen, where you can
quickly assign the signal to be recorded to the input of
each track, and make settings for recording.
B [MONITOR] key
This key accesses the MONITOR screen, where you can
quickly select the signal to be monitored, or switch the
stereo track playback on/off.
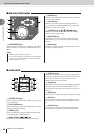
This is a backlit liquid crystal display that indicates the
current operating status or the settings of the various
parameters. The screens that are displayed will depend on
the front panel keys and knobs that are operated.
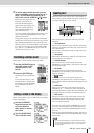
1 Access indicator
This indicator indicates the access status of the internal
hard disk. When the hard disk is being read or written, this
indicator will light.
B Contrast
Adjusts the brightness of the display.
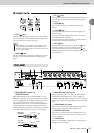
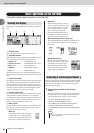
■ Work Navigate section
2
4
6
1
3
5
■ Quick Navigate section
2
1
■ Display
1
2
•Never turn off the power of the AW1600 when the access indi-
cator is lit. Doing so will not only damage the data on the inter-
nal hard disk, but may also damage the hard disk itself. When
you want to turn off the power of the AW1600, you must per-
form the shutdown procedure (
→
p. 11).
CAUTION
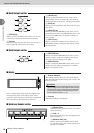
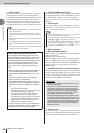
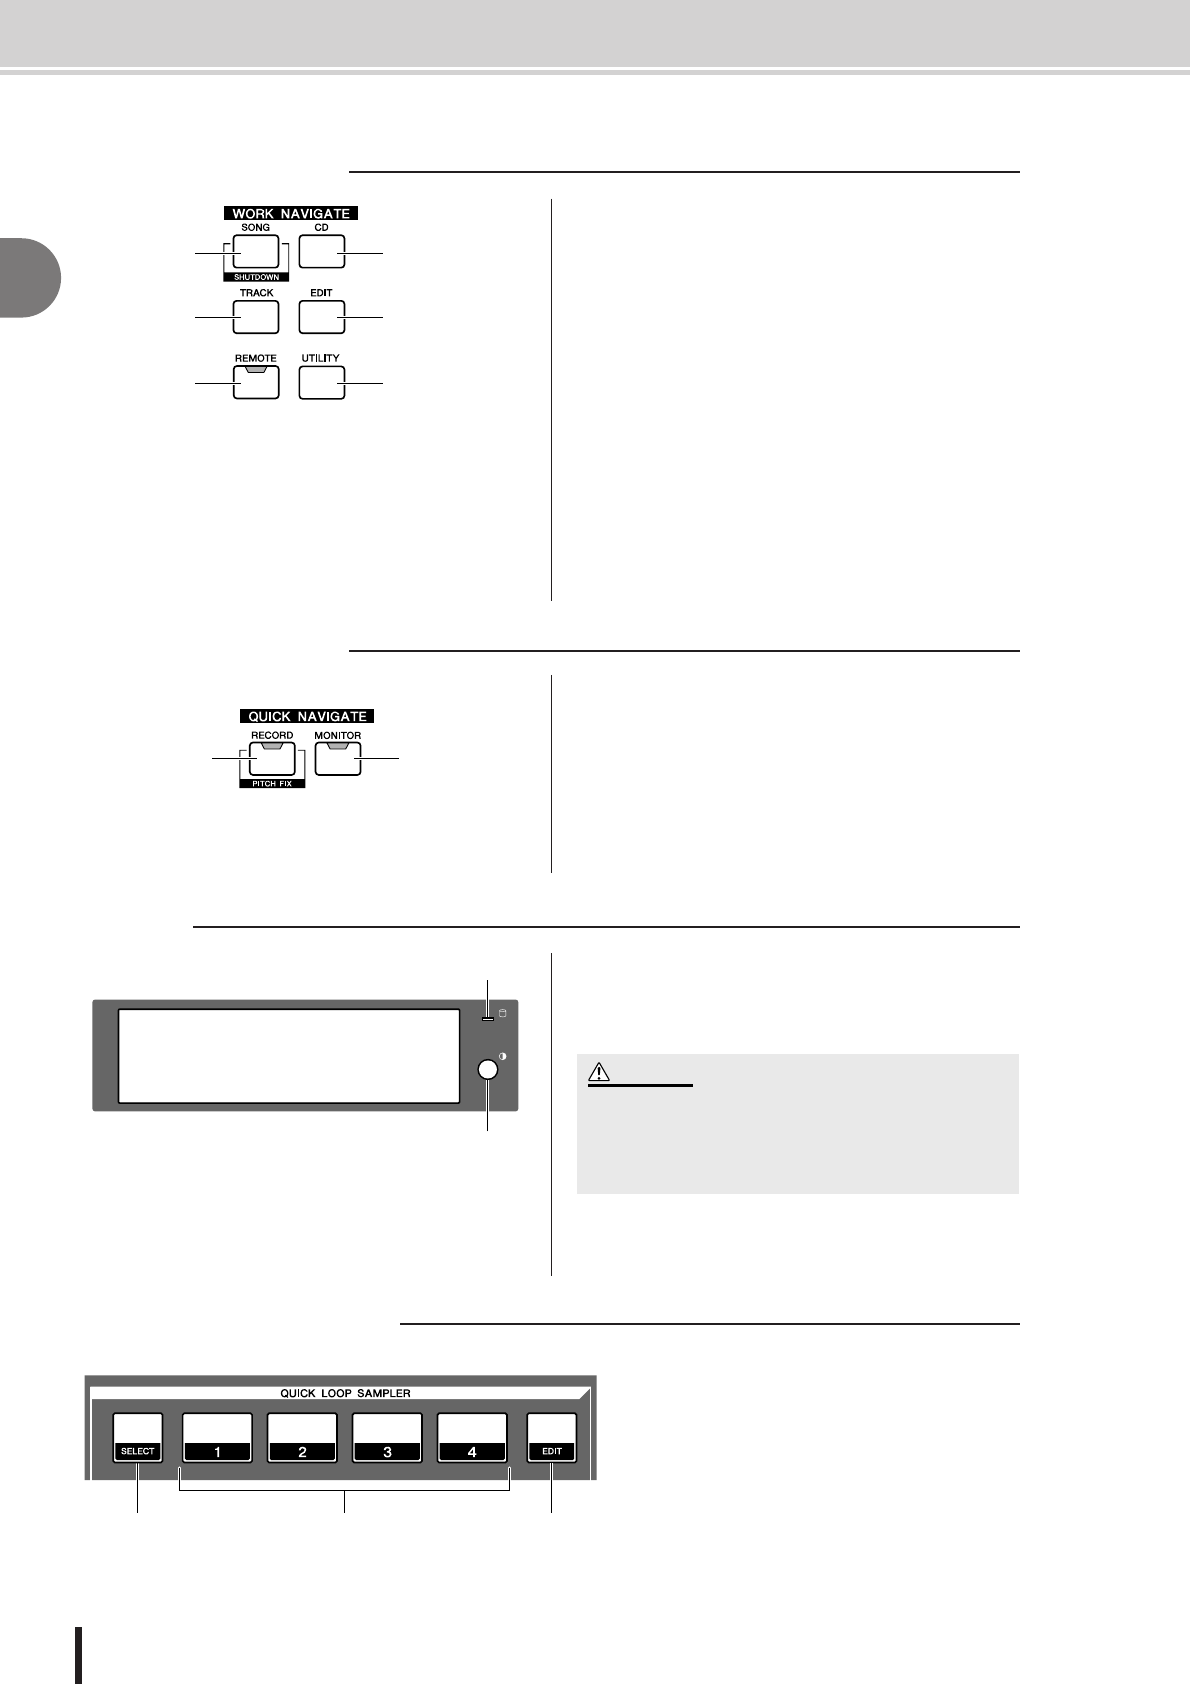
■ Quick Loop Sampler section
1 32
1 [SELECT] key
Hold down this key and press a pad 1–4 to select a
pad for operations.
B Pads 1–4
Each of these pads plays back the sample that has
been assigned to it.
C [SAMPLE EDIT] key
This key accesses the SAMPLE screen, where
you can make settings and perform operations for
the quick loop sampler.