


AW1600 Owner’s Manual
Writing audio data (Disc At Once)
Creating an audio CD
106
10
Here’s how to use the Disc At Once method to write stereo tracks from songs saved on the hard
disk to CD-R/RW media. Use this method if you do not want to create silence between each track
of the CD, or if you want to write a single song divided into multiple tracks on the CD.
1
Make sure that the appropriate virtual track
is selected for the stereo track of the
song(s) you want to write.
2
If you want to divide the song into CD
tracks at the marker locations specified
within the song, check that markers have
been set at the appropriate locations.
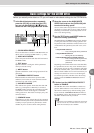
3
Repeatedly press the [CD] key or hold down
the [CD] key and use the CURSOR [ ]/[ ]
keys to access the CD WRITE page of the
CD screen.
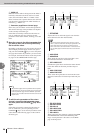
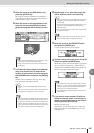
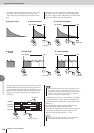
4
Move the cursor to DISC AT ONCE and
press the [ENTER] key.
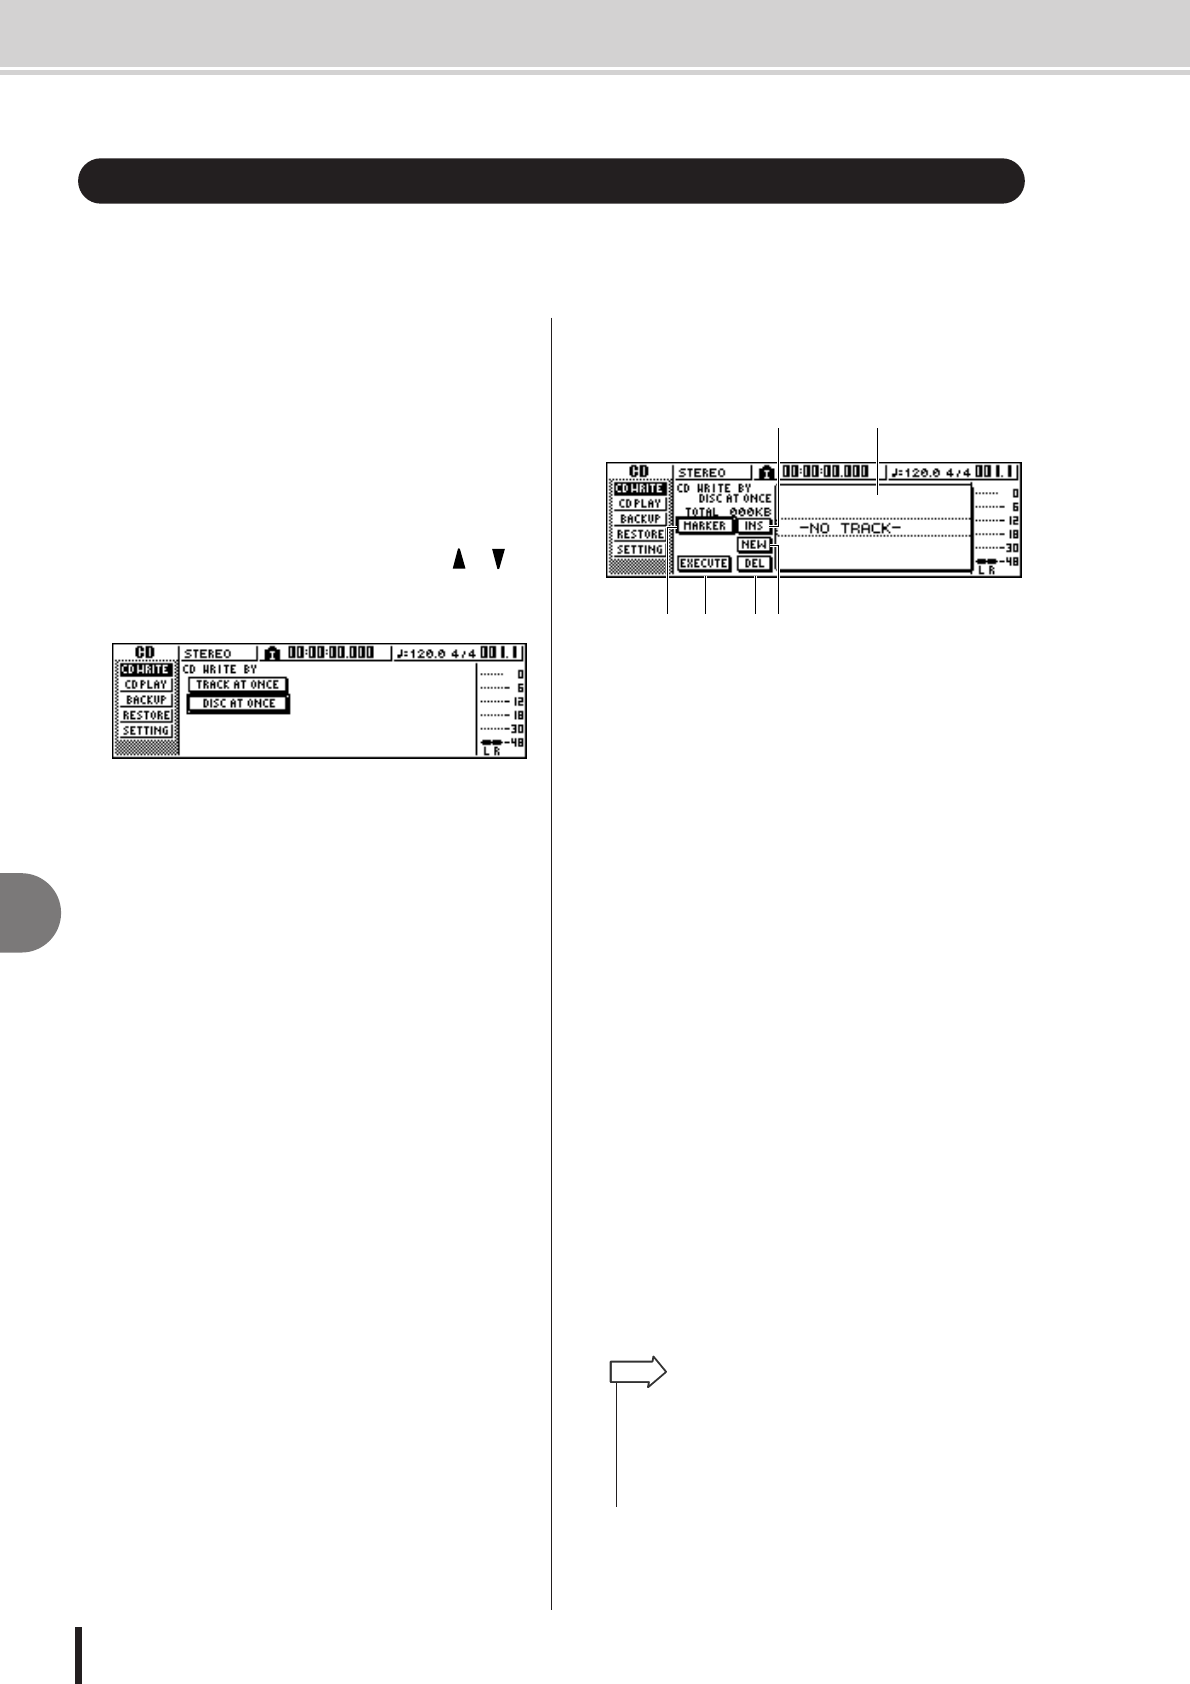
The following screen will appear.
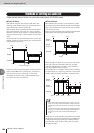
1 Song list
This is a list of the songs containing stereo tracks that
will be written to the CD-R/RW media. The line
enclosed by a dotted frame is currently selected for
operations. If no songs have been registered, this will
indicate “-NO TRACK-”.
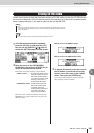
B MARKER button
For each stereo track, this enables or disables the
markers that have been set within that song.
When you move the cursor to this button and press the
[ENTER] key, the start pint, end point and markers
within the currently selected stereo track will be
enabled. (A “flag” icon will appear at the left of the
list.) If markers are enabled for a stereo track, a track
number will be written to the CD at the location of
each marker. Regardless of any areas of silence, the
entire region from the Start point to the End point will
be written.
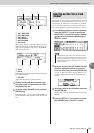
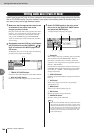
C INS button
Inserts a new song in front of the song currently
selected in the list.
D NEW button
Adds a song at the end of the song list.
E DEL button
Deletes the selected song from the list.
F EXECUTE button
Executes writing to the CD media.
Writing audio data (Disc At Once)
6 542
3 1
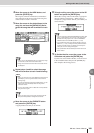
• If data has already been written on the CD-RW media that
you insert, a popup window will appear immediately after step
3, asking whether you want to erase the data. Move the cur-
sor to the OK button if you want to erase the entire media, or
to the CANCEL button if you want to cancel execution. Then
press the [ENTER] key.
HINT