About the CD-ROM included with the AW1600
209
AW1600 Owner’s Manual
Appendix
• The software and this owner’s manual are the exclusive
copyrights of Yamaha Corporation.
• Use of the software and this manual is governed by the
license agreement which the purchaser fully agrees to
upon breaking the seal of the software packaging.
(Please read carefully the Software Licensing Agree-
ment at the end of this manual before installing the
application.)
• Copying of the software or reproduction of this manual
in whole or in part by any means is expressly forbidden
without the written consent of the manufacturer.
•Yamaha makes no representations or warranties with
regard to the use of the software and documentation and
cannot be held responsible for the results of the use of
this manual and the software.
• This disk is a CD-ROM. Do not attempt to play the disk
on an audio CD player. Doing so may result in irrepara-
ble damage to your audio CD player.
• Future upgrades of application and system software and
any changes in specifications and functions will be
announced separately.
The included CD-ROM contains a backup file that you
can use to restore the AW1600 to its factory-set condition,
setting files that let you use the AW1600’s MIDI Remote
function with various DAW software, and a USB MIDI
driver that is necessary to allow MIDI message transmis-
sion and reception via the USB connector.
If you are connecting the AW1600 to your computer via a
USB cable for MIDI message transmission and reception,
you need to install the Yamaha USB MIDI driver.
OS: Windows XP Professional/Home Edition SP1 or
higher, or Mac OS X 10.3 or higher
1
Start your computer to launch Windows, then
log in as Administrator.
2
Click the [Start] button, and then click [Con-
trol Panel].
If the control panel appears as “Pick a category”, click
“Switch to Classic View” in the upper left of the win-
dow. All control panels and icons will be displayed.
3
Go to [System Hardware] ➝ [Driver signa-
tures] ➝ [Driver signature options], select
“Ignore — Install software without asking for
confirmation,” and then click [OK].
4
Click [OK] to close the “System Properties”
window, and then click the Close button to
close the “Control Panel” window.
5
Insert the included CD-ROM into the CD-ROM
drive.
6
First, make sure the POWER switch on the
AW1600 is set to STANDBY, then use a USB
cable to connect the USB connector of the
computer to the USB connector of the
AW1600. When the AW1600 is turned on, the
computer automatically displays the “Found
New Hardware Wizard.”
7
If the “Can Windows connect to Windows
Update to search for software?” is displayed,
select “No, not this time”, and then click
[Next].
8
Select “Install software automatically (recom-
mended) (I),” and then click [Next].
The system starts the installation.
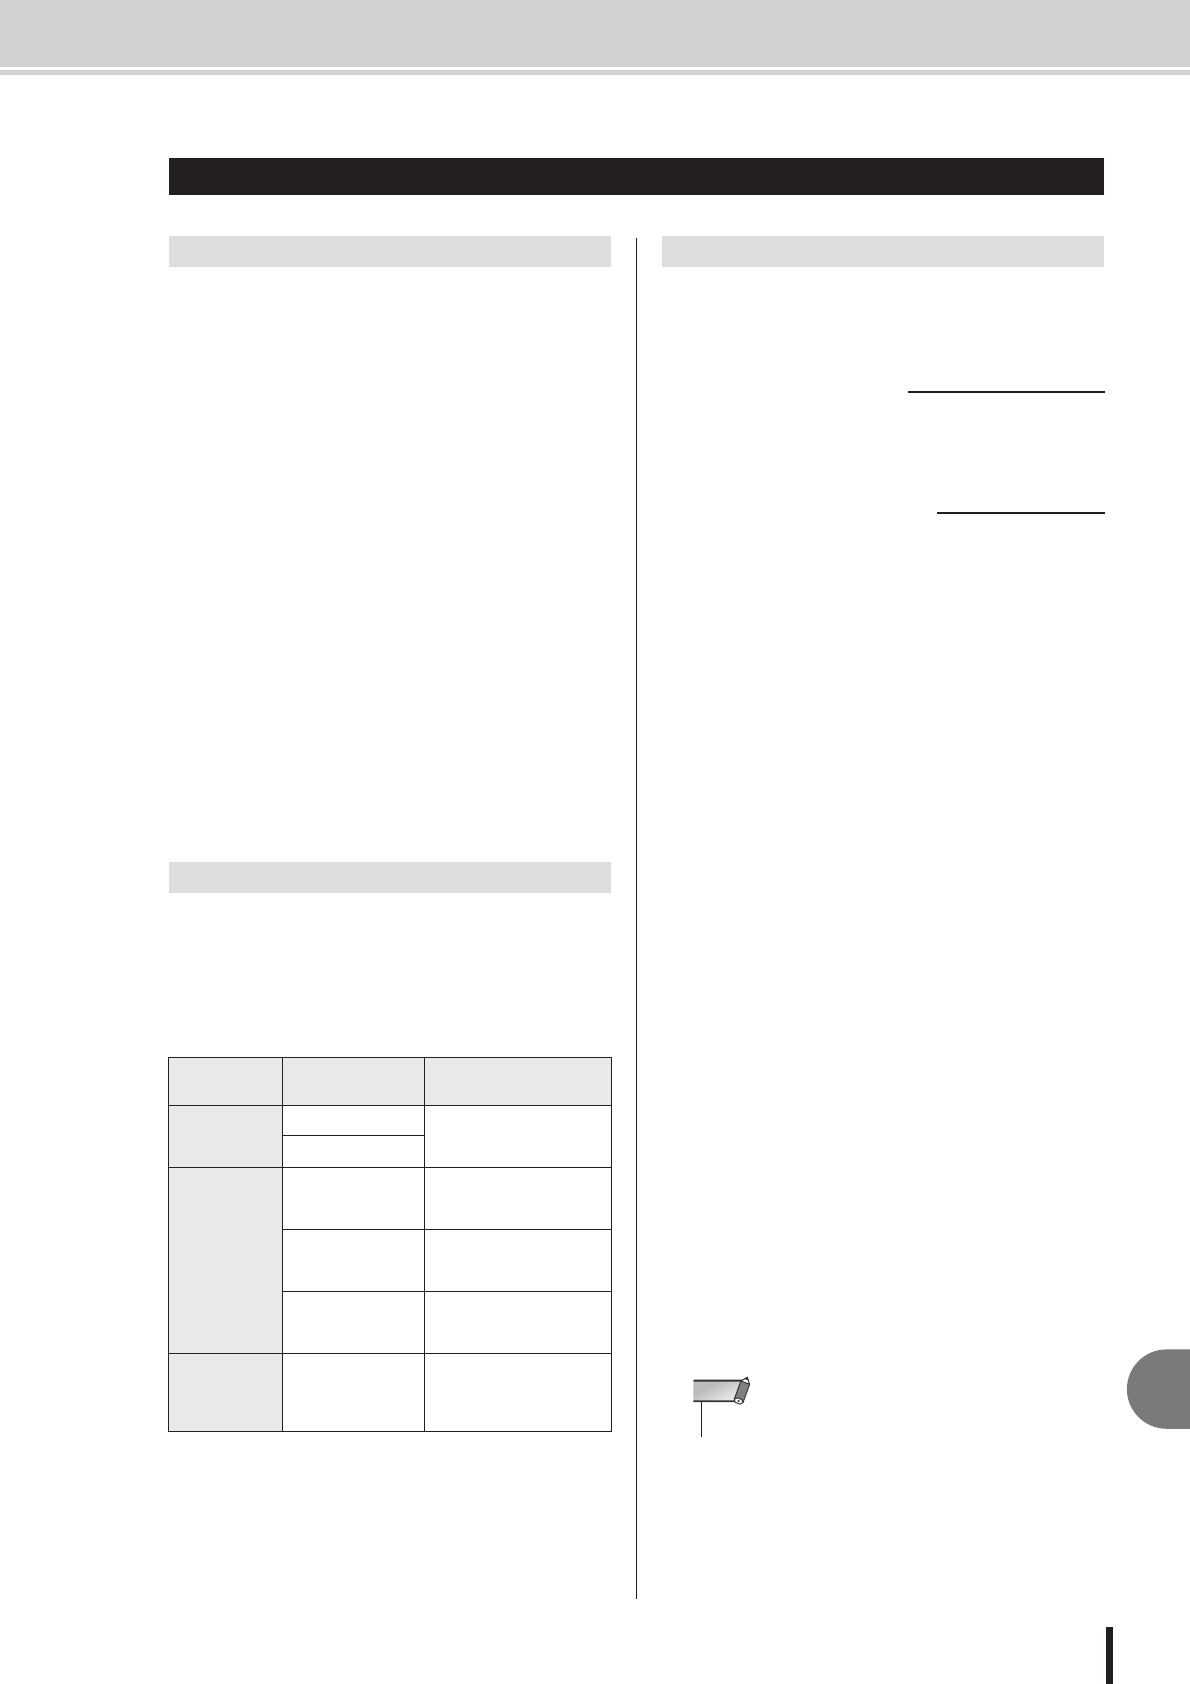
About the CD-ROM included with the AW1600
Folder/
file name
Software name Contents
AW16_000.TAR
Demo song Backup file for restoring the
internal hard disk to its fac-
tory-set condition.
Sample library
Remote
Cubase/Nuendo
remote setup file
Setting file for remotely con-
trolling the Cubase/Nuendo
software from the AW1600.
Logic preference file Setting file for remotely con-
trolling the Logic software
from the AW1600.
SONAR template file
(Windows only)
Setting file for remotely
controlling the SONAR soft-
ware from the AW1600.
USBdrv_
Yamaha USB MIDI
Driver
Driver file for exchanging
MIDI messages between
the AW1600 and a com-
puter via a USB cable.
Special Notices
Contents of the CD-ROM
Installing USB MIDI driver
■ System Requirements
■ Installing on Windows XP
• Some computers may take a few minutes to show this screen.
NOTE


