


AW1600 Owner’s Manual
About the CD-ROM included with the AW1600
210
Appendix
9
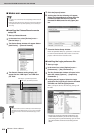
When the installation is complete, the system
displays “Completing the Found New Hard-
ware Wizard.” Click [Finish].
10
Restart the computer.
The driver has been installed.
1
Start your computer, then log in as Adminis-
trator.
To confirm that the Administrator account is available,
select [System Preferences], then [Users (Account)].
2
Double-click the “USBdrv_” folder on the
included CD-ROM.
3
Double-click “YAMAHA USB-MIDI Driver
v1.*****.mpkg” (***** represents the version
number).
An “Authenticate” window opens, prompting the pass-
word.
If the window does not prompt you to enter the pass-
word, click the lock icon.
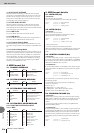
4
Enter the password for the Administrator’s
account. If you have not set the password,
click [OK].
The “Welcome to the YAMAHA USBMIDI Driver
Installer” window is displayed.
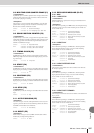
5
Click [Continue].
The “Select a Destination” is displayed.
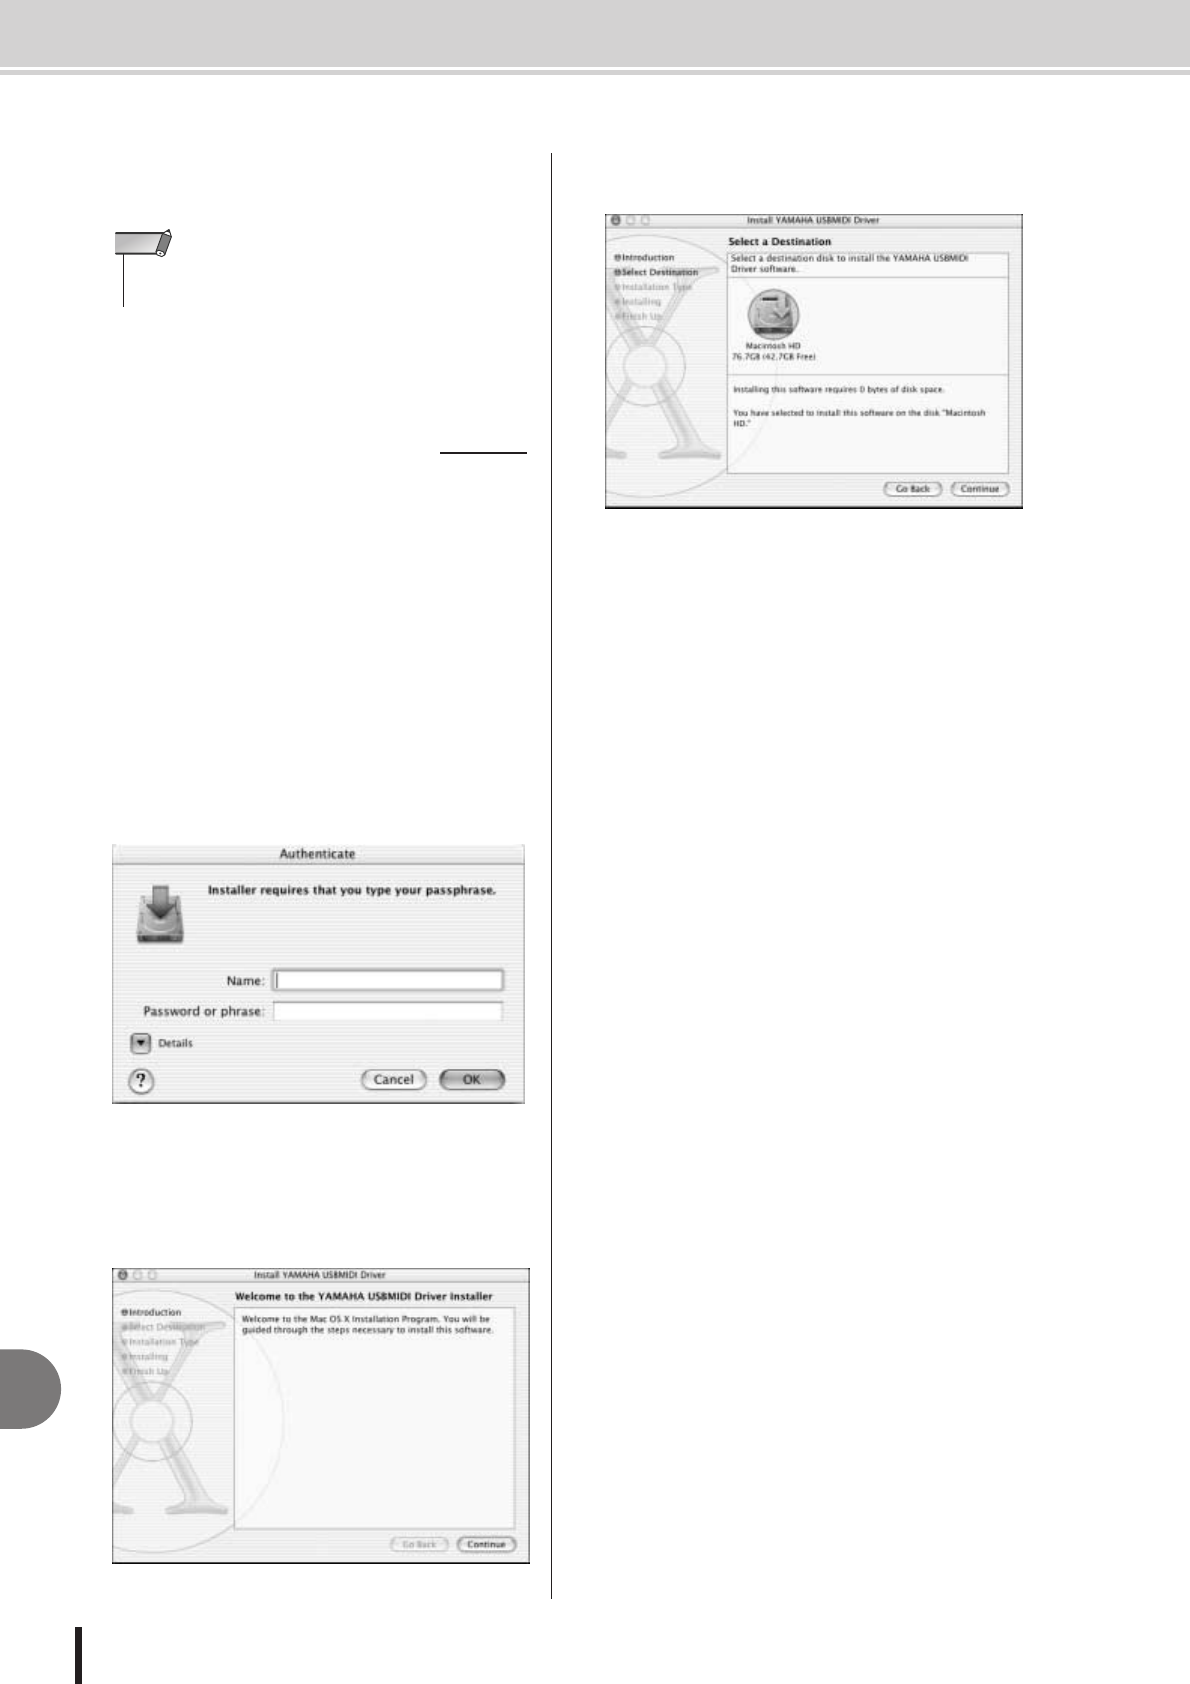
6
Select a destination for the driver installation,
then click [Continue].
The message “Installing this software requires 100MB
of disk space” may appear. However, the actual
required free disk space is 2MB.
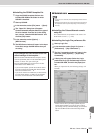
7
A window opens, displaying the message
“Click install to perform a basic installation of
this software.” Click [Install].
If the driver has already been installed, the [Upgrade]
button is displayed instead of the [Install] button.
The driver is installed, and message “The software
was successfully installed” is displayed.
8
Click the [Close] button.
The driver installation is complete.
You can check the following locations to confirm that
the driver has been installed:
• Library ➝ Audio ➝ MIDI Drivers ➝
YAMAHAUSBMIDIDriver.plugin
• Library ➝ PreferencePanes ➝
YAMAHAUSBMIDIPatch.prefPane
• Some computers may take about a few minutes to show this
screen after the installation is complete.
NOTE
■ Installing on Macintosh computer