


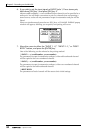


Chapter5—Recording on the AW4416
84 — Operation Guide
6. In the same way as for the input channels, set the PAN knobs of monitor
channels 1/2 to far left (L16) for channel 1 and far right (R16) for chan-
nel 2.
7. Make sure that [ON] keys 1/2 and the STEREO [ON] key are on, and
raise faders 1/2 and the STEREO fader to the 0 dB position.
When tracks are paired, you must operate only one of the faders. Attempting to
move both faders simultaneously will place a strain on the motor, and may cause
malfunctions.
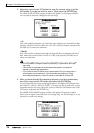
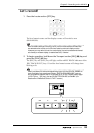
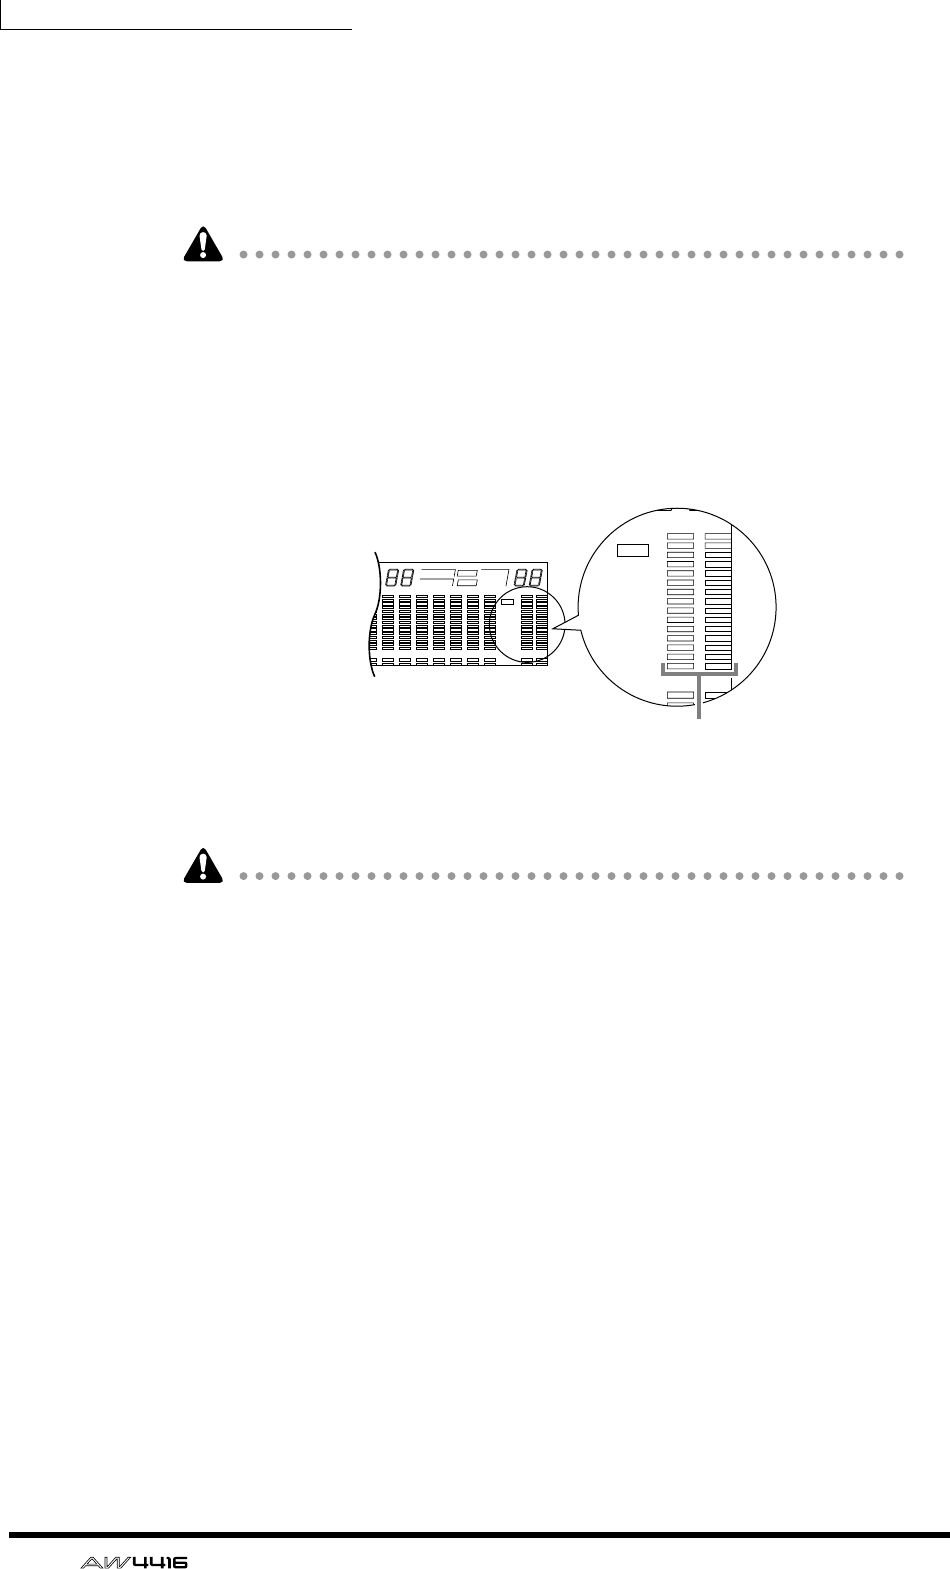
8. While producing sound on your instrument, watch the L/R level meters
of the level meter/counter.
The signal from the rhythm machine (or drum mics) will be sent via tracks 1/2 →
monitor channels 1/2 to the stereo bus. If the red 0 dB segment lights, lower fad-
ers 1/2 (input level of monitor channels 1/2).
9. Raise the MONITOR OUT control/PHONES control.
You can monitor the input signal via your monitor system or headphones.
Note that the signals being controlled here are not the signals recorded on the
recorder; rather, they are the signals passing through the recorder. Operating the
pan, fader, or [ON] key of a monitor channel will not affect the signal that is
recorded.
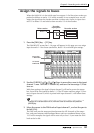
8 9 13 14 15 1610 11 12
–dB
0
2
6
20
30
42
60
10
14
18
20
26
12
FINE
READY
INPUT
LR
SFms
EXT
VARI
44.1k 48k
LOCK
WORD CLOCK MTC SCENE
SLAVE
MASTER
INT
E
1 2 3 4 5 67
–dB
0
2
6
20
30
42
60
10
14
18
20
26
12
FINE
READY
INPUT
REMAIN
ABS
REL
HM
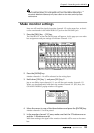
–dB
0
2
6
20
30
42
60
10
14
18
20
26
12
FINE
READY
INPUT
LR
E
L/R level meter