Chapter7—Punch-in/out
130 — Operation Guide
Auto punch-in/out
Here’s how to use auto punch-in/out.
Preparations
❒ Make input monitor settings
To perform punch-in/out recording, you will need to select “auto input monitor”
as the input monitor setting. For details refer to page 128.
❒ Set the auto punch-in/out points
Specify the location at which punch-in/out will start (Auto Punch In point) and
end (Auto Punch Out Point). Auto punch-in/out uses the in/out point settings (→
P.120).
1. At the location where you wish to punch-in, hold down the [SET] key
and press the [IN] key.
The [IN] key will light, indicating that the In point has been set.
2. At the location where you wish to punch-out, hold down the [SET] key
and press the [OUT] key.
The [OUT] key will light, indicating that the Out point has been set.
Be aware that auto punch-in/out will not occur if the Out point is earlier than the
In point.
Tip!
The auto punch-in/out points (in/out points) can be precisely adjusted in millisec-
onds or in sub-frame units. For details refer to page 123.
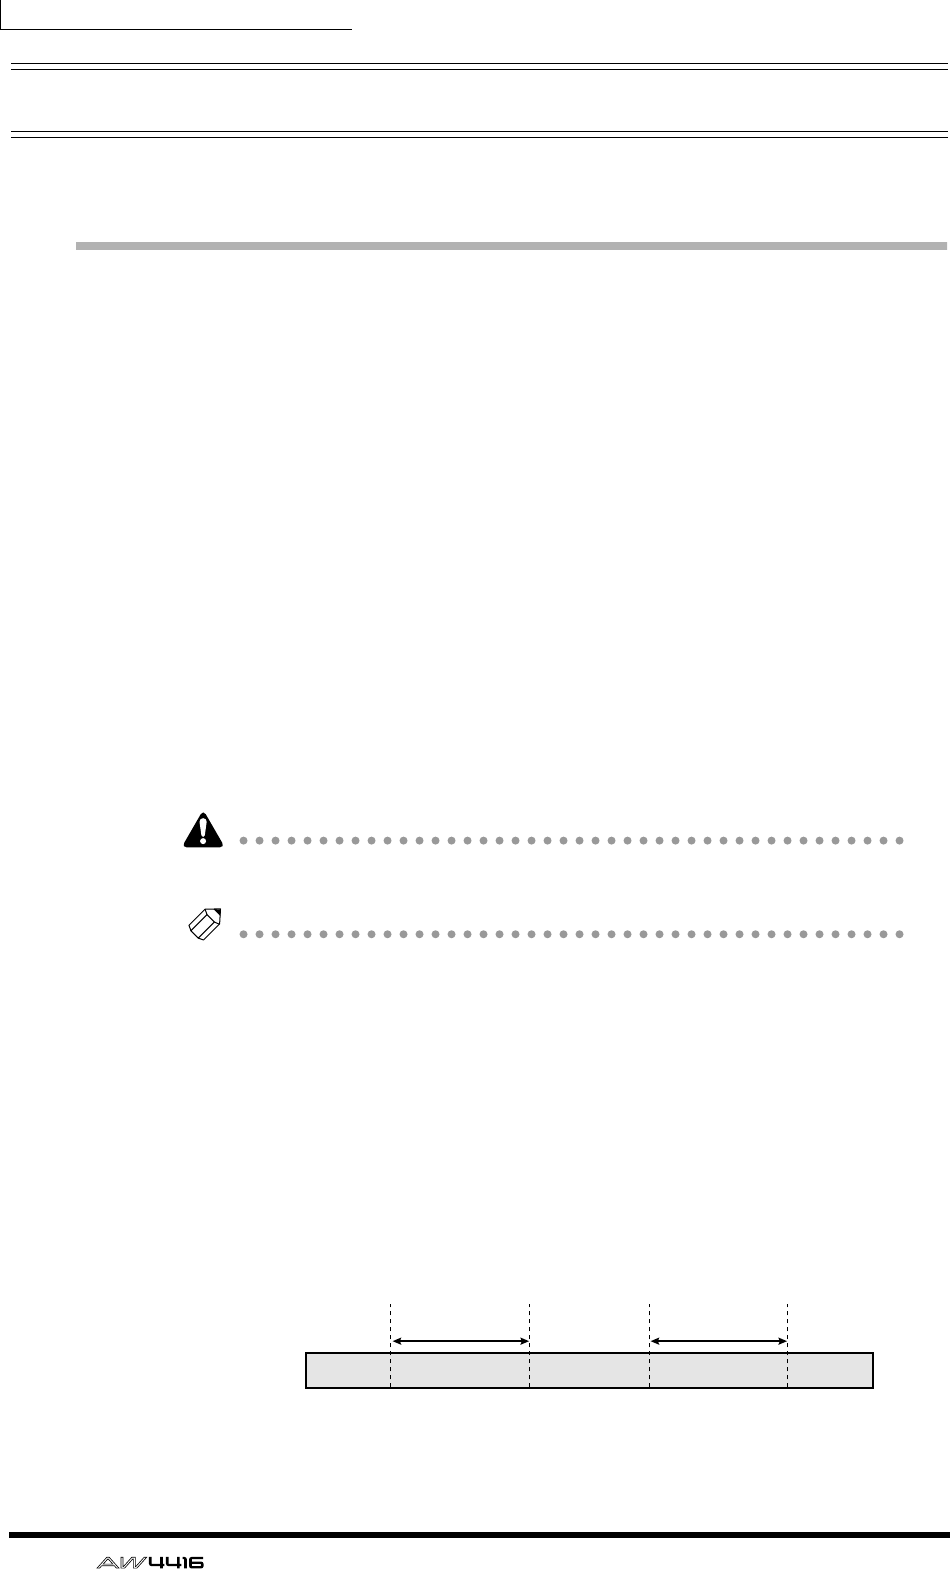
❒ Set the pre-roll/post-roll times
When executing auto punch-in/out, you can specify intervals of playback before
the punch-in and after the punch-out. The playback before punch-in is called the
“pre-roll time,” and the playback after punch-out is called the “post-roll time.”
With the factory settings, these are set to five seconds, but you can change this as
desired. The beginning of the pre-roll is called the “pre-roll point,” and the end of
the post-roll is called the “post-roll point.”
Song
Pre-roll
point
Pre-roll time
Post-roll
point
Auto punch-out
point
Auto punch-in
point
Post-roll time


