


Before you begin
— Operation Guide 3
Installation
Please read and observe the cautions on installing optional equipment listed at
the beginning of this manual.
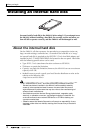
Here’s how to attach a 2.5 inch IDE hard disk to the ADP25H hard disk adapter
included with the AW4416, and install it into the appropriate slot of the
AW4416.
• Hard disks are precision devices. Do not subject them to physical shock or
static electricity, etc.
• Do not place a hard disk nearby devices that produce a strong magnetic field,
or in locations of extreme cold, heat, or moisture.
• Before you handle a hard disk, touch your hand to a grounded metallic object
to release any static charge that may be present in your body or clothing. If you
fail to do so, static electricity may damage the hard disk.
• Never attempt to disassemble a hard disk or apply excessive force to it.
• The AW4416 is shipped with four screws for attaching a 2.5 inch hard disk,
and four screws for attaching a CD-RW drive, making a total of eight included
screws of the same type.
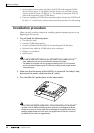
1. You will need the following items.
• The AW4416 itself
• A 2.5 inch IDE hard disk (sold separately) for installation
• Four screws included with the AW4416 for attaching the 2.5 inch hard disk
• A philips (+) screwdriver
2. Make sure that the power of the AW4416 is turned off. For safety’s sake,
disconnect the power cable from the AC outlet.
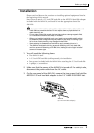
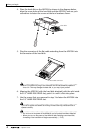
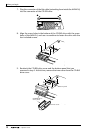
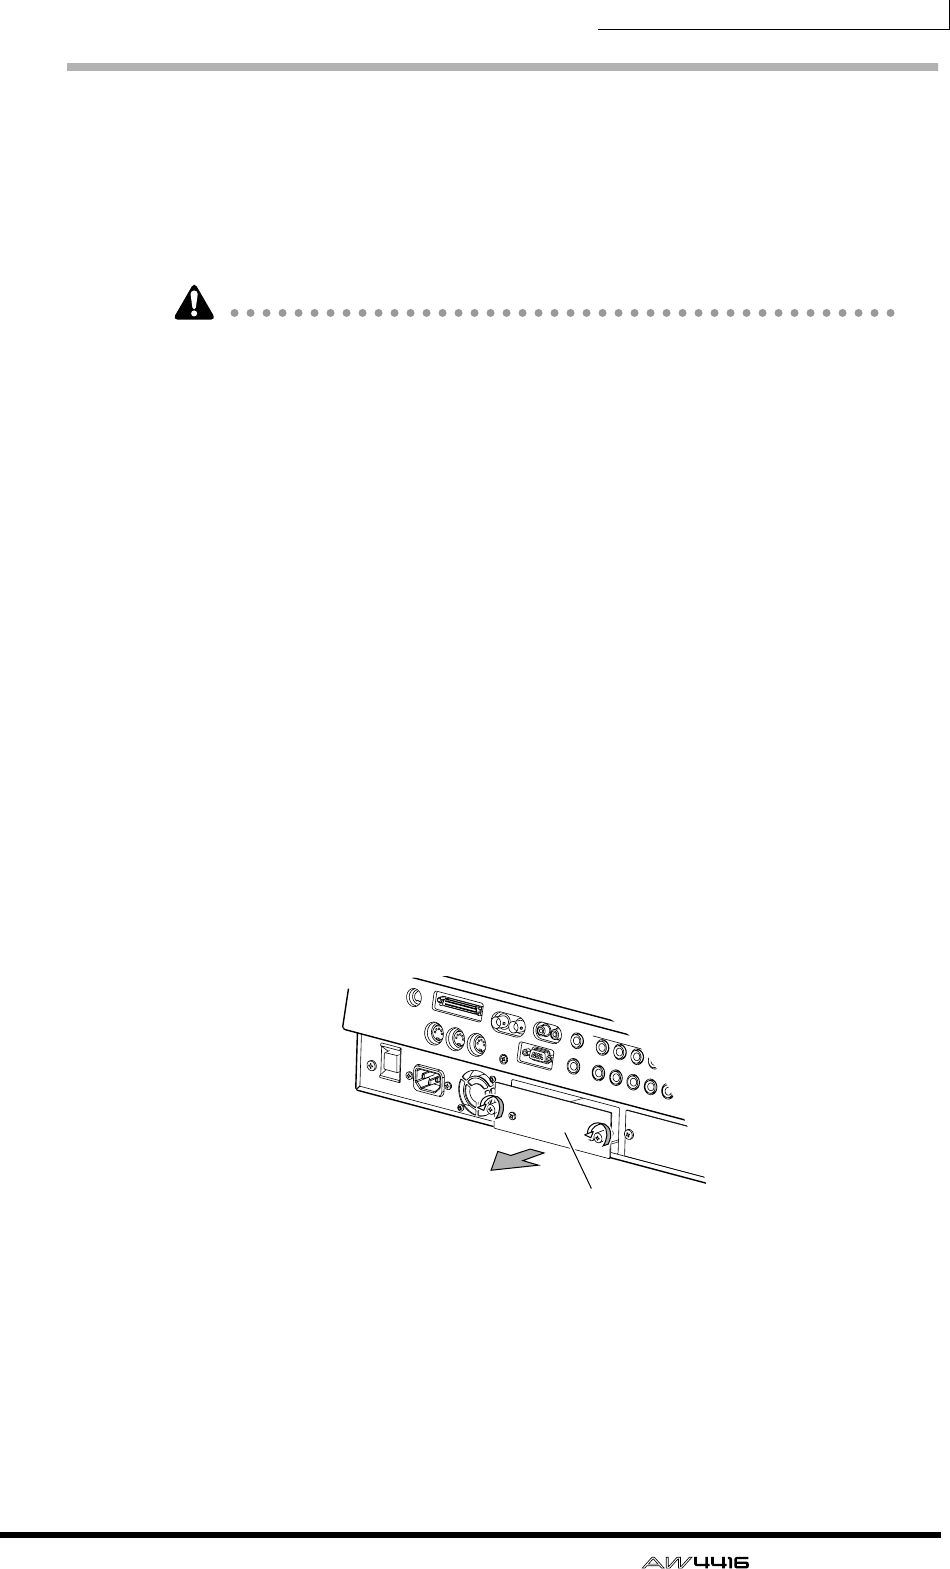
3. On the rear panel of the AW4416, remove the two screws that hold the
ADP25H 2.5 inch hard disk adapter to the 2.5" HARD DISK DRIVE slot.
ADP25H
(2.5 inch hard disk adapter)