


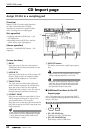

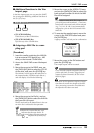
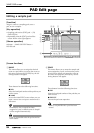
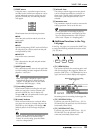


SAMP. PAD screen
— Reference Guide 87
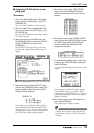
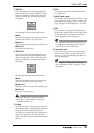
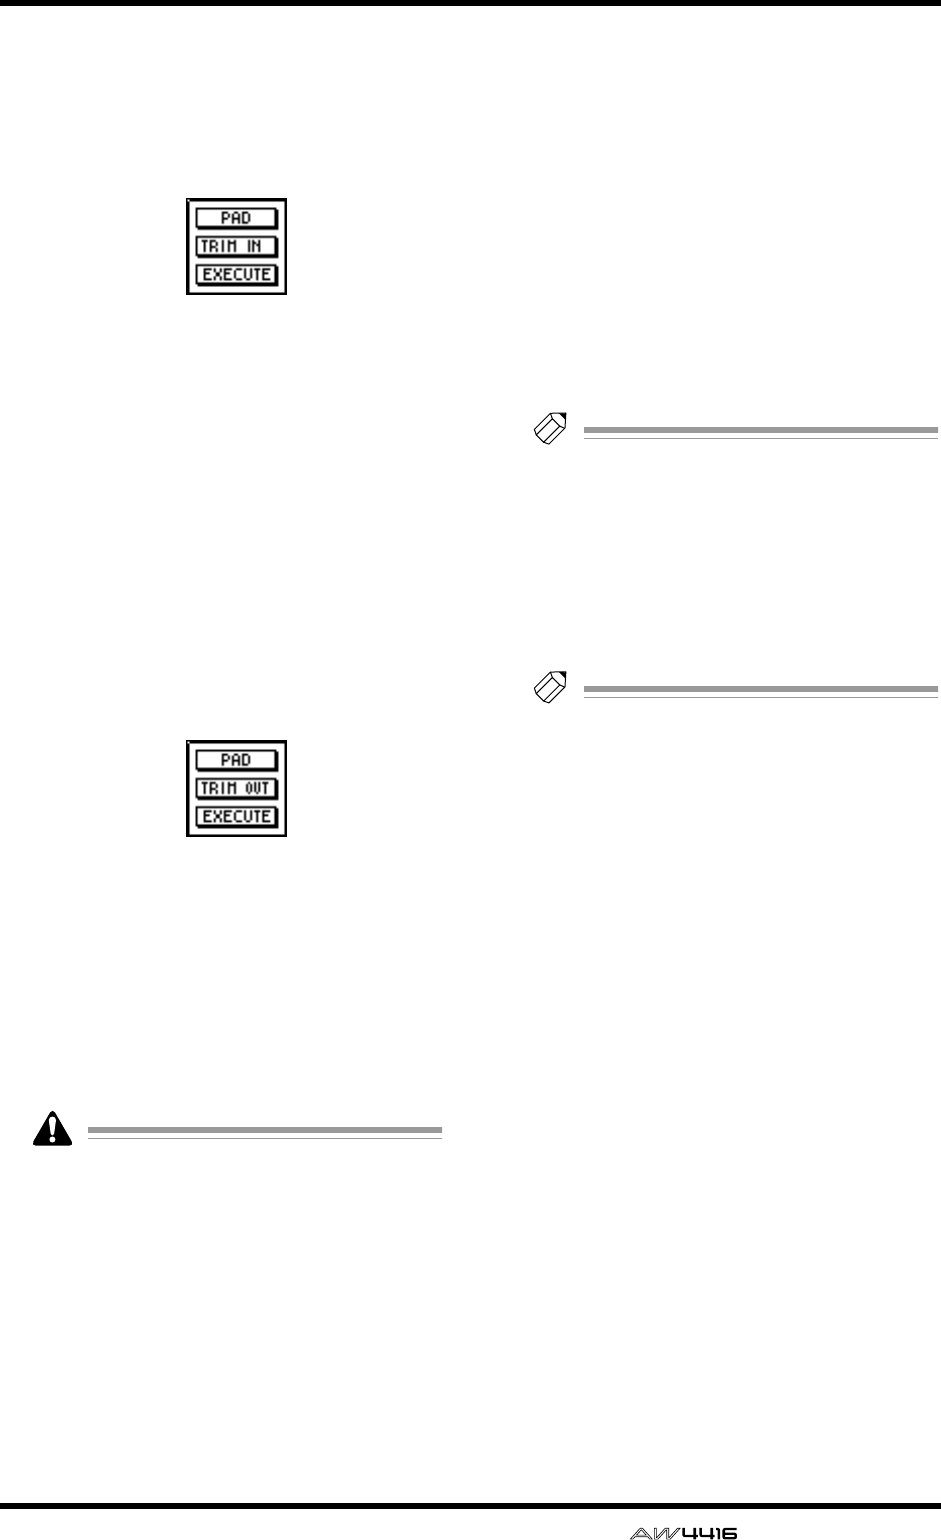
C TRIM IN
This menu allows you to adjust the playback
start location of the sample assigned to a pad.
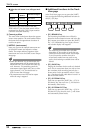
When you move the cursor to this menu and
press the [ENTER] key, the following buttons
will appear.
These buttons have the following functions.
● PAD
Select the bank/pad number of the pad whose
playback start location you wish to trim.
● TRIM IN
Adjust the amount of trimming in sample units.
● EXECUTE
Execute the trim operation.
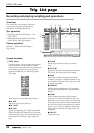
D TRIM OUT
This menu allows you to adjust the playback
end location of the sample assigned to a pad.
When you move the cursor to this menu and
press the [ENTER] key, the following buttons
will appear.
These buttons have the following functions.
● PAD
Select the bank/pad number of the pad whose
playback end location you wish to trim.
● TRIM OUT
Adjust the amount of trimming in sample units.
● EXECUTE
Execute the trim operation.
• TRIM IN/TRIM OUT cannot be undone.
• Trimming a sample will not increase the
available memory area.
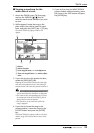
E Pairing
Here you can set or cancel pairing of adjacent
odd-numbered/even-numbered pads. Move the
cursor to the heart symbol and press the
[ENTER] key to connect the heart symbol, pair-
ing the two channels. In this state, pressing
either of the pads will sound both pads simulta-
neously.
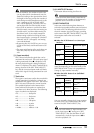
F PAD
This column shows the bank and pad number
(A1–A8/B1–B8).
G NAME (pad name)
This column shows the pad name. When a sam-
ple is assigned to a pad, a name of “Smpltr” will
automatically be assigned. Pads to which noth-
ing is assigned will be displayed as “-NO ASN-
”.
H SIZE
This area shows a bar graph that indicates the
length of the sample assigned to each pad. MAX
(at the right edge) is the maximum RAM that
can be assigned to the sampling pad.
Tip!
The maximum total length of sound that can
be assigned to the sampling pads is 90 sec-
onds (for a 44.1 kHz/16 bit song).
I Parameter area
In this area you can set the parameters for the
selected menu. When you select a button for
menu 1–4, the corresponding parameter val-
ues will appear here.
Tip!
For examples of editing the sampling pads,
refer to Operation Guide “Chapter 12. Sam-
pling pads.”