


Chapter5—Recording on the AW4416
96 — Operation Guide
6. Raise the STEREO fader to the 0 dB position.
7. Make sure that [ON] keys 1–16 and the STEREO [ON] key are lit, play
back the song from the beginning, and use faders 1–16 to set the level
of each track.
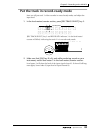
At this time, watch the L/R level meter of the level meter/counter, and do not
allow the red 0 dB segment to light.
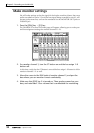
8. To adjust the EQ of a specific channel, use the [SEL] key to select the
channel and operate the EQ [HIGH]/[HI-MID]/[LO-MID]/[LOW] keys and
the EQ [Q]/[F]/[G] controls.
9. To use the dynamics processor of a specific channel, use the [SEL] key to
select the channel and press [DYN] key → [F2] key to load the desired
dynamics program.
For the procedure of loading a dynamics program, refer to page 92. To edit the
dynamics processor parameters, press the MIXER section [DYN] key → [F1] key
to access the DYN/DLY screen Dyn.Edit page.
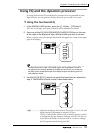
Using the Solo function
The AW4416 provides a flexible Solo function. By pressing the top panel [SOLO]
during recording or playback and using one of the [ON] keys to select a desired
channel, you can monitor only the corresponding channel. Here we will explain
how you can use the Solo function to monitor only the desired track during mix-
down.
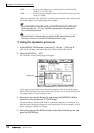
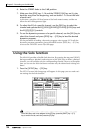
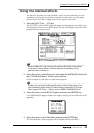
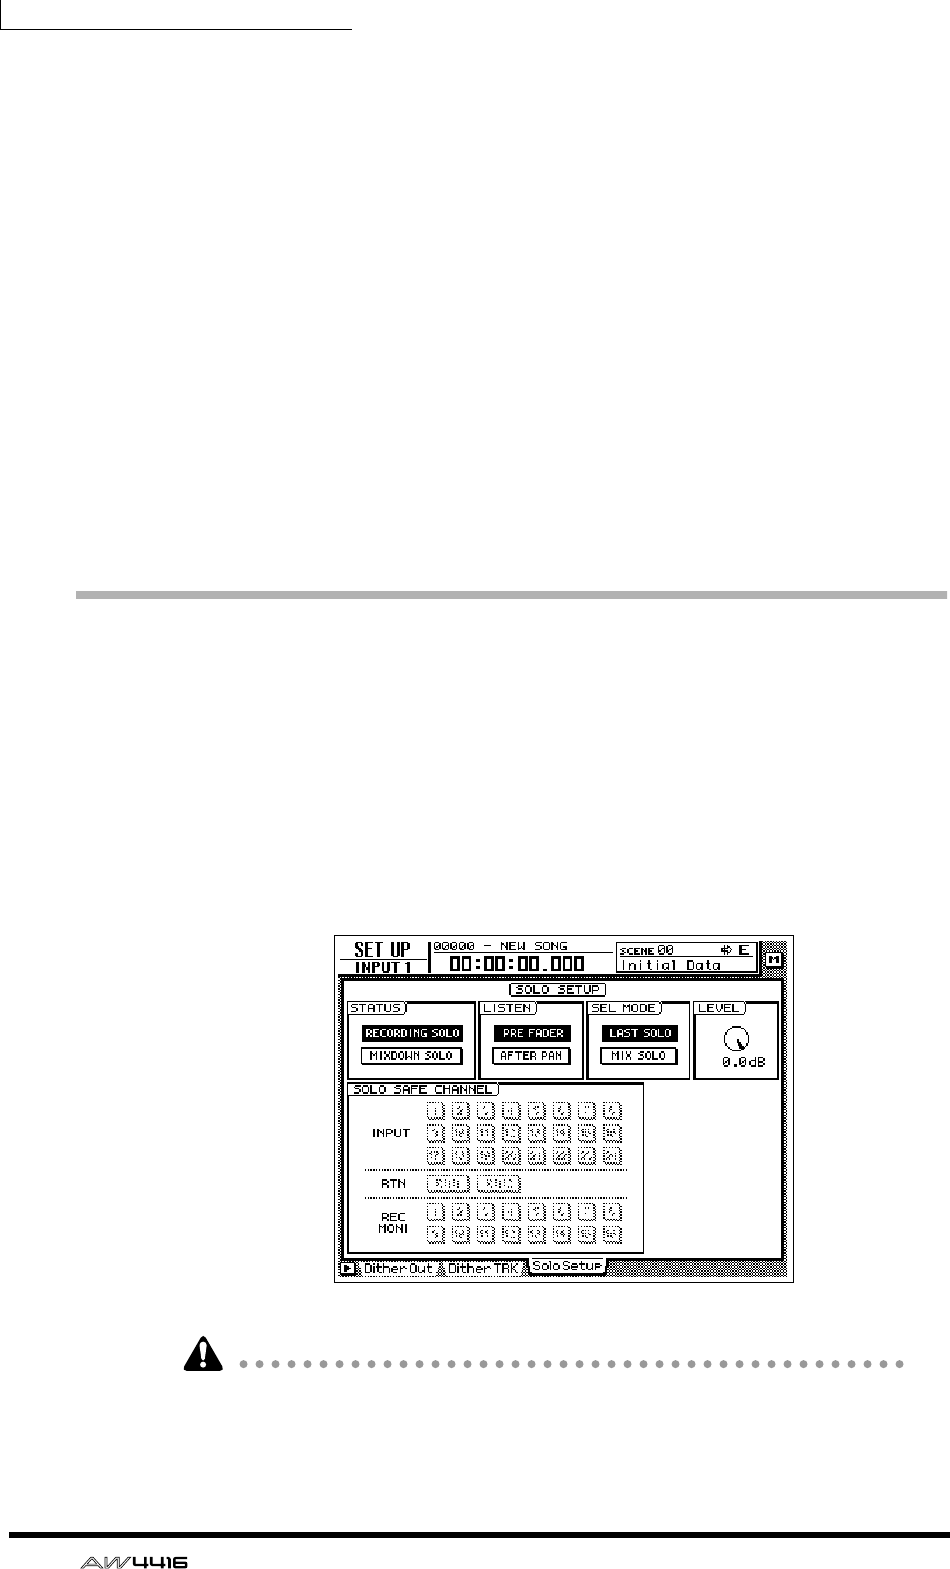
1. Press the [SETUP] key → [F3] key.
The SET UP screen Solo Setup page will appear. In this page you can make vari-
ous settings for the Solo function.
If the Solo Setup tab is not assigned to the [F3] key, press the [SHIFT] key + [F1]
key to switch the tab, and then press the [F3] key.