


Before you begin
6 — Operation Guide
• In the various screens of the AW4416, the SCSI ID of the internal CD-RW
drive has been set to “3” by default. For this reason, you will find it conve-
nient to set the ID of the CD-RW to “3.” (For details on setting the SCSI ID,
refer to the manual for your CD-RW drive.)
• If you are installing a CD-RW drive manufactured by Yamaha, the SCSI ID will
be set to “3” at the factory, and we recommend that you leave it at this setting.
Installation procedure
Please carefully read the cautions for installing optional equipment given at the
beginning of this manual.
1. You will need the following items.
• The AW4416 itself
• Internal CD-RW drive (option)
• Screws (included with the AW4416) for attaching the CD-RW drive
• Red and white cable for CD-RW drive (four conductor)
• Philips (+) screwdriver
• Work surface
• In order to install the CD-RW drive you will need to turn the AW4416 on its
back. Make sure that you have a sufficiently broad work surface.
• The AW4416 is shipped with four screws for attaching the 2.5 inch hard disk,
and four screws for attaching the CD-RW drive, making a total of eight screws
of the same type.
2. Make sure that the power of the AW4416 is turned off. For safety’s sake,
disconnect the power cable from the AC outlet.
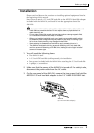
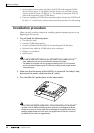
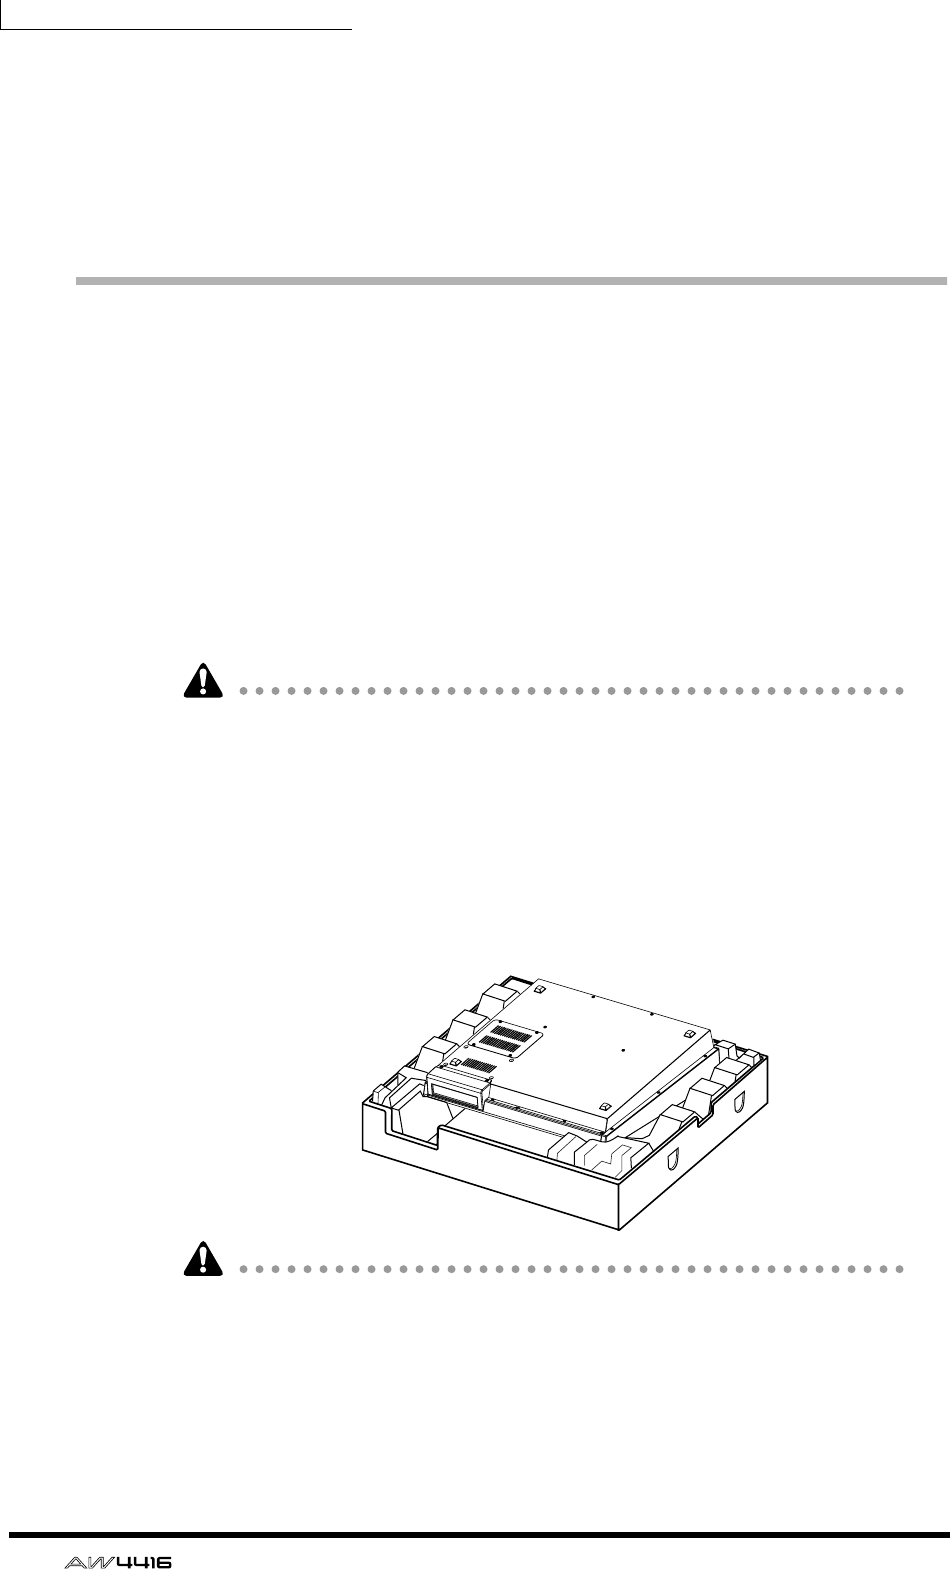
3. Turn the AW4416 upside down on the work surface.
When turning the AW4416 upside down, we recommend that you use the pack-
ing foam from the AW4416’s shipping carton as shown in the diagram at above,
so that the controls of the top panel are not damaged. If the packing foam is not
available, please spread out a soft cloth, and support each of the four corners of
the AW4416 with a stack of magazines etc.