


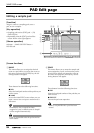


SAMP. PAD screen
— Reference Guide 89
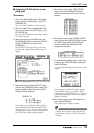
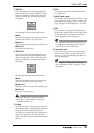
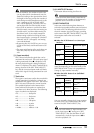
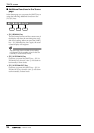
B ERASE menu
Using this menu, a specified range of events
recorded in the convenience sequencer can be
erased. When you move the cursor here and
press the [ENTER] key, the following buttons
will appear.
These buttons have the following functions.
● PAD
Select the pad track from which you wish to
erase events.
● START
● END
Specify the beginning (START) and end (END) of
the range that you wish to erase from the pad
track specified by PAD.
● EXECUTE
Execute the erase command.
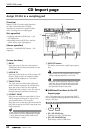
C PAD
This column shows the pad and pad number
(A1–A8/B1–B8).
D NAME (pad name)
This column shows the name of each pad. Pads
to which nothing has been assigned will be dis-
played as “-NO ASN-”.
Tip!
When you assign a sample to a pad, it will
automatically be given a default name of
“Smpltr”. To edit the name, use the SAMP.
PAD screen PAD Edit page (
→
P.86).
E R (recording) buttons
These buttons enable recording for each pad.
When you move the cursor to a button and
press the [ENTER] key, the O display will
change to ●, and your performance on the pad
can be recorded as events.
F M (mute) buttons
These are mute switches for each pad. When
you move the cursor to a button and press the
[ENTER] key, the O display will change to ●,
and that pad track will no longer be played
back.
If bank A (B) is selected by the BANK pad,
pads 1–8 of bank B (A) will be forcibly
muted. To cancel muting, press the BANK
switch to change banks.
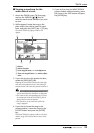
G Pad track view
The timing at which trigger events are played
can be recorded separately for each pad on
these tracks. The bar graphs indicate the time
from when a pad was pressed until it was
released.
H Parameter area
The parameters required in order to execute the
editing operation can be set in this area.
Tip!
For the procedure of recording or playing
your pad performances, and copying or eras-
ing a recorded performance, refer to Opera-
tion Guide “Chapter 12. Sampling pads.”
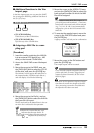
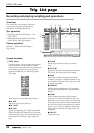
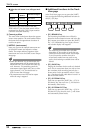
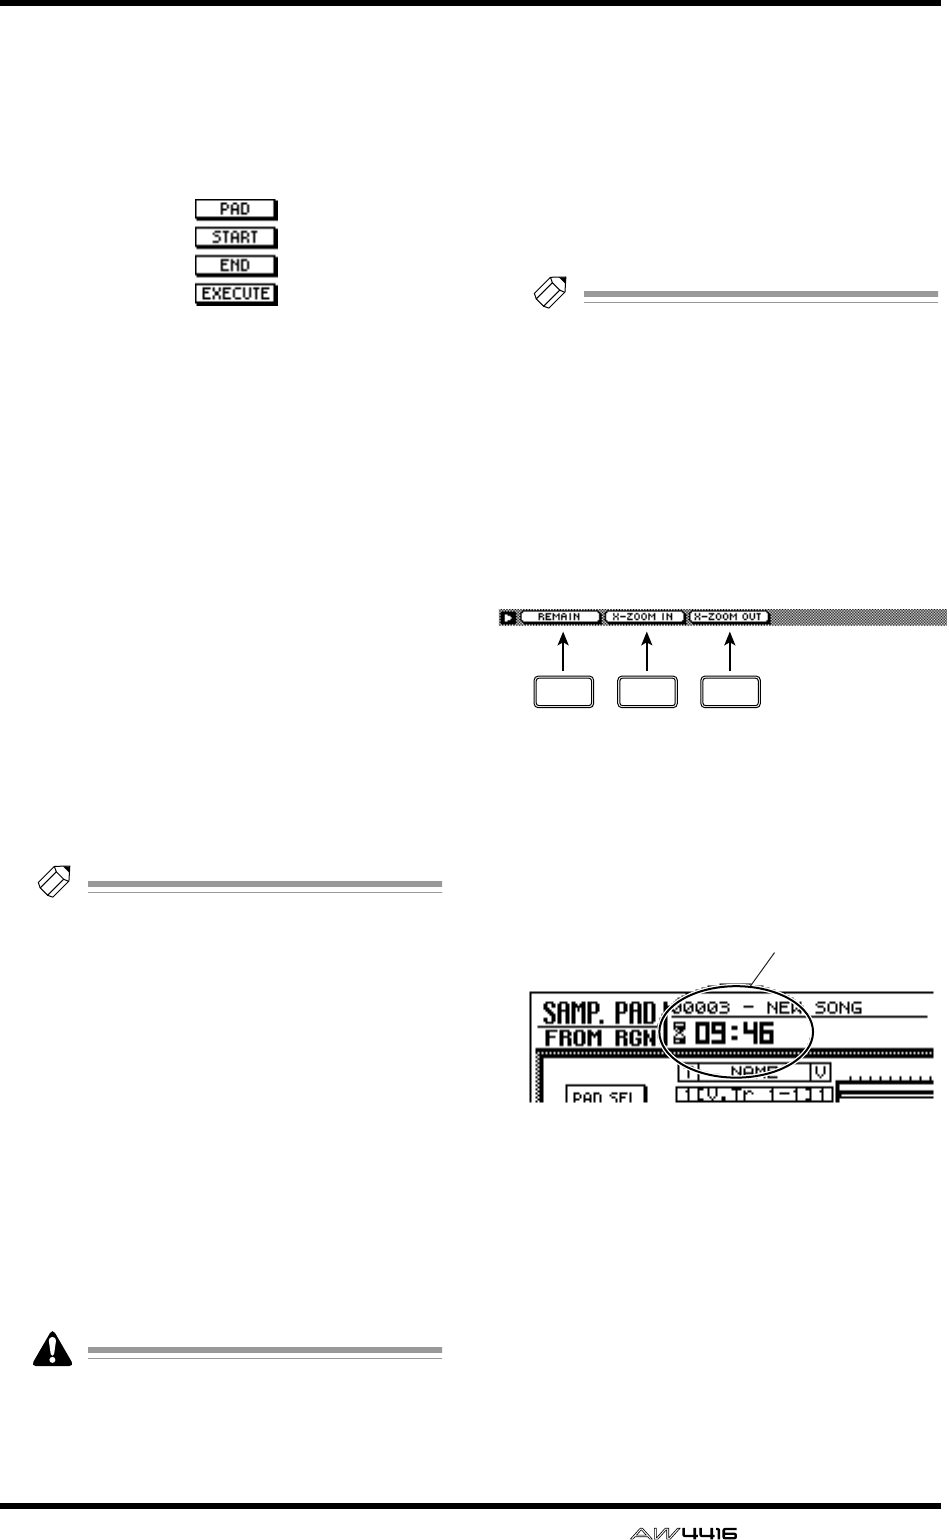
■ Additional functions in the Trig.
List page
In the Trig. List page you can press the [SHIFT] key
to assign the following additional functions to the
[F1]–[F3] keys.
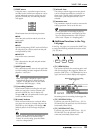
• [F1] (REMAIN) key
The counter will show the remaining time avail-
able for recording in the trigger list. When you
press the [SHIFT] key + [F1] (REMAIN) key once
again, the usual counter display will reappear.
Remaining time for recording in the trigger list
• [F2] (X-ZOOM IN) key
Each time you press the [SHIFT] key + [F2] (X-
ZOOM IN) key, the pad track view will zoom-in
horizontally (three levels).
• [F3] (X-ZOOM OUT) key
Each time you press the [SHIFT] key + [F3] (X-
ZOOM OUT) key, the pad track view will
zoom-out horizontally (three levels).
F1 F2 F3
Remaining time for recording
in the trigger list