


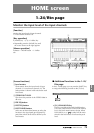
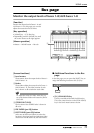

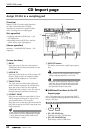

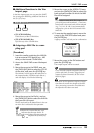

SAMP. PAD screen
— Reference Guide 83
● Assigning CD-DA data to a sam-
pling pad
[Procedure]
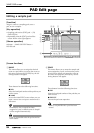
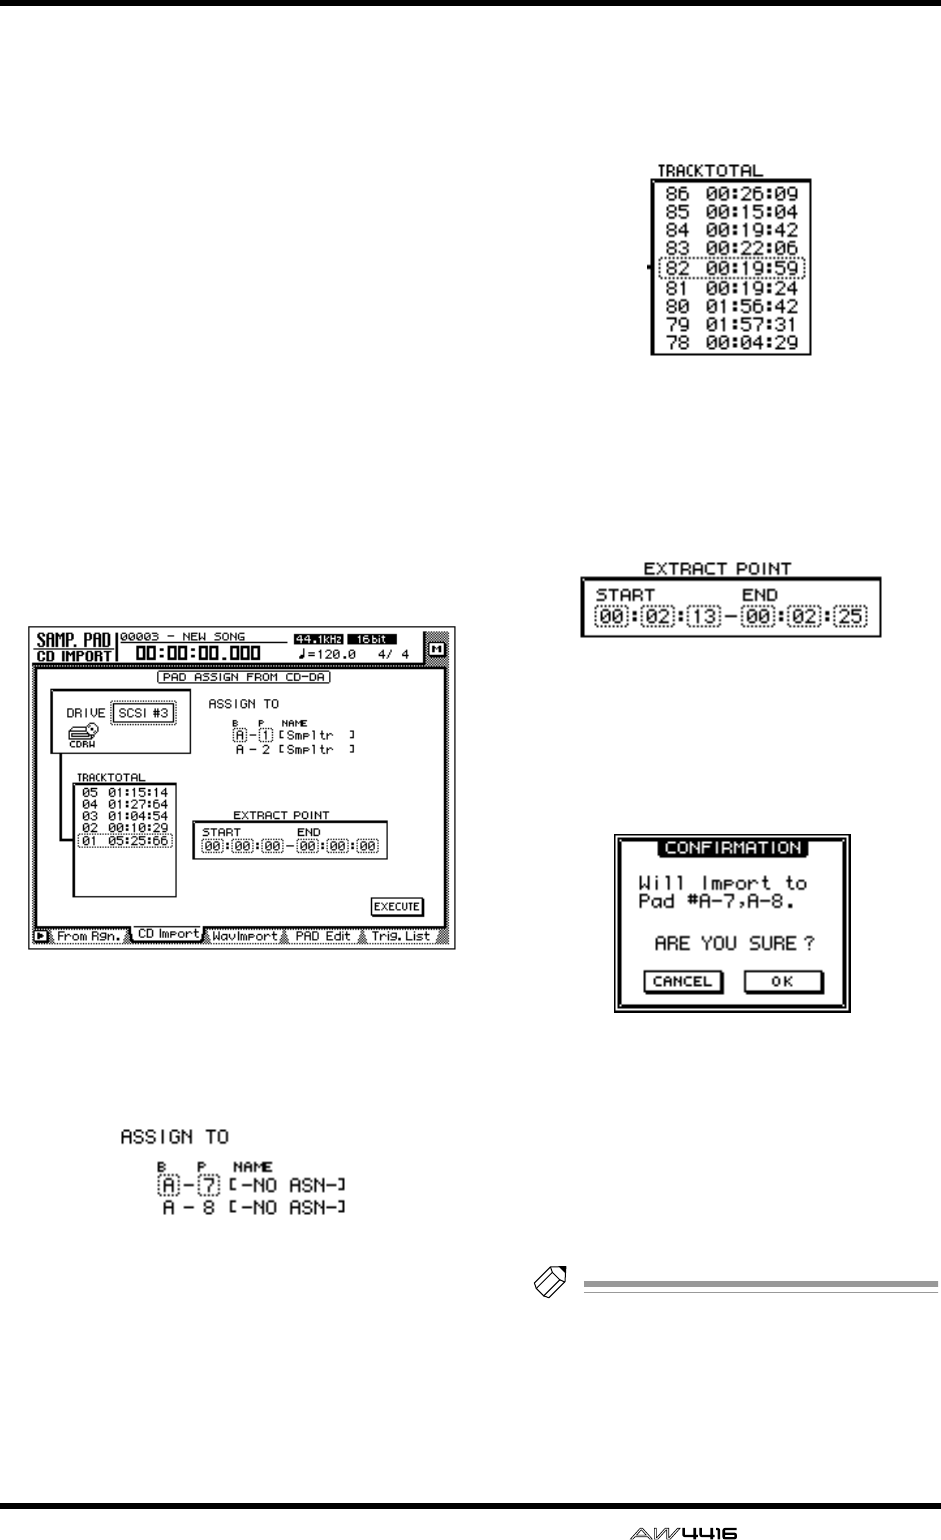
1. Access the SAMP. PAD screen CD Import
page, and press [SHIFT] key + [F2] (CD
UNLOAD) key.
The tray of the CD-RW drive will be ejected.
2. Place an audio CD or mixed-mode CD in
the tray, and press the [SHIFT] key + [F1]
(CD LOAD) key.
The tray of the CD-RW drive will close, and the
CD will be inserted.
3. Move the cursor to the DRIVE area, use
the [DATA/JOG] dial to select the SCSI ID
of the CD-RW drive, and press the
[ENTER] key.
The AW4416 will recognize the CD that was
inserted, and a display like the following will
appear.
4. Move the cursor to the ASSIGN TO area,
and use the [DATA/JOG] dial to select the
bank and pad number to which the CD-
DA data will be assigned.
In this page a pair of adjacent odd-numbered →
even-numbered pads of the same bank will be
selected (e.g., A–1/A–2, B–1/B–2) and automati-
cally specified as a pair, and the L/R channels of
the CD-DA data will be assigned to these.
5. Move the cursor to the TRACK/TOTAL
area, and use the [DATA/JOG] dial to
select the track from which you wish to
import.
6. Move the cursor to the EXTRACT POINT
area, and use the [DATA/JOG] dial to spec-
ify START (start point) and END (end
point) to select the area that will be
assigned to the pad.
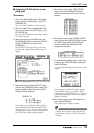
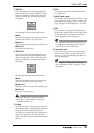
7. To execute the sample import, move the
cursor to the EXECUTE button and press
the [ENTER] key.
A confirmation message like the following will
appear.
If a message of “Prohibit CD Import” appears
instead of this message, access the UTILITY
screen/Prefer.2 page ([UTILITY] key → [F3] key)
and change the CD/DAT DIGITAL REC button
display to ENABLE.
8. Move the cursor to the OK button and
press the [ENTER] key.
The sample import will be executed.
Tip!
So that the samples assigned to the two pads
will play back in stereo, assign the pad out-
puts to paired channels. (SETUP screen Patch
IN page)