


GLOBAL
Page 264 CD3000XL OperatorÕs Manual
UU
UU
SS
SS
II
II
NN
NN
GG
GG
TT
TT
HH
HH
EE
EE
EE
EE
DD
DD
II
II
TT
TT
II
II
NN
NN
GG
GG
FF
FF
UU
UU
NN
NN
CC
CC
TT
TT
II
II
OO
OO
NN
NN
SS
SS
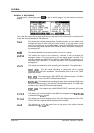
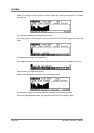
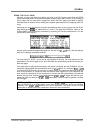
The editing functions have been kept deliberately simple to use. Basically, you can trim a
recordings start and end points and, to assist in this, a graphic representation of the waveform
is shown.
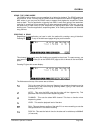
Once you have successfully made a recording, the chances are you will want to edit it so go to
the EDIT page. Move the cursor to the START field and adjust the start time so that cursor is
right at the start of the take. You may use the editing of the start point as well to edit out count-
ins to a song or breaths from a backing vocal ‘spin in’ or whatever. Of course, you can zoom in
for greater accuracy.
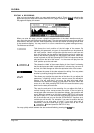
You may audition your edit at any time simply by pressing the ENT/PLAY key.
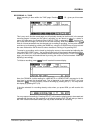
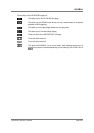
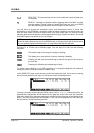
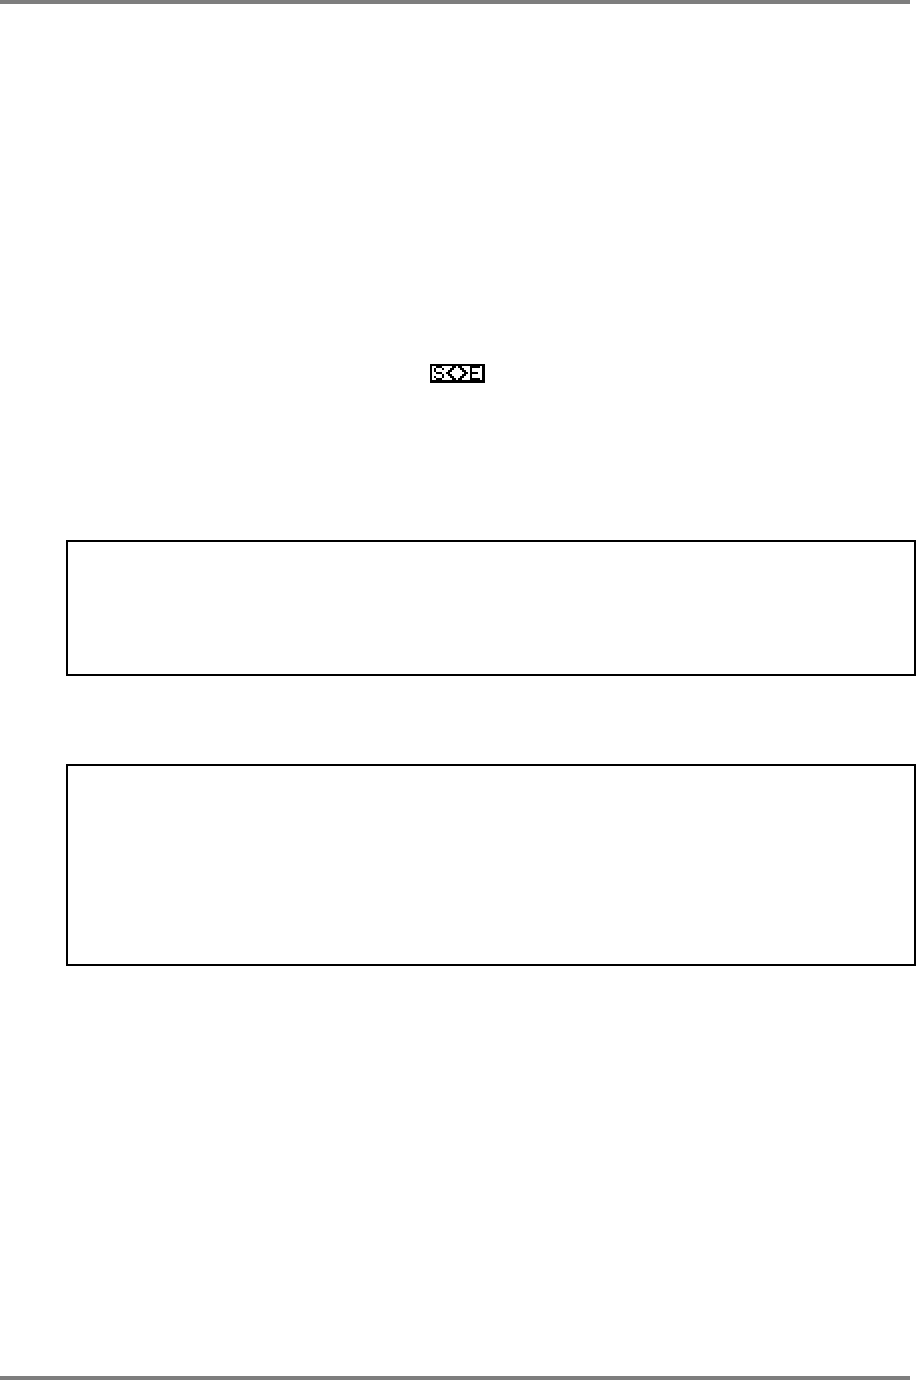
Once you have successfully edited the start mark, move the cursor to the END field either by
using the cursor keys or by pressing the soft key and you may set a suitable end point,
again, zooming in for greater editing accuracy. Again, use the ENT/PLAY key to hear the result
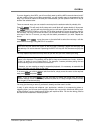
of your edit. Of course, in the case of a very long take, it is very inconvenient to have to hear all
of it just to check the end point. When the cursor is on the END field, pressing the ENT/PLAY
key will cause the take to play back from the left side of the screen only. In this way, by adjusting
the zoom factor accordingly, you may use this as a form of pre-roll so that you only need to
audition the last 10 or so seconds of the take in order to assess your end point edit.
HELPFUL HINT: If you are editing a take for use in a song where takes are sequenced, you
might find it helpful to quickly place the edit you are working in an empty song and have it
repeat a few times. If it cycles round with no glitches or tempo disruption, then you probably
have a good edit that will work well with other takes appended to it. If there is a glitch on the
repeat, return to this EDIT screen to fine tune the start and/or end points. The process can be a
bit hit-and-miss but as all editing is non-destructive here, it certainly beats using a razor blade!
Once you have decided that the edit you have done is right, you may wish to discard the
unwanted portions in order to free up disk space.
IMPORTANT NOTE: The discard function is destructive and non-retrievable. Be careful
when using it!!
HELPFUL HINT: If you are recording in small sections to be compiled as a song later on,
please be careful when using the discard function. For example, you may make an edit which,
in isolation in the EDIT or PLAY pages, sounds fine but glitches slightly and needs adjustment
when playing back-to-back with another take in the SONG mode. If you use the discard
function, you may lose the ability to adjust the edit at a later stage. It is recommended,
therefore, that you don’t use the CUT function until you have successfully compiled your song.
Of course, you may want to set a start point some way into the recording. An easy way to do this
is to press the ENT/PLAY key and let the take play back up to the point where you want to set
the start point. When you take your finger off the ENT/PLAY key, the play cursor will stop at that
position and you can move the start point to that position. It is unlikely that such an edit will be
particularly precise but you can zoom in for more precise editing. The same thing can be done
when editing the END point.