GLOBAL
CD3000XL OperatorÕs Manual Page 257
NOTE: Because it takes time for a hard disk to actually find the data and play it back, it is
necessary to be able to set a fixed offset so that the disk always has enough time to find the
take and play it back in sync with any other material that may be playing (for example, when
sequencing programs in the CD3000XL). The DELAY field is of use in that you can set the
CD3000XL to start recording after a certain delay when it receives a MIDI note-on. This same
note-on can then be used to playback the take in sync with other material.
By setting a fixed offset of, say, 400mS in the DELAY field and advancing the MIDI note-on in
the sequencer by the same amount (i.e. making it 400mS earlier), you can start recording at a
predetermined time. After you have made the recording, you can have that take play back from
the same point. The SONG mode (described later) always uses these delays to ensure
accurate synchronised playback so being able to select to initiate recording with a fixed delay in
the RECORD SETUP page allows you to record a take with the offset and then assign it to a
SONG (where the offset is always used) without constantly having to re-edit the position of the
note on your sequencer.
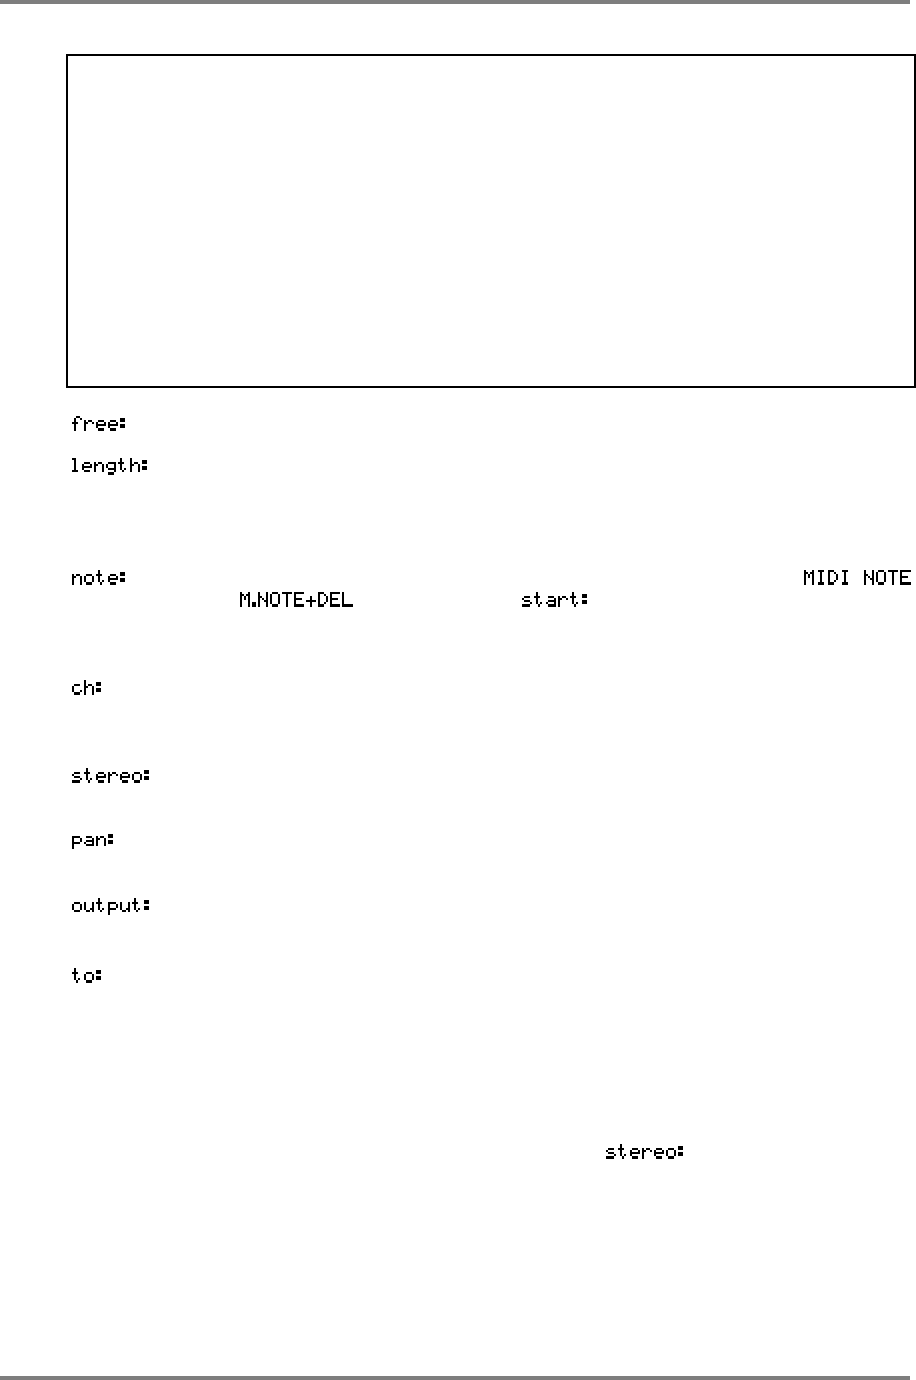
This shows the amount of free time left on disk.
Here you may set the length of the recording you wish to make. If you are
unsure of the length of the recording you are about to make, simply set a long
record time. Wasted disk space can always be edited out and retrieved
afterwards in the EDIT page.
This field sets the note that will initiate the recording when either
or is selected in the field. It also sets the note that will
trigger playback after it has been recorded. This may be edited after you have
made the recording if you wish.
This is an abbreviation of CHANNEL and sets the MIDI channel for the
recording when triggering from MIDI. The default is 16 but you may select from
1-16.
This sets the playback level of the recording. This does not affect the record
levels which are set using the front panel REC LEVEL control.
This sets the pan position of a mono recording and the left/right balance of a
stereo recording.
This sets the level of the signal that will be sent to the assignable individual
outputs.
This sets the destination of the take. The default is OFF but you may set these
to any of the individual outputs you want. You will note that the individual
output assignment is done in pairs-i.e. 1/2, 3/4, 5/6, 7/8. If the take is stereo
then it will be reproduced in stereo through these outputs. If the take is mono,
it will appear in mono through both outputs. If, however, the take is mono but
you only wish to use one output (perhaps in order to use the other outputs for
programs), then select the appropriate pair but set the pan: parameter to L50
or R50 accordingly. If you wish the take to only appear at the individual
output(s) you have selected, please set the parameter to 00 - this will
mix the take out of the stereo outputs and so it will only appear at the individual
outputs selected here.
At any time, you can audition an existing take by pressing the ENT/PLAY key which will cause it
to play back.
