50
Chapter 3
Setting a Route to Your Destination NAVI
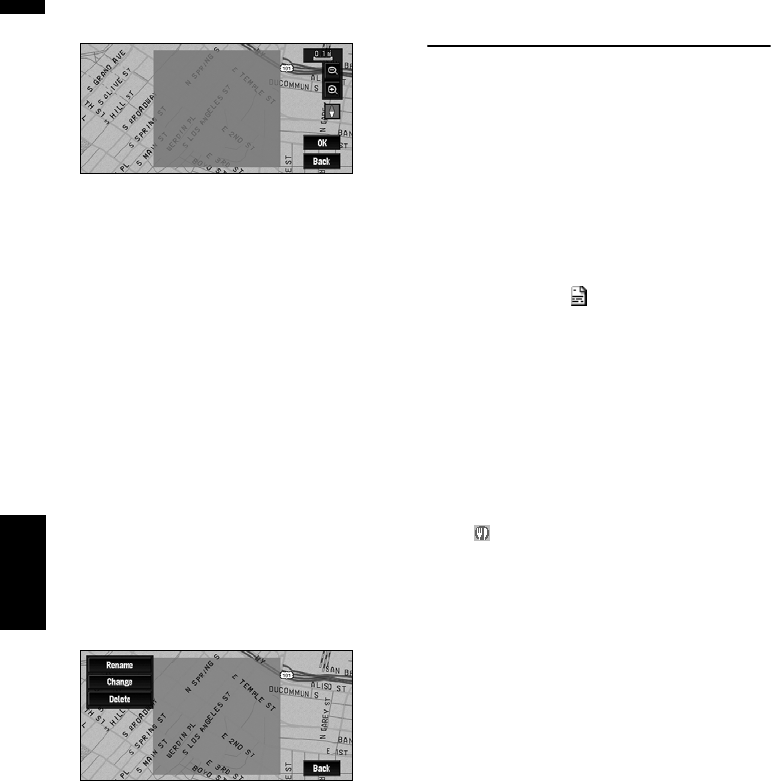
6 Scroll the map, adjust the position of the
red frame, and touch “OK”.
If you want to stop registration, touch “Back”.
❒ Depending on the setting of route search con-
ditions, you may not be able to avoid the spec-
ified areas. A confirmation message is
displayed on the screen at this time.
➲ Information on route calculation conditions ➞
Page 53
Changing or deleting an area to
avoid
You can subsequently change/rename/delete an
Area to Avoid.
1 Touch “Route Options” in the NAVI
MENU, then touch “Designate Areas to
Avoid”.
2 Select the area you want to change or
delete.
3 Select the desired operation.
Rename:
Changes the name. Enter the new name and
touch “OK”. This returns you to the Route
Options menu.
Change:
A specified area can be changed. For the next
steps, see Step 3 in the “Registering an area
to avoid” above.
Delete:
Delete the selected Area to Avoid.
Displaying Certain POI on the
Map
POI in a certain category can be shown on the
map, and you can check the location on the dis-
play.
1 Touch “Info/Traffic” in the NAVI MENU,
then touch “Overlay POI”.
2 Touch the category you want to display.
The selected item is marked. If you want to
select other categories, repeat this step.
❒ If you want to display more detailed cate-
gories, touch . When the subcategory
list appears, touch the item you want to
display and touch “Back”.
❒ When some sub-categories are selected,
the corresponding category is marked
blue. When all the sub-categories within a
category are selected, that category is
marked red.
❒ You can use up to 100 categories of the
detailed categories for “Overlay POI”
❒ If you touch one of the POI shortcuts (e.g.
), you can start searching for POI
directly in the selected category on the POI
shortcut.
3 Press the “MAP” button.
POI’s in the selected category appear on the
map.
❒ You can also display POI by using the shortcut
menu if “Overlay POI” is selected on the
“Short-Cut Selection”.
