C1624M-F (9/07) 23
Monitoring Live Video and Audio
LIVE VIDEO RATES AND RESOLUTION
To deliver the highest quality picture to the most video panes at one time, the WS5000 uses the patent-pending EnduraView
™
technology to
adjust the display rates dynamically. The video display frame rates vary according to the number of video streams displayed on the screen, their
resolution and recording frame rate, the source of the video (NET53xx series encoders or Endura digital video recorders), and the performance of
the Endura system on which the WS5000 is running. For specific information about expected frame rates, consult the Endura Network Design
Guide.
When displaying up to four video streams, you can view video at the maximum images per second (ips) associated with your picture quality
stream. If your stream is set to 4CIF-30 ips, it can display 30 ips. When displaying more than four video streams, the ips are distributed across the
active video panes as needed.
The video display resolution is determined through the systemwide picture quality setting on the System Configuration tab or the encoder-
specific quality setting on the Devices tab. For more information on setting picture quality, refer to Picture Quality on page 82 and Cameras on
page 90.
SELECTING VIDEO TO DISPLAY
• The Navigation panel provides access to all cameras on the system. If there is a red slash mark across the icon, that camera has been
online in the past but is not currently available for display.
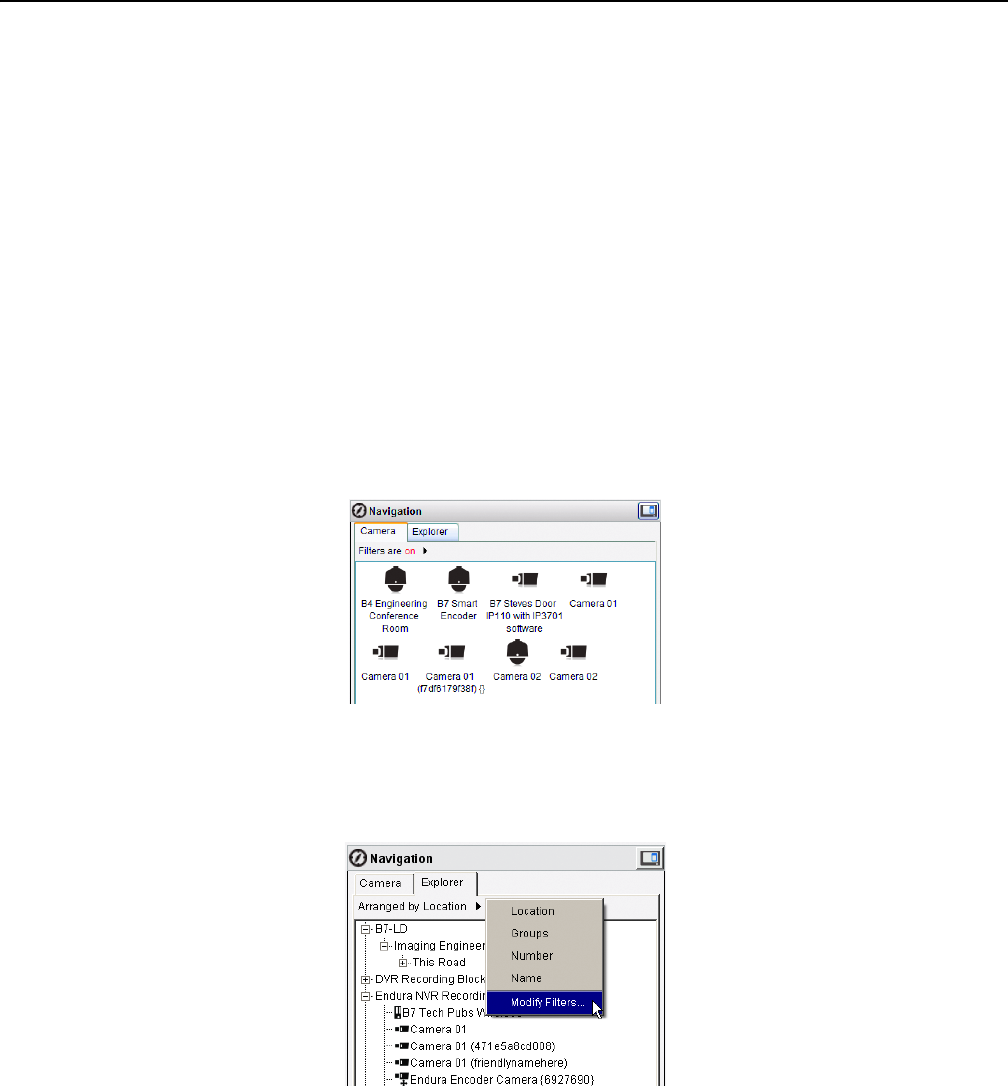
• Camera view displays icons for all the cameras on your network.
Figure 14. Navigation: Camera View
• Explorer view presents a list of cameras, which may be sorted alphanumerically (by camera name or number) or arranged hierarchically (by
location or camera group). The hierarchical view is for display purposes only, to make it easier to navigate through large networks and
locate individual cameras. You can also use a location or camera group to select multiple cameras at a time.
Figure 15. Navigation: Explorer View
To select a camera to view:
1. Click a view tab in the Navigation panel (either Camera or Explorer view).
2. Locate the camera you want to select. In Explorer view, you may need to click the Expand icon to expose lower levels of the hierarchy.
Click the Collapse icon to hide lower levels.
3. Double-click the camera in the list, and it is displayed in the currently selected video pane.


