C1624M-F (9/07) 133
ADDING A RECORDING SCHEDULE
To create a new recording schedule:
1. Click the Setup button .
2. Click the Recording Schedule tab .
3. Click Add. A dialog box appears.
Figure 152. Naming a Recording Schedule
4. Enter a name for the recording schedule. Click OK.
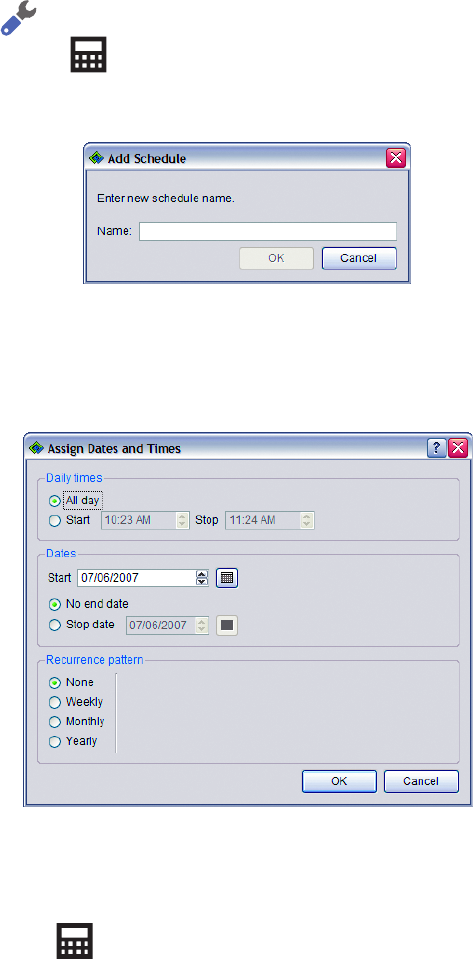
5. Click the arrow next to “Assign dates and times.” Click Add. A dialog box appears.
Figure 153. Assigning Dates and Times
6. Set the recording start and end times or click the “All day” option button.
7. Set the start date, using one of three options:
• Click the Calendar button and then click a date on the pop-up calendar to set the start date for your recording.
• Type the date. Click in a date field, delete the current date, and then type the date you want to use for the start of your recording.
• Use the date spinners. Click the month field, and then use the up and down arrows to scroll through the numbered months (1–12) until
you reach the month you want to use for the start of your recording. Repeat the same process for setting the date and the year.
8. Select “No end date,” or specify an end date using one of the three options listed above.


