C1624M-F (9/07) 139
EDITING A RECORDING SCHEDULE
To edit a recording schedule:
1. Click the Setup button .
2. Click the Recording Schedule tab .
3. Click the schedule name to select it. Information about that schedule appears on the screen.
4. To edit schedule dates and times:
a. Click the time range you want to edit.
b. Click the arrow beside “Assign dates and times.”
c. Click the Modify button.
d. Change the time, date, and/or recurrence pattern for the selected recording block.
5. To edit location-based scheduling:
a. Click the Continuous Recording tab.
b. Click the location(s) or individual device(s) you want to remove.
c. Click the arrow beside Location.
d. Click Delete.
6. To edit camera group-based scheduling:
a. Click the Continuous Recording tab.
b. Click the camera group(s) or individual device(s) you want to remove.
c. Click the arrow beside Camera Group.
d. Click Delete.
7. To edit event-based scheduling:
a. Click the Event Recording tab.
b. Click the arrow beside Event, and then click the Modify button. A dialog box appears.
c. Use the Add or Remove buttons to change the assigned event and cameras.
DELETING A RECORDING SCHEDULE
To delete a recording schedule:
1. Click the Setup button .
2. Click the Recording Schedule tab .
3. Click the name of the schedule you want to delete. Information about that schedule appears on the screen.
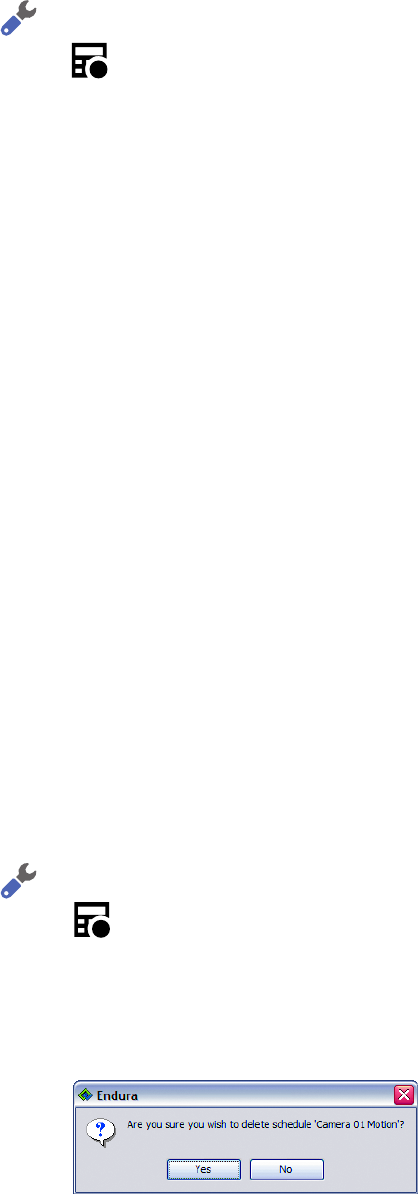
4. Click the Delete button. A confirmation dialog box appears.
5. Click Yes to confirm the deletion of the recording schedule. Click No to close the window without deleting the schedule.
Figure 163. Delete Schedule Confirmation Dialog Box
