C1624M-F (9/07) 129
6. To verify which monitor you are working with, click the Identify Monitor button or right-click a monitor and select Identify Monitor
from the shortcut menu. The name of the monitor flashes on the NTSC/PAL or VGA monitor. To identify all external monitors at the same
time, click the Identify All Monitors button in the upper-right corner of this tab. If a number has been assigned to a monitor, the
number appears next to its name in the Network Monitors List.
7. When you have finished setting up the external monitor display, click OK. To exit the window without saving the display setup, click Cancel.
IMPORTING A MONITOR WALL
1. Click the Setup button.
2. Click the External Monitors tab.
3. Click the import button Import command located in the lower corner of the screen. A dialog box appears.
Figure 146. Import Monitor Wall Configuration Dialog
4. Select the configuration that you want to import from the system manager, and then click OK.
The monitor wall configuration appears on the screen. You can use this monitor wall configuration without altering it. You can also edit the
monitor wall configuration and save it as a new configuration.
MODIFYING, CREATING, OR DELETING A MONITOR WALL
1. Click the Setup button.
2. Click the External Monitors tab.
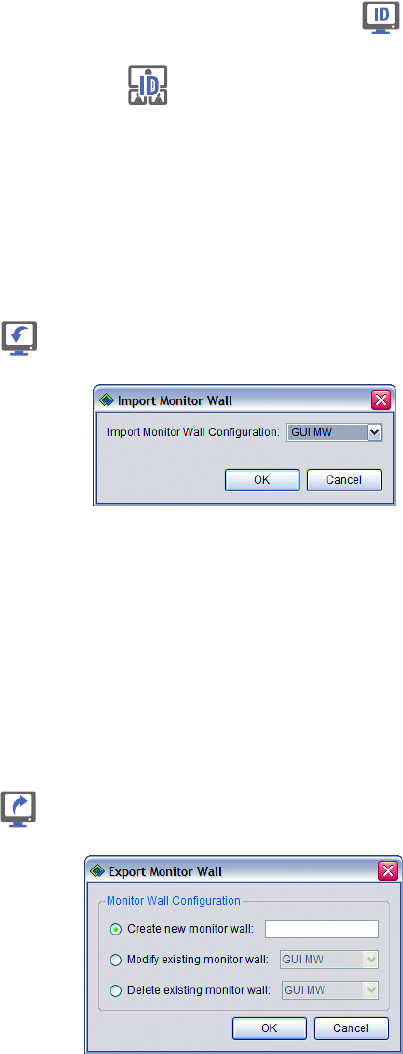
3. Click the Export button located in the lower corner of the screen. A dialog box appears.
Figure 147. Export Monitor Wall Dialog Box
4. Select one of the following options:
a. To create a new monitor wall, select the “Create new monitor wall” check box, and then enter a name in the field. Any monitor wall
you create can be accessed by anyone using the WS5000 application on the Endura system.
b. To save the changes you made to the current monitor wall, select the “Modify existing monitor wall” check box. The field becomes
active and you can select the monitor wall that you want to modify from the list.
c. To delete the monitor wall, select the “Delete existing monitor wall” check box. The field becomes active and you can select the
monitor wall that you want to delete from the list.
5. Click the OK button when you are done. Your changes are saved back to the network and will be available for other users on the system.


