


4-4
Programming Guided Tour
Studio Color LCD Controller
Programming Guided Tour
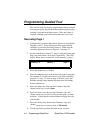
This section leads you step-by-step through creating a simple
four-page program, playing back the program page-by-page,
creating a loop and recording a preset. Only one fixture is
required, although you can use more than one if you wish.
Recordin
g
Pa
g
e 1
1. Configure the controller and connect fixtures as described in
Chapters 1 and 2. Power ON fixtures then power ON the
controller if you have not already done so. Make sure the
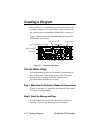
controller appears as shown in Figure 4-1 on page 4-3.
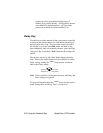
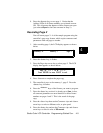
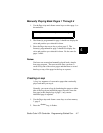
2. Set the controller on memory 1, page 1 using the Cursor and
Page
<Up>
and
<Down>
arrow keys, respectively. The LCD
display below shows a controller set for memory 1, page 1:
3. Press the
<Select>
key; it flashes.
4. Press the
<Address>
keys of the fixtures you want to program.
For example, if you have one fixture set to fixture number 1,
press the
<1>
key. To select a range of fixtures, press and
hold the starting fixture number key then press the ending
fixture number key.
5. Press the
<Gate>
key, then use the Construct
<Up>
and
<Down>
arrow keys to select /.
6. Press the
<Color>
key, then use the Construct
<Up>
and
<Down>
arrow keys to select a color (not the open, or white,
position). Notice that the selected fixtures display the color
you selected.
7. Press the
<Delay>
key, then use the Construct
<Up>
and
<Down>
arrow keys to select a value of $5.
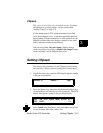
8. Use the joystick to position the beam to any location.
7#88 #+ -*#+