


7-22
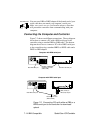
IBM-Compatible
Studio Color LCD Controller
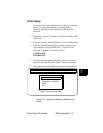
3. First, select the drive where the backup file is located. The
current drive is displayed at the top of the menu (by default,
C:\). Use the options shown in Step 2 to change the drive, if
necessary.
4. Now select a directory on the drive you selected in the
previous step. Use the options shown in Step 2 to change the
directory, if necessary.
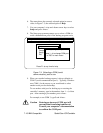
5. Once you have selected a drive and directory, all files in the
directory are displayed. Use the
<Up>
and
<Down>
arrow keys
to select the file to restore (upload) and press
<Enter>
.
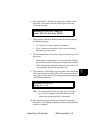
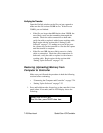
6. Press and hold the
<Erase>
key (about 10 seconds) on the
controller’s front panel until the LCD display shows the
following message:
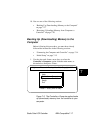
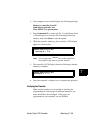
7. The Lightwave Research Backup menu should now display
an identical message.
• If so, press Y on your computer’s keyboard.
• If not, you have not selected a file to restore from.
Repeat the previous steps.
8. The menu displays a message confirming which drive,
directory and file you will back up to.
• If the displayed information is correct, press your
computer’s
<Enter>
key to begin the upload.
• If the displayed information is incorrect, press
<ESC>
and
start the procedure over.
Note To stop the transfer at any time, press the
<ESC>
key
on your computer’s keyboard, then press the
<Select>
key on the controller’s front panel. No data
corruption will result; stopping the transfer only limits
the amount of data you upload.
)(;$2$
;()!D<;0:D