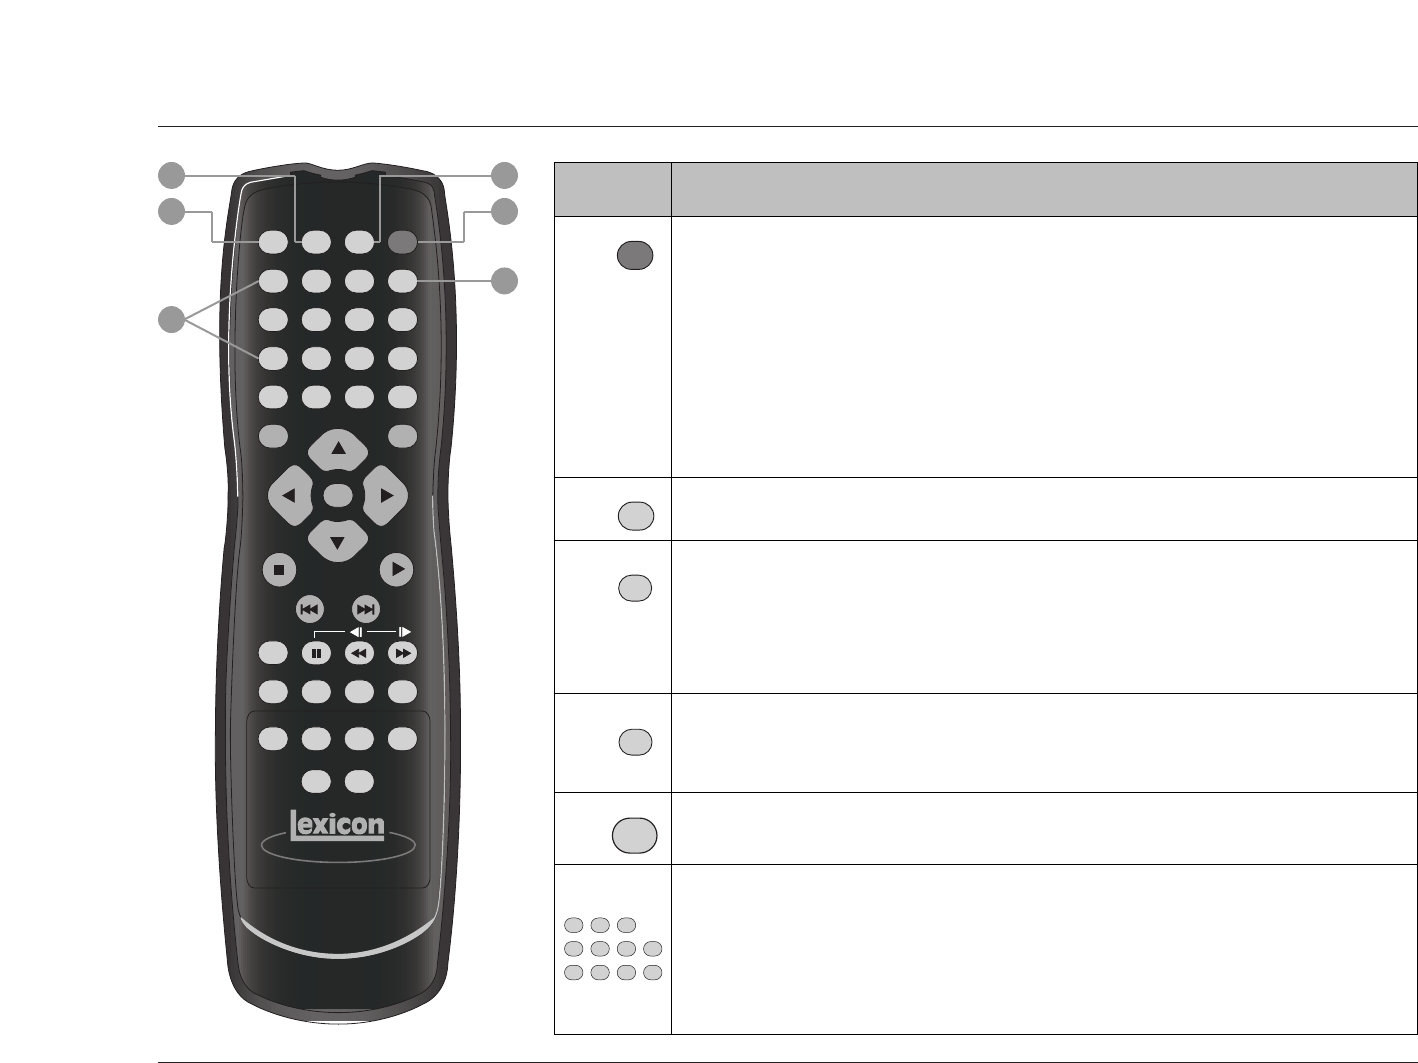
Basic Operation
RT-10
2-15
Button Command
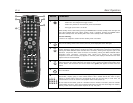
1
POWER
Activates and deactivates standby mode when all of the following conditions are met:
• The RT-10 is not configured for trigger control.
• The RT-10 is powered on with the front panel On/Off button.
• The trigger input switch is set to OFF.
When standby mode is deactivated, pressing the POWER button activates standby mode and lights the
front panel Standby LED (2-2). When standby mode is activated, pressing the POWER button
deactivates standby mode. The Standby LED is not lit when standby mode is deactivated.
Note the following:
• Power is still supplied to the RT-10 when standby mode is activated.
2
DIMMER
Controls the brightness of front panel display characters. Pressing this button cycles through 100%,
75%, and off settings. When off is selected, the front panel Display Off button LED lights.
3
VIDEO
ON/OFF
Activates and deactivates the rear panel video output connectors, including component, composite,
S-video, and Euro or Peritel (TV A/V) connectors (2-9 and 2-10). When these connectors are deactivated,
pressing the VIDEO ON/OFF button activates these connectors, allowing video signals to pass to the
associated component. When these connectors are activated, pressing the VIDEO ON/OFF button
deactivates these connectors, preventing video signals from passing to the associated
component. The V OFF indicator (2-7) appears on the front panel display to indicate that the video
output connectors are deactivated.
4
OPEN/
CLOSE
Opens and closes the disc drawer (2-3). When the disc drawer is closed, pressing the Open/Close
button opens the disc drawer. When the disc drawer is open, pressing the Open/Close button closes
the disc drawer. The disc drawer can also be closed with a gentle press against the front of the disc
drawer.
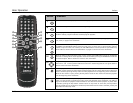
When a disc is loaded and the disc menu is closed, pressing a number button activates playback at the
selected title, chapter, group, or track number. When a disc is loaded and the disc menu is open,
pressing a number button selects the corresponding menu item (4-5 and 4-6). In some cases, the
number buttons can also be used to enter playback mode values (Section 4).
To enter values 10 and above, press the +10 button once for numbers in the teens, twice for numbers
in the twenties, and so on. Then, press a number button (0 to 9) to enter the second digit. For instance,
entering a value of 25 requires a button sequence of +10, +10, and 5.
5
CLEAR
Deletes entries when search modes and certain playback modes are activated. Refer to Section 4 for
more information.
6
3
21
6
54
+10
9
87
0
OPEN/
CLOSE
3
21
VIDEO
ON/OFF DIMMER POWER
CLEAR
6
54
+10
9
87
0
RETURN
PROGRAM SEARCH TOP MENU
SETUP MENU
ENTER
STOP
PLAY
PREV
NEXT
RANDOM
F.MEMO VIDEO ADJ. A-B REPEAT
DISPLAY ANGLE SUBTITLE AUDIO
LAST MEMO
CONDITION
MEMO
3 2
1
5
4
6


