


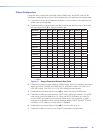
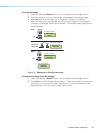
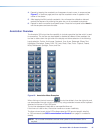
4. Repeat by tapping the crosshatch as it reappears in each corner, in sequence (see
Figure 17 on previous page) and then tap the crosshatch when it appears in the
center of the screen.
5. After tapping the fifth (central) crosshatch, the unit saves the calibration data and
restarts the sequence by showing the green box on all connected touchpanels.
6. Repeat for each connected touchpanel screen. Press the front panel button Next to
exit the sequence and save the data.
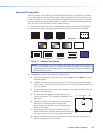
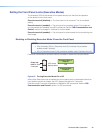
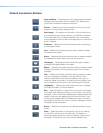
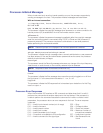
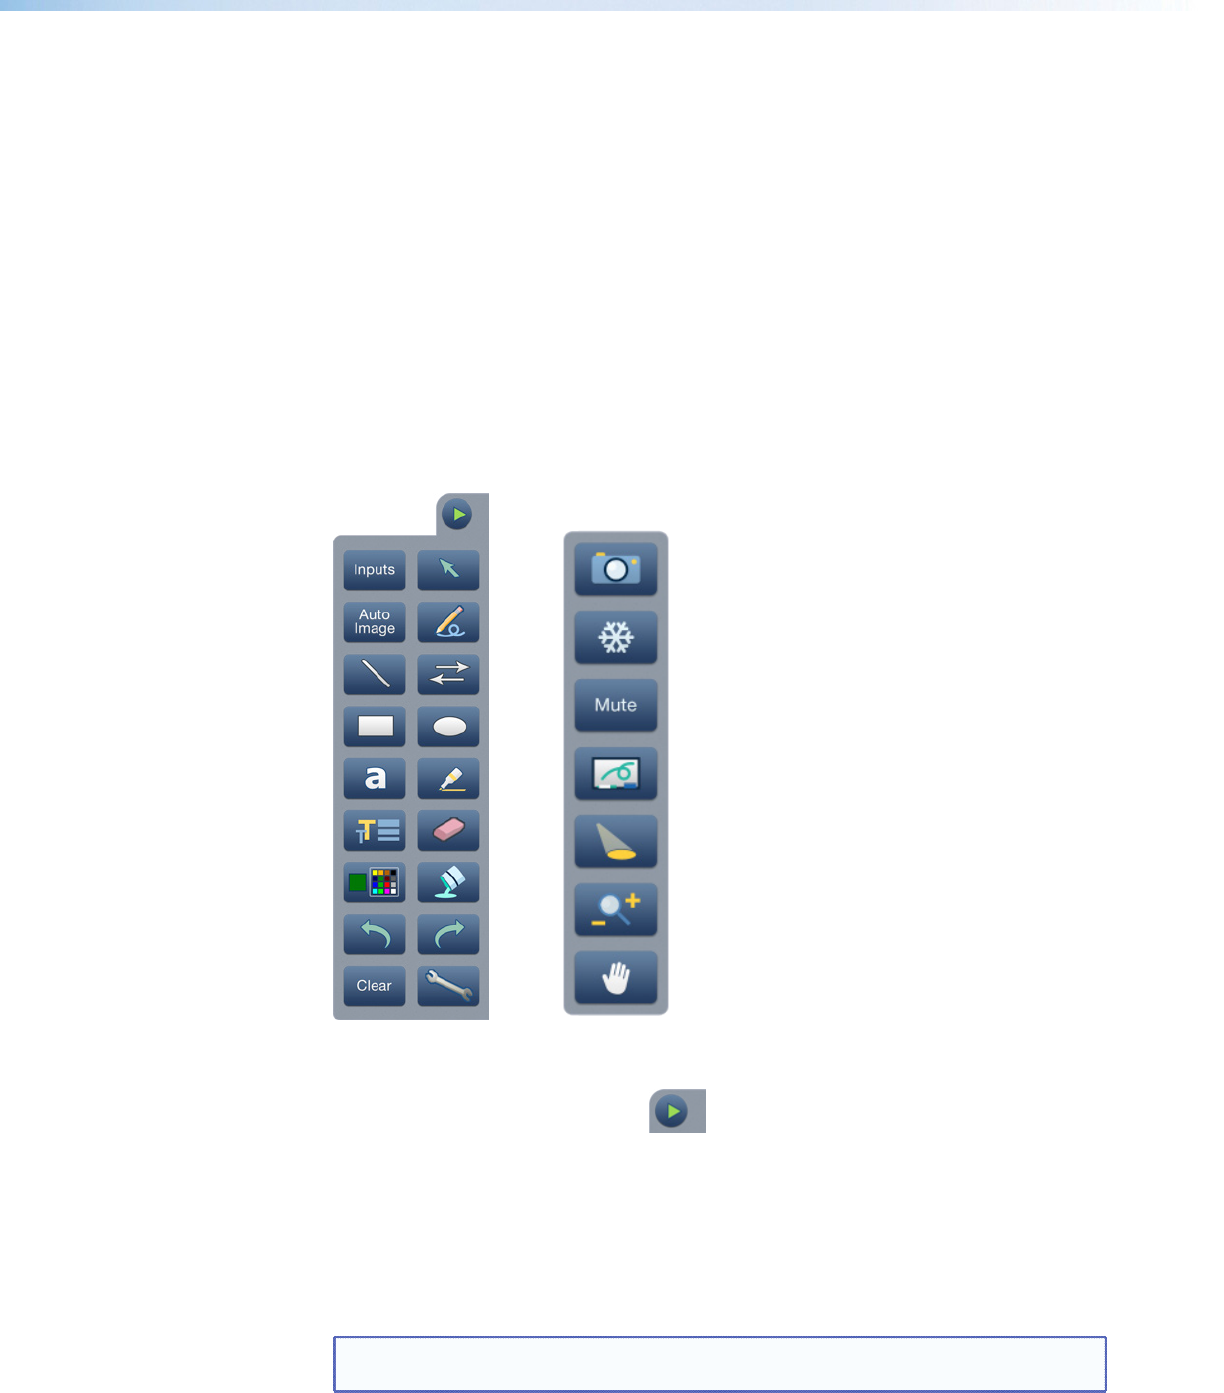
Annotation Overview
The Annotator 300 output has the capability to include a graphical tool bar which is used
for annotation. The tool bar can be enabled or disabled as desired. When enabled, the
tool bar is visible down the right side of the display and allows selection of the following:
Inputs selection, Pointer, Auto Image, Freehand, Line, Arrow, Rectangle, Ellipse, Text,
Highlighter, Size select, Eraser, Color, Fill, Undo, Redo, Clear, Tools - Capture, Freeze,
Mute, Whiteboard, Spotlight, Zoom, and Pan.
Figure 18. Annotation Menu Examples
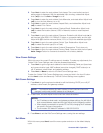
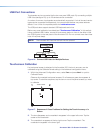
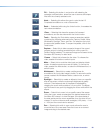
When clicking on the tool bar arrow , the tool bar slides in from the right side, and
can be accessed through a touch screen, or by using a standard mouse and/or keyboard
attached to the rear or front USB ports.
The tool bar disappears (hides) after a user-specified time-out.
If the time-out is set to zero, the tool bar remains on-screen indefinitely.
The time out can be set via the PCS software (see the PCS product specific help file)
or SIS commands (see SIS Communication and Control from page 31 onwards for
details).
NOTE: All on screen annotations are lost when power to the Annotator 300 is
recycled.
Annotator 300 • On Screen Annotation 27