


Chapter 16 Replacing the hard disk 179
Installation and Maintenance Guide
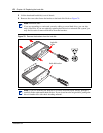
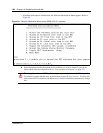
5 Replace the cover on the BCM1000.
6 Restore the units to operation. Refer to “Restarting the system” on page 170.
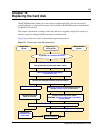
7 Perform the procedure appropriate for the type of hard disk system you have:
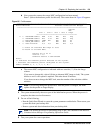
• Single disk: Initialize the hard disk. Refer to “Initializing the hard disk (single-disk
system, BCM 2.5/2.5.1)” on page 179.
After the disk is initialized, restore your data from your backups. If you did not backup
your keycodes, re-enter them.
• Mirrored disks: The system automatically starts the mirroring process. Monitor the
progress of the mirroring task using the Mirroring diagnostics tool in the Unified Manager
(refer to “Controlling and monitoring mirroring operations” on page 196) or by using
Telnet.
The LEDs on the front of the RAID board indicate the current status of the board and the
hard disks. For more information, refer to “RAID board LEDs” on page 195.
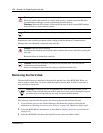
Initializing the hard disk (single-disk system, BCM 2.5/2.5.1)
The BCM1000 is normally initialized at the factory. However, if you have to replace the hard drive
in a single-disk BCM1000, you must re-initialize the Business Communications Manager.
After you replace the hard disk and the system has booted up, perform the initialization as follows:
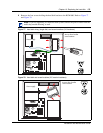
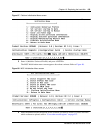
1 Make sure the Status LED on the BCM1000 is lit. This LED indicates that the Business
Communications Manager is operating correctly.
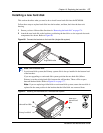
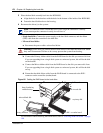
2 Attach the base unit and a computer through the serial port, as described in “Setting up the null
modem cable” on page 125.
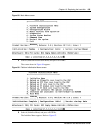
3 Enter the terminal emulation program, as described in “Finding the configuration menus” on
page 126,
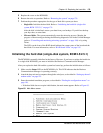
• If the hard disk does not require initialization, the main menu appears. Refer to Figure 83.
Figure 83 Main Menu screen