


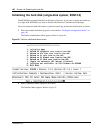
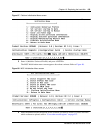
Chapter 16 Replacing the hard disk 177
Installation and Maintenance Guide
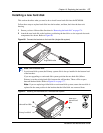
Installing a new hard disk
This section describes what you need to do to install a new hard disk into the BCM1000.
Follow these steps to replace hard disks into the brackets, and then, back into the base unit
housing.
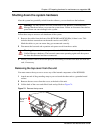
1 Ensure you have followed the directions in “Removing the hard disk” on page 174.
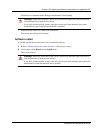
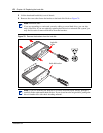
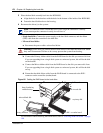
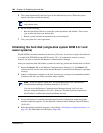
2 Attach the new hard disk to the brackets, positioning the hard drive so the exposed electronic
components face down. Refer to Figure 80.
Figure 80 Connect the brackets to the hard disk (single-disk system)
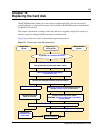
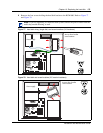
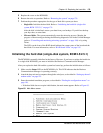
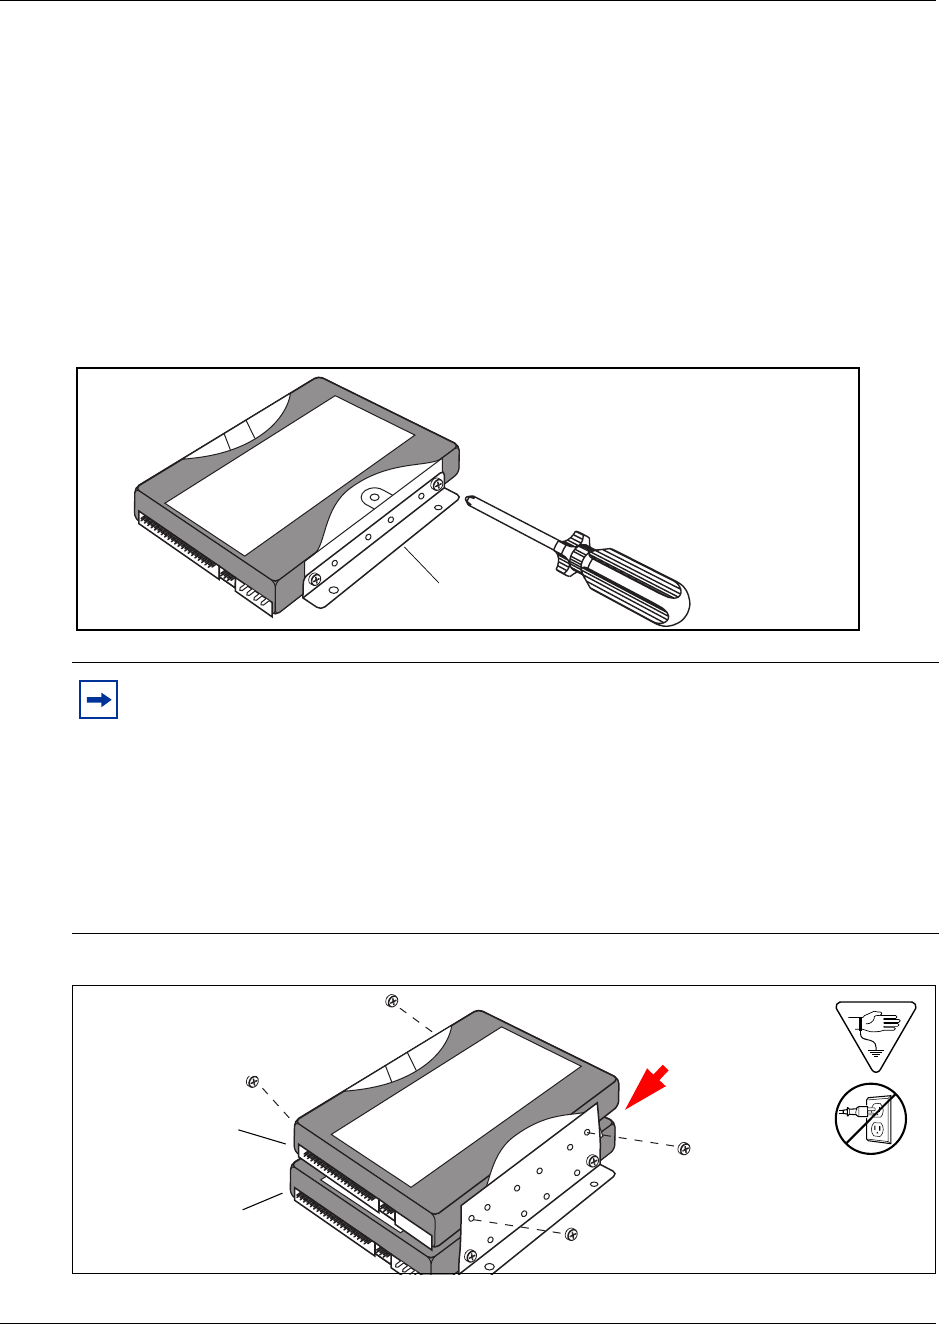
Figure 81 Installing two hard disks for a mirrored disk system
Note: Mirrored disk note
In a mirrored disk system, the Primary system disk is always installed in the bottom level
of the brackets.
If you are upgrading to a mirrored disk system, position the new hard disk (Mirror
Primary) over the existing hard disk, between the tall brackets. There will be a space
between the hard disks. Refer to Figure 81 on page 177.
Note: If you are replacing a failed disk on a mirrored disk system, ensure the new disk is
replaced in the same position in the bracket that the failed disk was removed from.
Single-disk bracket
Mirrored hard disk
Primary hard disk
Note space
between hard
disks