


38
Recording/playing back a song
INPUT:
Only the instrument sounds or other input sources are
recorded to the tracks. Sounds played back from other tracks
are not recorded.
BOUNCE:
As the sounds on different tracks are played back, they are
recorded together onto another track. In Bounce mode, you
can play back eight tracks simultaneously and record them
all to a single, separate V-Track.
When the input source is selected with INPUT SELECT, you
can also include those sounds in the recording.
You can further include the sounds from the Rhythm Guide
in the recording as well.
MASTERING:
Here, you apply the “Mastering Tool Kit” to the two tracks to
which other tracks have been bounced to finish up with a
song with levels (volume) optimized.
* The Rhythm Guide cannot be used in this mode.
What is a Mastering Tool Kit?
When creating an audio CD from your recorded songs, or
recording to an MD or similar media, the overall volume
needs to be restrained, so that even the loudest portions of
the songs are handled appropriately on the CD or MD.
However, this often results in an overall lowering of the
volume, resulting in a CD or MD that lacks excitement and
impact.
Moreover, in the low-frequency range, to which the human
ear is not very sensitive, the sound actually produced might
be perceived as being somewhat low in volume, even though
the meter shows that it’s at the maximum level. This also
makes it difficult to create powerful sounds.
With the “Mastering Tool Kit,” however, you can smooth out
the differences in volume that occur over the course of a
song, while also correcting the balance in the low end.
We recommend mastering with the Mastering Tool Kit in the
final stage of creating songs.
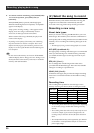
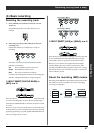
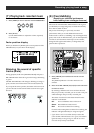
* The Mastering Tool Kit features 19 pre-programmed “Preset
Patches” (P01-P19), 19 rewritable “User Patches” (U01-
U19), and 19 “Song Patches,” which are stored individually
for each song (S01-S19).
fig.00-428
“Mastering Tool Kit Patch List” (separate sheet)
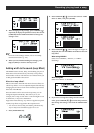
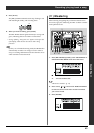
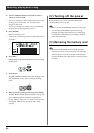
Procedure
fig.00-428a
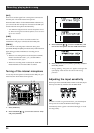
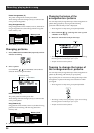
1. Press [REC MODE] repeatedly until “INPUT” is
indicated for REC MODE at the left of the screen.
fig.00-428d
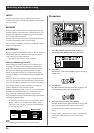
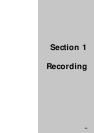
2. Press [REC].
[REC] flashes in red and the BR-864 enters the recording
standby state.
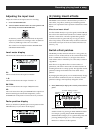
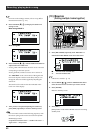
fig.00-429
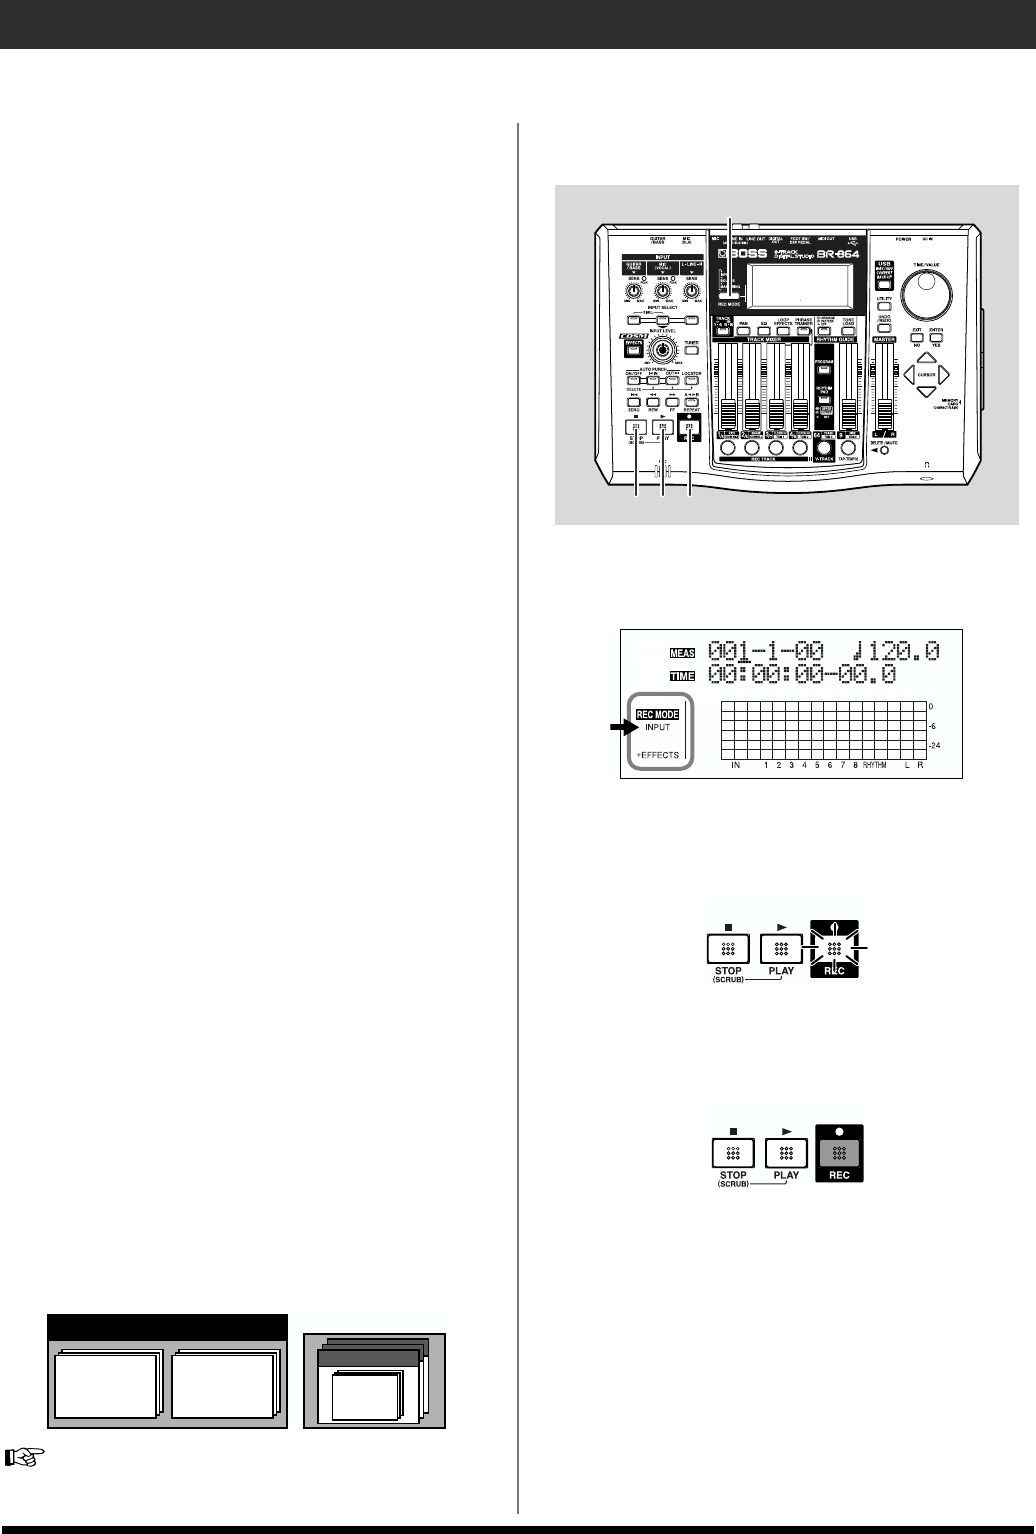
3. Press [PLAY].
The [REC] and REC TRACK buttons stop flashing in red
and instead light solidly, and recording starts.
fig.00-430
4. When you finish recording, press [STOP].
The REC TRACK button lights alternately in orange and
green, indicating that track contains recorded data.
* You cannot play back sounds recorded for less than one
second.
* During updating, “Keep power on!” appears in the upper line
of the display, while the lower line shows what is being
processed.
Memory Card
BR-864
User
Patch
SONG
Song
Patch
Preset
Patch
1
234
Flash
Lit