169
Importing SMFs and creating patterns
Section 6
fig.03-435d
When you have finished importing the SMF, the Idling
screen returns to the display.
5. Quit the connection to the computer.
1) Drag the “BOSS_BR-864” icon into the trash.
6. Press BR-864’s [EXIT] repeatedly to return to the Play
screen.
* If you press [EXIT] without quitting the connection to the
computer, the following screens appear. In this case, pressing
[ENTER] and then [EXIT] returns the Play screen to the
display.
fig.06-106ad
At this point, you can safely disconnect the USB cable
from the BR-864 and the computer.
7. Press [ARRANGE/PATTERN/OFF] repeatedly until the
indicator is flashing.
fig.03-436d
8. Press [PROGRAM].
fig.03-437d
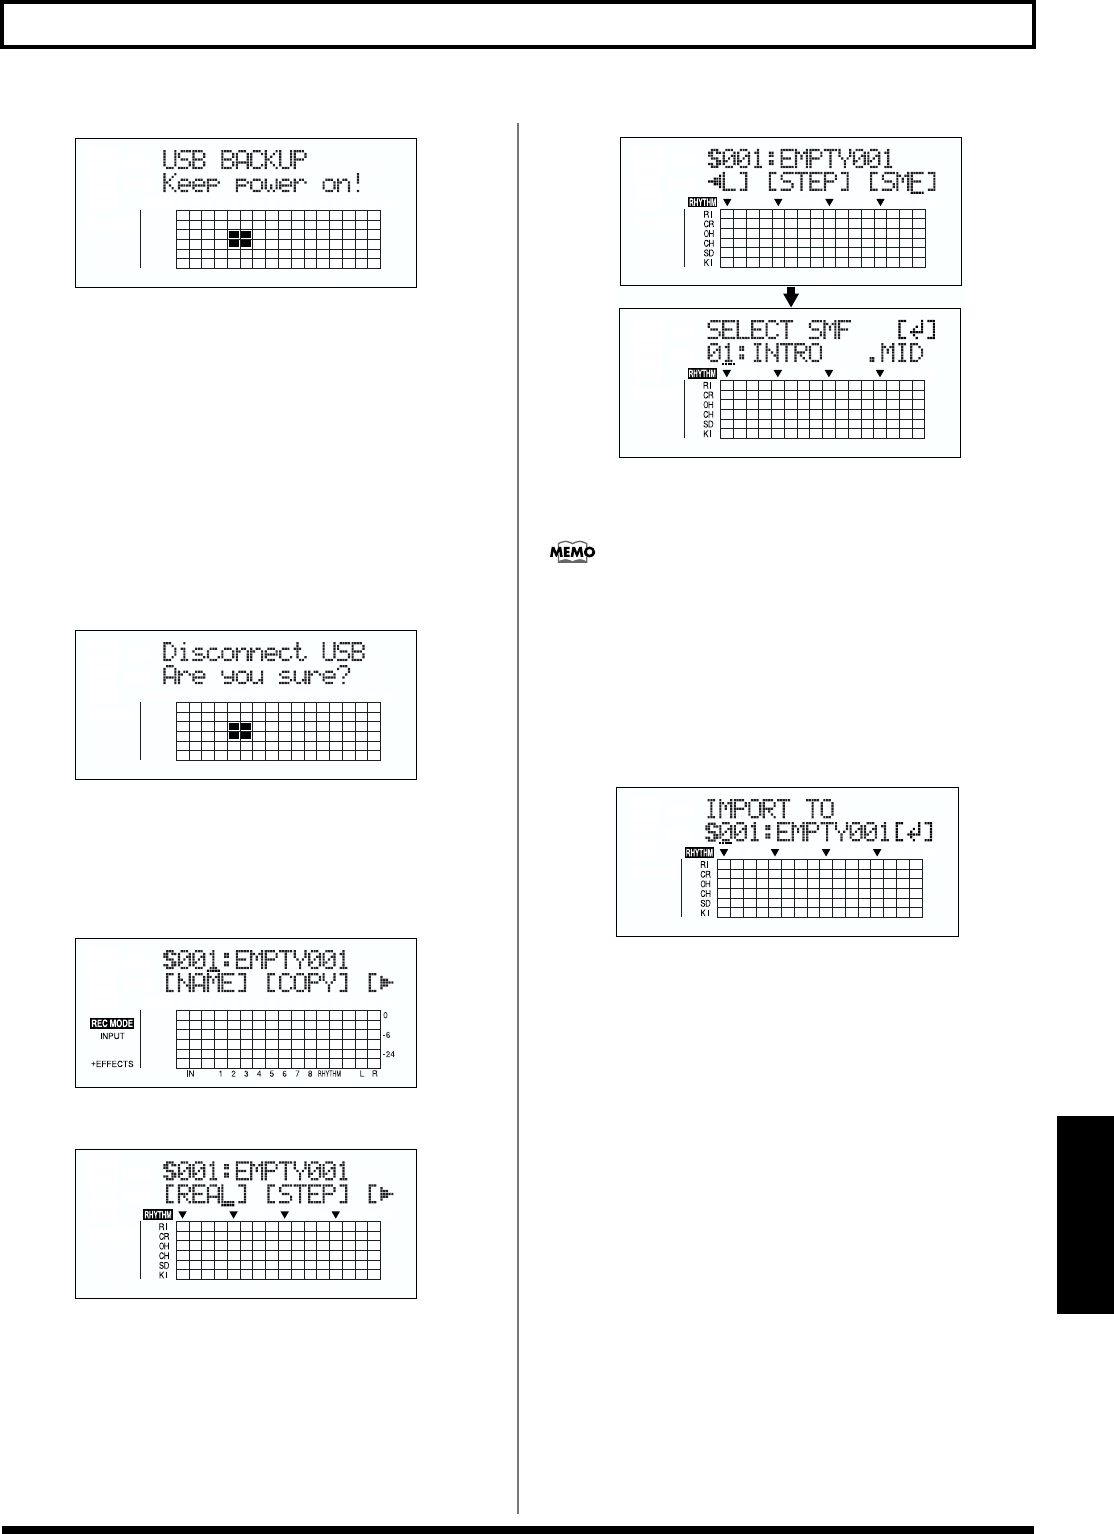
9. Press [CURSOR] to move the cursor to “SMF,” and
press [ENTER].
The names of the SMFs on the memory card are
displayed.
fig.03-438d
10. Turn the TIME/VALUE dial to select the SMF to be
imported, then press [ENTER].
When importing GM/GS/XG-compatible SMFs, MIDI
Channel 10 is generally assigned as the channel used for
rhythm performances. Setting the MIDI channel to 10
here allows you to extract only the rhythm performance
data.
11. Turn the TIME/VALUE dial to select the import-
destination song pattern, then press [ENTER].
fig.03-439d
The import is executed.
* With some SMF files, a considerable amount of time may be
required to finish importing the file.
* During updating, “Keep power on!” appears in the upper line
of the display, while the lower line shows what is being
processed.
