ESG Family Signal Generators Assembly Replacement
Semi-Rigid Cables
Service Guide 5-73
Semi-Rigid Cables
Use this procedure to remove and replace semi-rigid cables that attach to the
daughterboard card cage. If the cable you are removing/replacing does not attach to the
daughterboard card cage, no special instruction is necessary other than step 3 in the
“Replacement” section below.
Tools Required
• MILBAR 2R snap-ring pliers (used to remove snap rings from cable retainers)
• 5/16-inch open-end wrench
Removal
1. Remove all the daughterboard card cage boards to allow access to the instrument
chassis cable connections. (Refer to the “Daughterboard Card Cage Boards”
replacement procedure on page 5-56.)
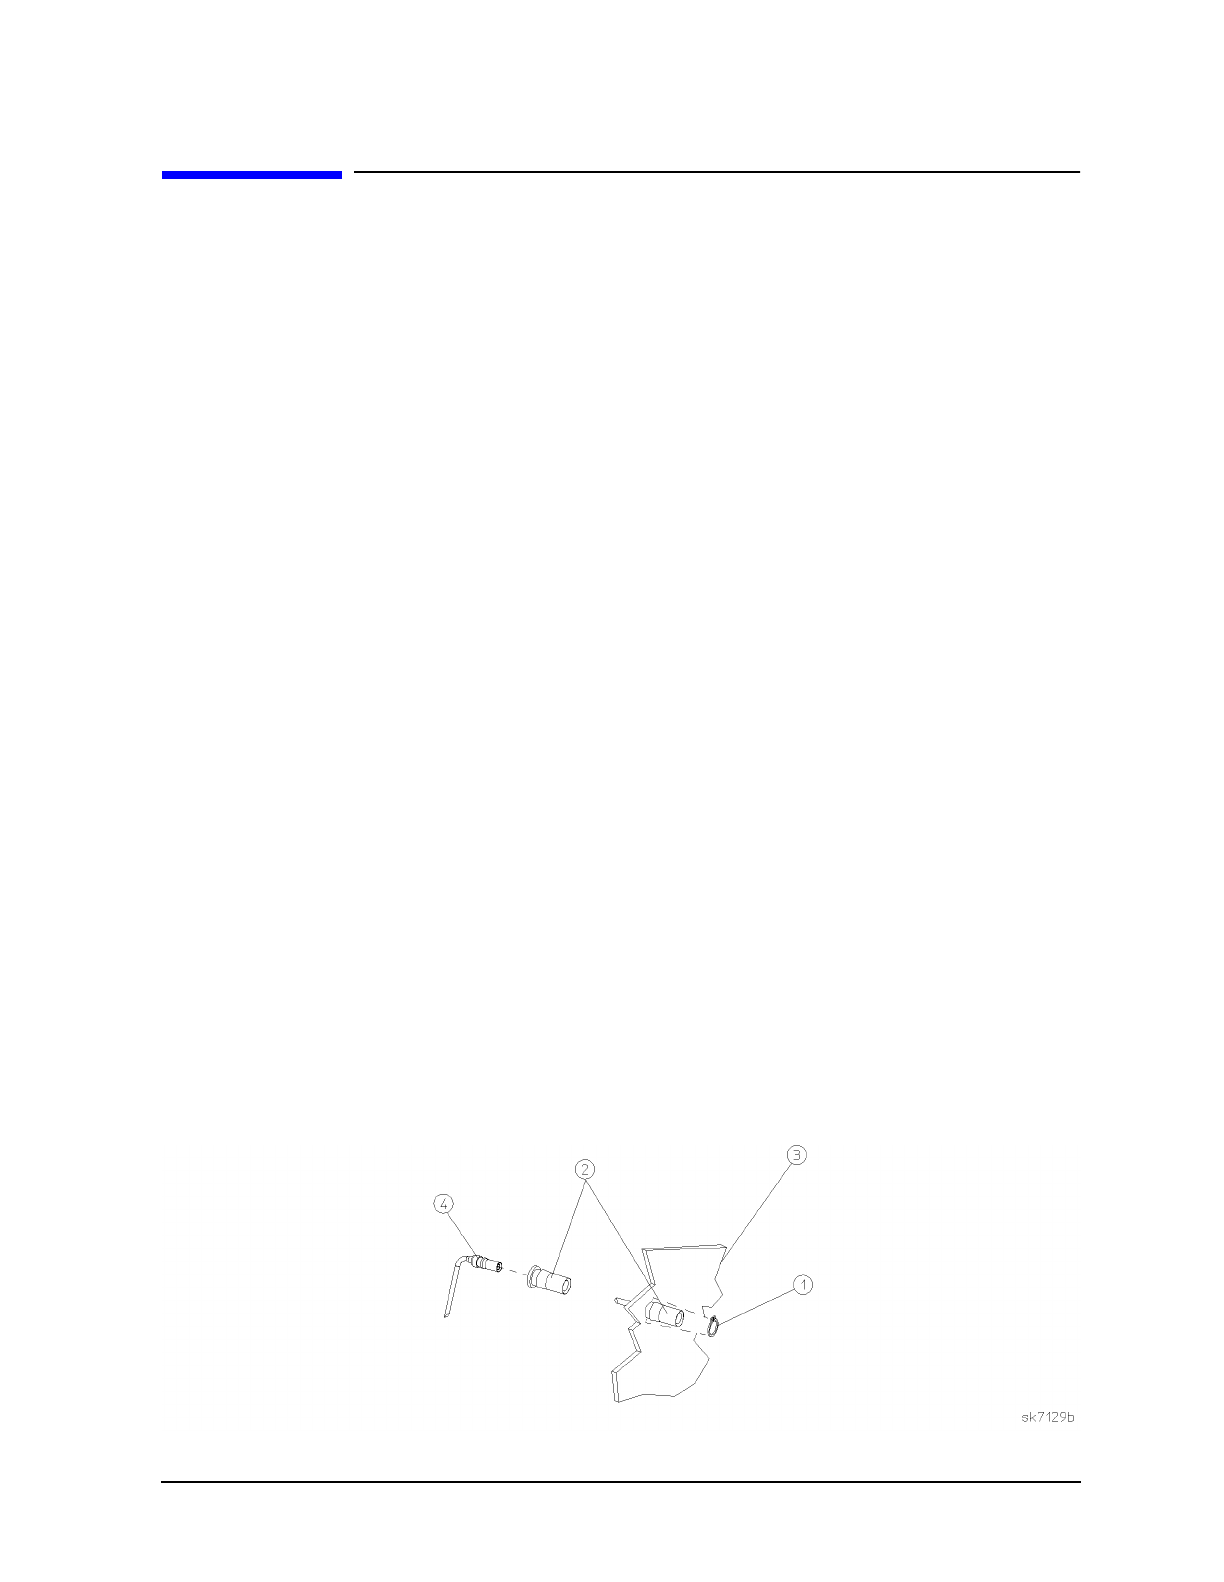
2. Remove the snap ring (item 1 in Figure 5-44) from the cable retainer (item 2) of the
cable you want to remove. The cable is now disconnected from the instrument chassis
(item 3).
3. Disconnect the other end of the cable.
Replacement
1. If you’re installing a new cable, a new cable retainer (item 2) must first be attached to
the end of the cable (item 4). Verify the cable retainer is correctly attached by listening
for an audible “click” as you slide it over the end of the cable.
2. Insert the cable-retainer end of the cable assembly into the opening of the instrument
chassis and then secure it with a snap ring.
3. Connect the other end of the cable. All semi-rigid cables should be torqued to 9 in-lbs.
4. Replace the daughterboard card cage boards.
Figure 5-44 Semi-Rigid Cables


