


InstallationTANDBERG Director Videoconferencing System
21
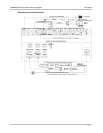
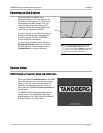
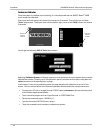
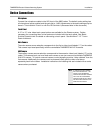
Powering on the System
Once the system is installed in the
appropriate location, it is now ready for the
AC mains to be plugged in. To verify that all
components have been powered on, you
should be able to see the following LED
indicators through the smoked glass cover
of the Director Application Module.
If any of the green or red LED’s do not show
through the smoked glass, the system will
not work properly. Contact TANDBERG
Technical Service immediately.
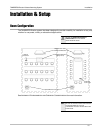
To power on the projector, press the green
PROJECTOR STANDBY button on the front of
the 3000i cabinet. Once powered, refer to
‘SYSTEM SETUP’ for screen calibration.
RED
YELLOW
GREEN
NOTE
IT IS RECOMMENDED THAT YOU PRESS THE
GREEN
PROJECTOR STANDBY BUTTON TO
PLACE
THE SYSTEM IN STANDBY WHENEVER IT
IS
NOT IN USE. THIS WILL MAXIMIZE THE LIFE
OF LAMP INSIDE THE PROJECTOR.
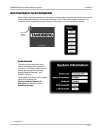
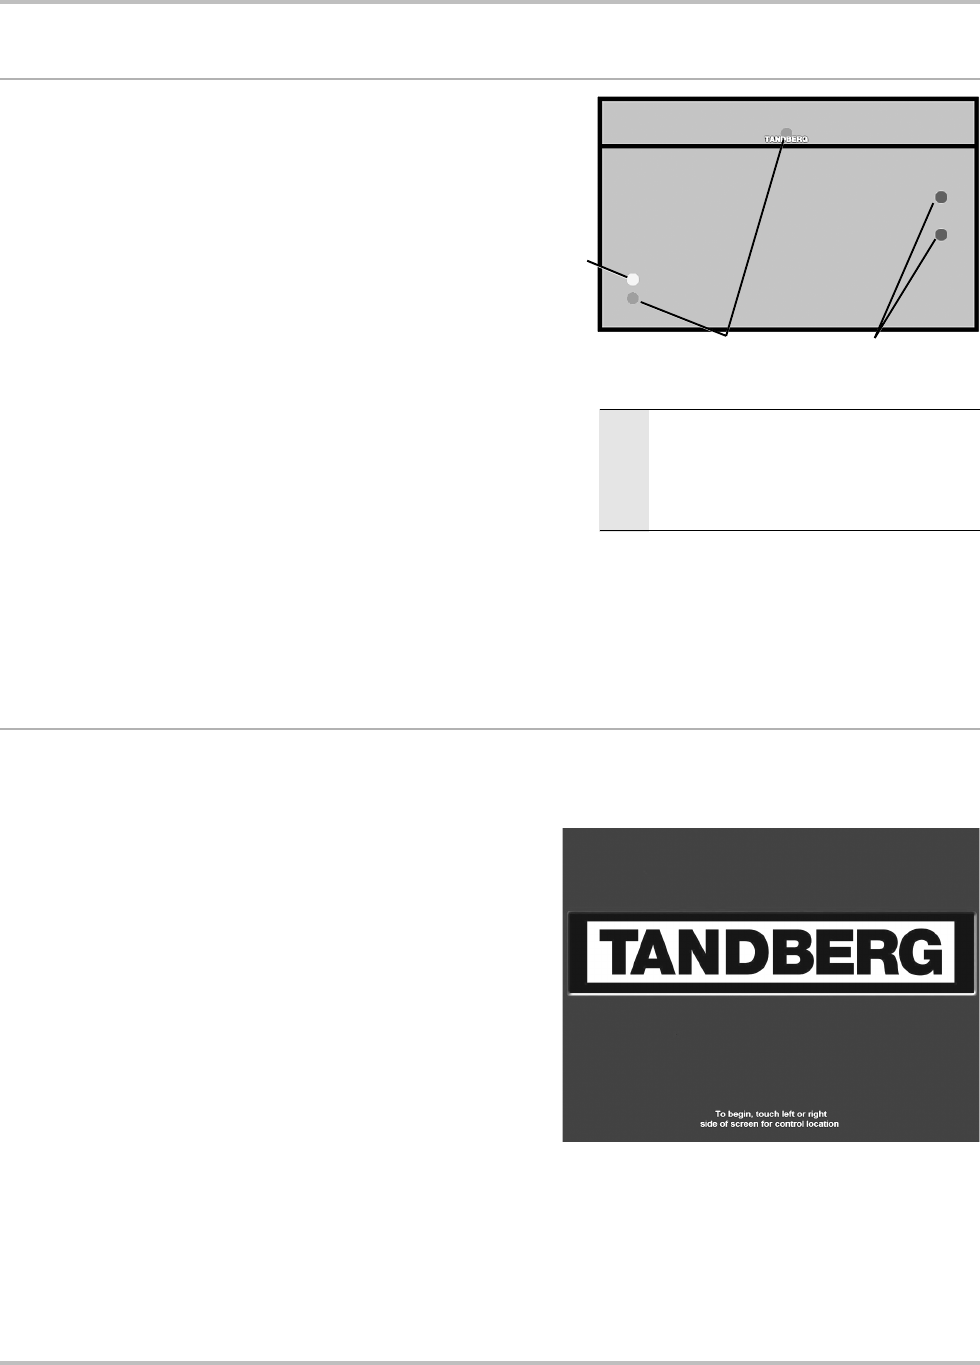
System Setup
SMART Board
TM
Projector Setup and Calibration
When you press the POWER BUTTON on the 3000i
front control panel unit to activate the projector
display, it will then require approximately 40
seconds to complete the start-up routine, at
which point the TANDBERG start-up screen will
be displayed.
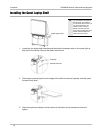
For SMART Board
TM
software installation and
configuration, or any additional information,
please reference the ‘REAR PROJECTION SMART
BOARD
TM
3000i INSTALLATION GUIDE’.