


Installation
50 Runco SC-30d/SC-35d Installation/Operation Manual
PRE
L
IMINAR
Y
3.9
Turning on the Power
1. Power up your source components.
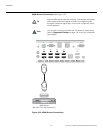
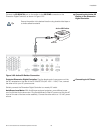
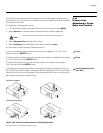
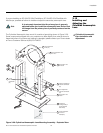
2. If this is an AutoScope-equipped projector, turn on the main power switch at the rear
of the AutoScope lens motor. The lens motor power switch is located next to the AC
input (see Figure 3-16).
3. Turn on the main power switch at the rear of the Dimension Digital Controller.
4. Press the ON button on the remote control (or the ON/STANDBY ( ) button on the
Dimension Digital Controller front panel) to turn on the system. The vacuum
fluorescent display on the Dimension Digital Controller front panel briefly displays
“Initializing System,” followed by “Starting SC-30d/SC-35d.”
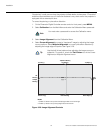
5. When the display is ready for use, the fluorescent display indicates the active source,
input resolution/frame rate and aspect ratio/screen; for example:
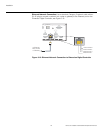
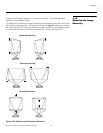
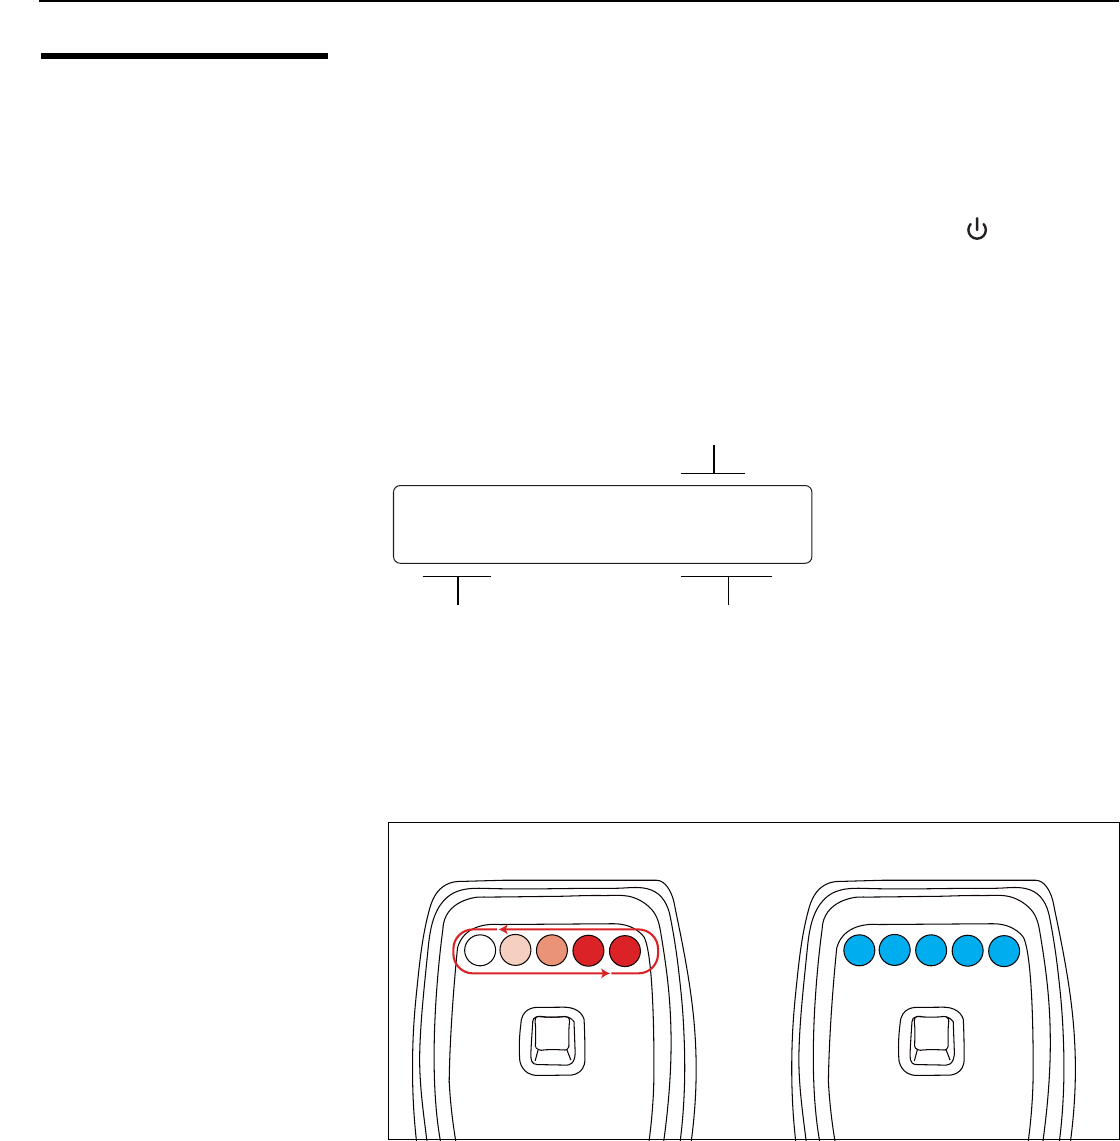
6. When the projector is turned on, the Active 3D Emitter turns on as well. The LEDs
display a red moving pattern while the emitter attempts to acquire a 3D signal and
until a signal is found.
If the emitter searches for a signal for longer than 60 seconds, a signal is assumed to
not be present.
7. Upon finding a 3D signal, all LEDs turn blue. Once the LEDs indicate a 3D signal, the
3D glasses can be used to experience 3D. For more information on using the Active
3D Glasses, refer to Using the 3D Glasses on page 98.
HDMI 1
16:9/1 1080i/60
Current
Source
Aspect Ratio/Screen
Input Resolution/Frame Rate
SC-30d/SC-35d
1080p/60
Searching for 3D Sync Signal 3D Sync Signal Found