


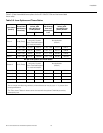


Installation
Runco SC-30d/SC-35d Installation/Operation Manual 31
PRE
L
IMINAR
Y
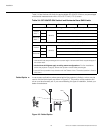
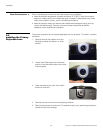
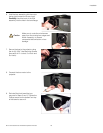
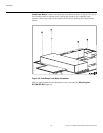
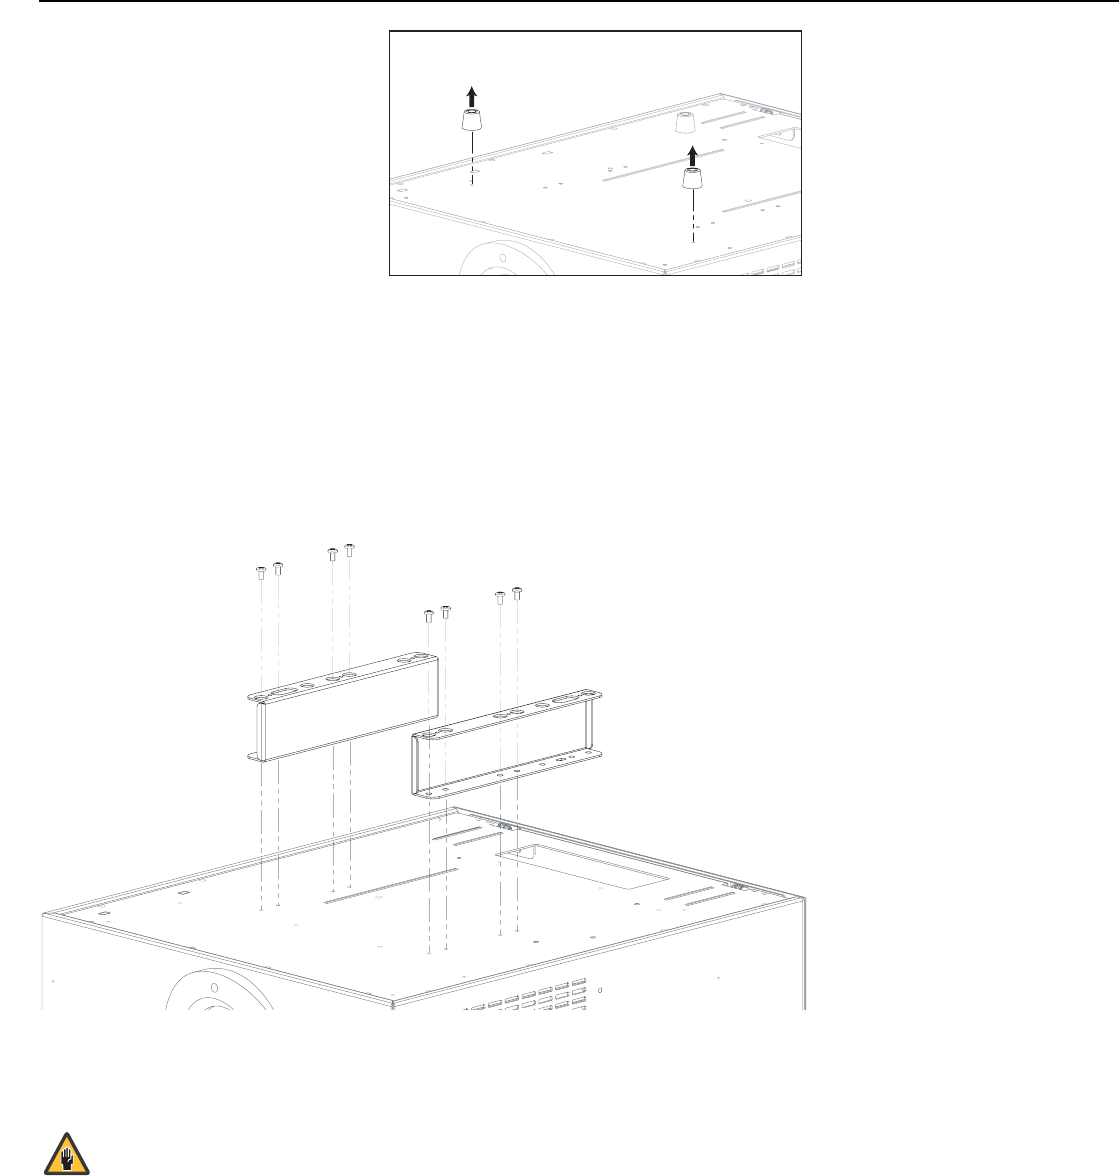
Remove Projector Front Feet:
Place the projector upside down on a
blanket or other soft surface. Use a
Phillips screwdriver to loosen the
screws attaching the two front feet to
the projector. Then, remove the feet.
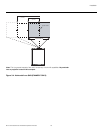
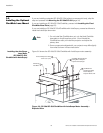
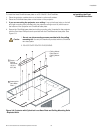
Install Ceiling Mount Adapters/Projector Stands: For ceiling installations, the
adapters bring the attachment points for the projector mounting rails (included with the
projector ceiling mount kit) from the bottom of the projector up above the AutoScope lens
motor housing. For floor installations (where the projector is upright), the adapters allow
the projector to lie flat on the mounting surface.
Using eight (8) each of the supplied, Pan-Head Phillips screws, attach the AutoScope
Ceiling Mount Adapters/Projector Stands to the projector as shown in Figure 3-7.
Figure 3-7. Installing the Ceiling Mount Adapters/Projector Stands
DO NOT OVER-TIGHTEN THE SCREWS.
Caution