


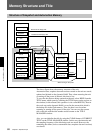
92
Chaper 4 Operation Tips
Chapter 4 Operation Tips
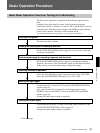
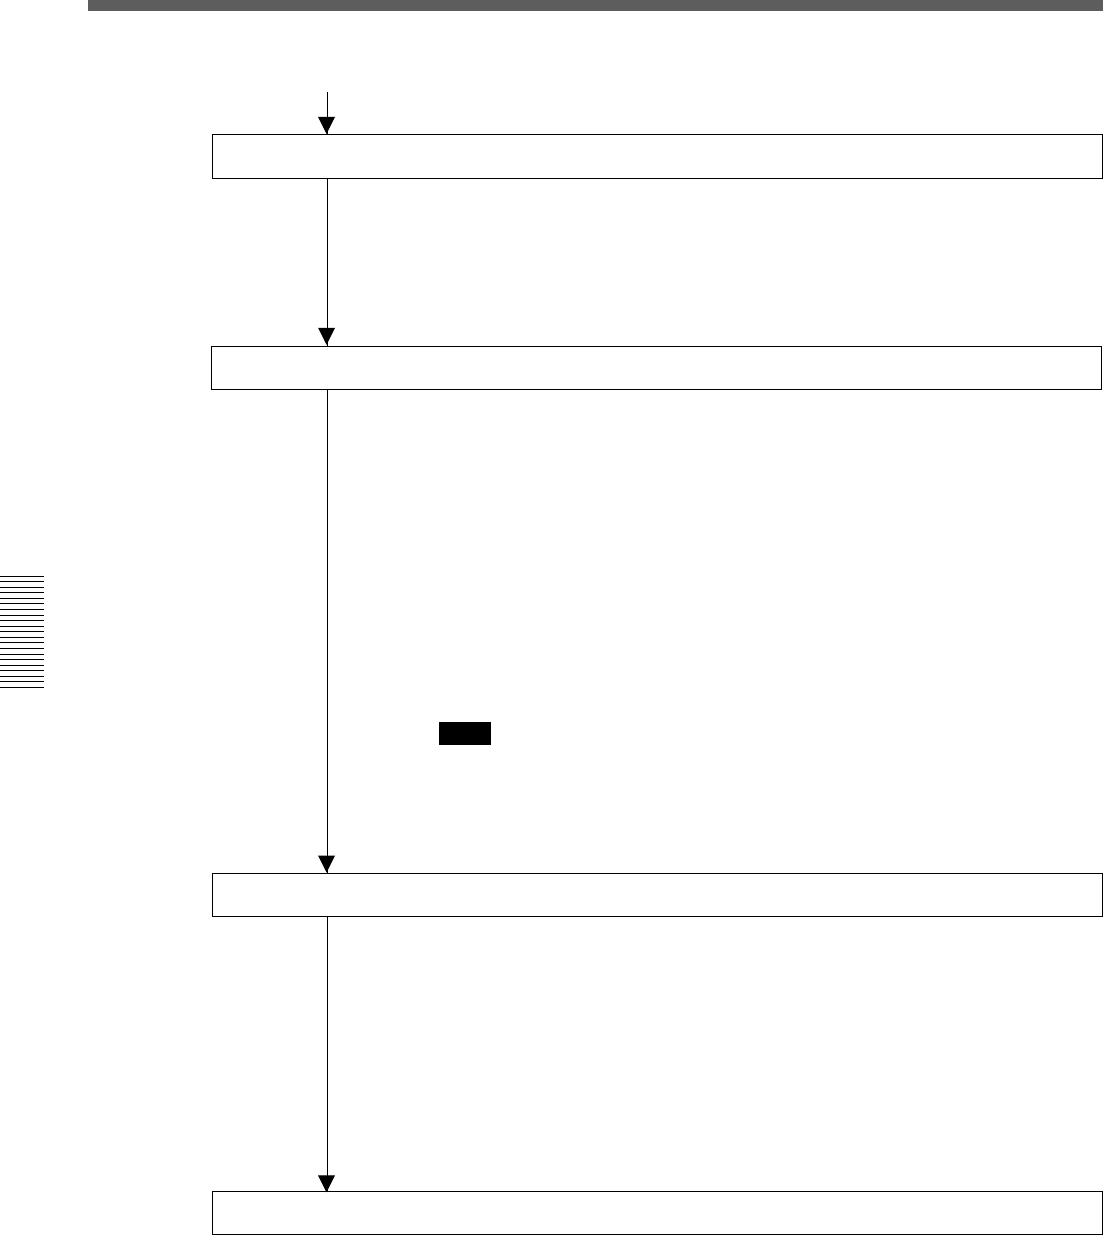
Basic Operation Procedure
From the previous page
Confirming/setting monitoring
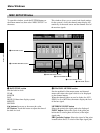
• Select the CR MONITOR tab on the MONITOR window (page 59) and
confirm that CUT L/CUT R buttons are set to OFF. (Change the settings
as required.)
• Press the PGM button on the SOURCE section on the control room
monitor section on the unit (page 24) so that the button lights up.
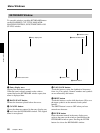
Setting the analog head amplifier
• Select the INPUT button on the CHANNEL METERS section on the
MISC SETUP window (page 84).
• Release the INPUT B button on the Analog head amplifier panel (page
11) so that the button is not lit. The IN A connector becomes active.
• Watching the meter of the channel (in this example, CH 1) connected to
the corresponding head amplifier, adjust the gain using the GAIN control
on the Analog head amplifier panel.
• In this example, set the PAD button on the Analog head amplifier panel
to OFF to connect the microphone. (Set the PAD button to on or off, as
required.)
• Depress the + 48 V button on the Analog head amplifier, as required.
Note
When devices other than microphones that cannot receive power from the
external unit are connected to the IN A connector, release this + 48 V
button (not depressed). If you set this button to ON, the connected external
unit may be damaged.
Setting the channel
• Press the ACCESS button on the channel strip panel (page 12) for CH 1
on the unit so that the button lights up.
• Press the PROGRAM L/R buttons on the BUS ASSIGN section (page
18) on the unit. (The signal of the channel is assigned to the PGM bus.)
• Set the level of the PROGRAM fader to 0 dB. (Change the level of the
PROGRAM fader, as required.)
• Watching the master meter (page 22), adjust the level using the channel
fader.
• Adjust the monitor sound volume using the controls on the Control room
monitor section (page 24).
Storing the channel settings as data
• To store the channel data, store it as snapshot data using the STORE
button on the SNAPSHOT window (page 64).
• When restarting the unit or turning off the power of the unit, save data by
selecting KEEP on the TITLE menu which opens by touching the TITLE
button.