Operation
This section of the manual discusses the operation of a DVS 605 device, and is divided
into four sections:
• Front Panel Overview
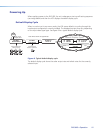
• Powering Up
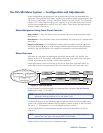
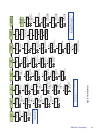
• The DVS 605 Menu System — Configuration and Adjustments
• Front Panel Lockout (Executive Modes)
• Picture-in-Picture (PIP) Mode
• Resetting the Unit
Front Panel Overview
DVS 605
DIGITAL VIDEO SCALER
CONFIG
1 2 3
4 5 PIP
AUTO
SWAP
MENU
NEXT
ADJUST
1
7
6
2
4
5
3
EXTRON
DVS 605
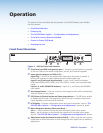
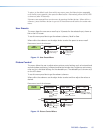
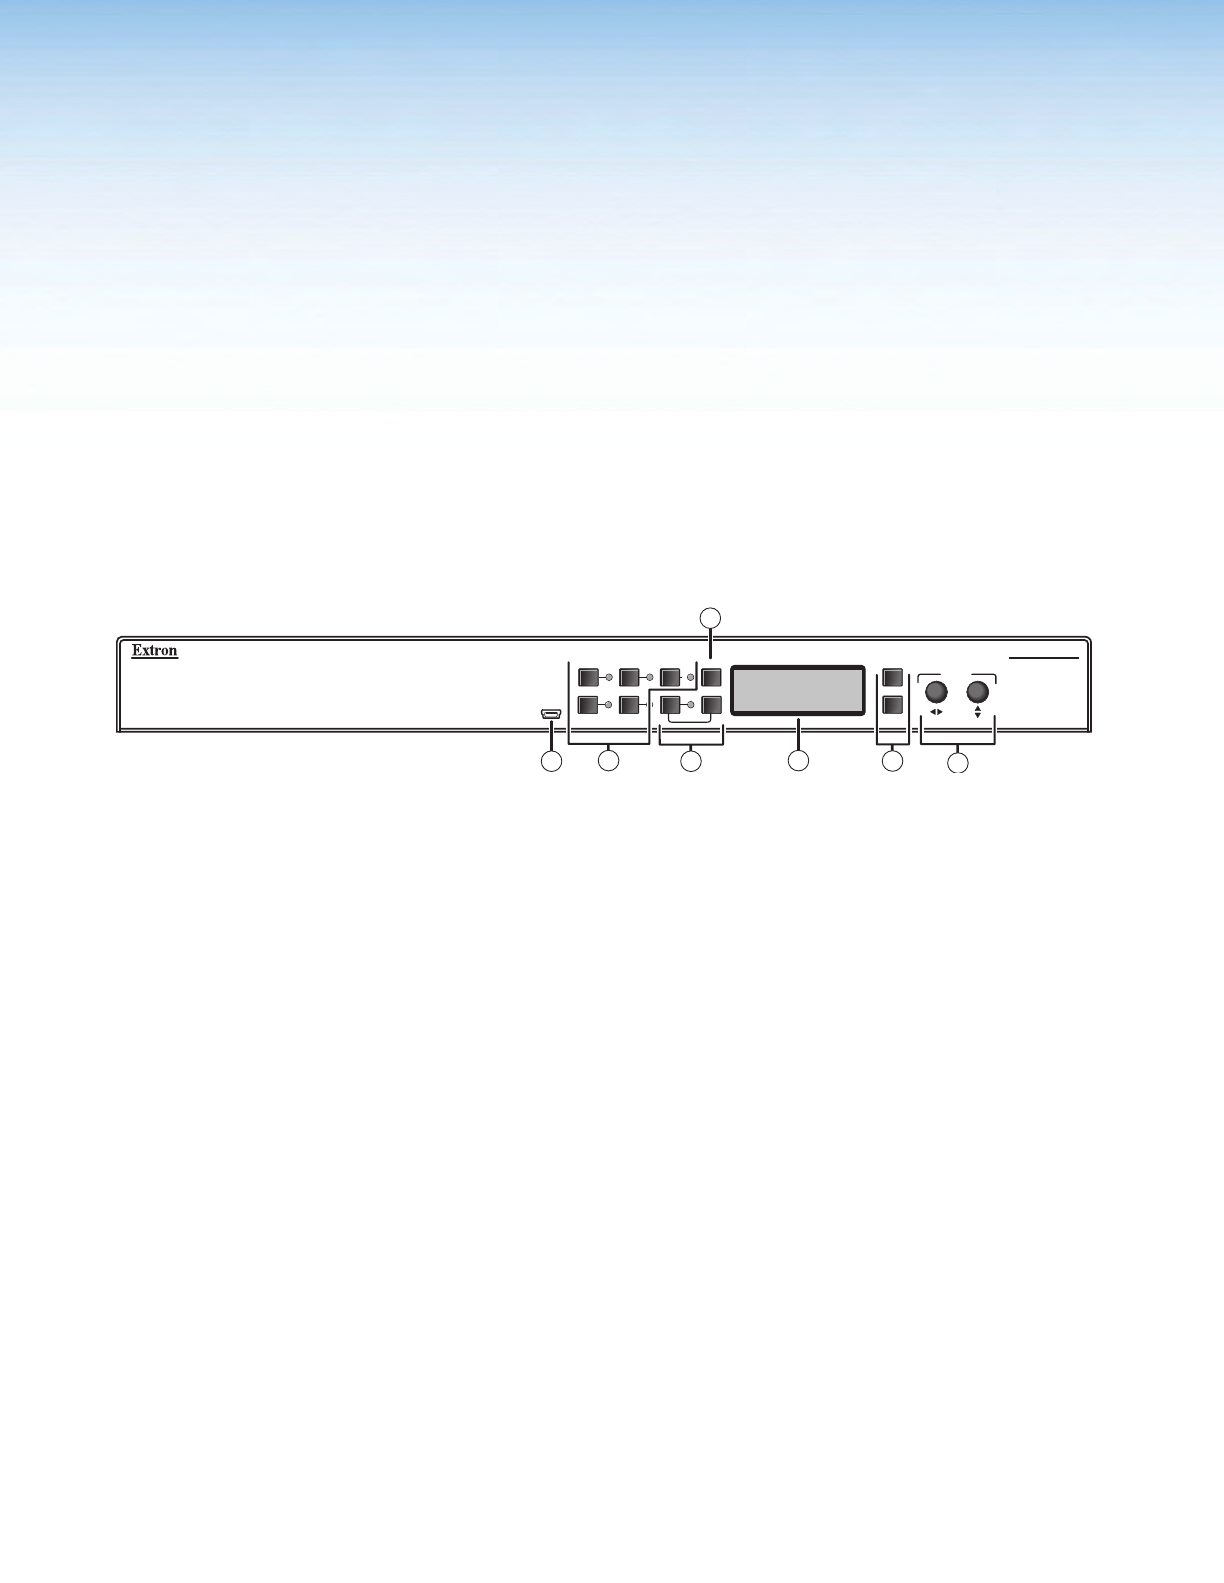
Figure 7. DVS 605 Front Panel Features
a
Front Panel mini USB configuration port — Connect a control system or computer
to this mini USB port for device conguration, control, and rmware upgrades.
b
Input selection buttons and LEDs (1-5) —
Input LEDs — The LED of the selected input lights when the button is pressed. A
blinking LED indicates an audio breakaway input (audio models only).
Inputs 1 and 2 (universal input buttons) — Input 1 and 2 select Auto detect,
RGB scaled (RGBHV, RGBS, RGsB), Auto-YUV, RGBcvS, S-video, and Composite video
inputs.
Inputs 3, 4, and 5 (HDMI/DVI buttons) — Inputs 3, 4, and 5 select the HDMI/DVI
input signals.
c
Auto-Image button — Use this to start an Auto-Image function which automatically
sizes and centers an input signal.
d
PIP (Picture-In-Picture) button and Swap Image button — The PIP button enable
or disables the PIP mode. The Swap button allows the user to swap the two current
inputs displayed in the main and PIP windows.
e
LCD display — Displays configuration menus and status information. See the “The
DVS 605 Menu System — Configuration and Adjustments” section for details
f
Menu Navigation buttons (Menu and Next) —
Menu — Use this button to enter and move through the main menu system.
Next — Use this button to step through the submenus of the scaler menu system.
See the “The DVS 605 Menu System — Configuration and Adjustments” section.
g
Adjustment knobs (horizontal [and vertical {) — When using the menu system,
rotate either of these two knobs to scroll through the menu options and to make any
adjustments.
DVS 605 • Operation 11


