


Chapter 7 Menus
98
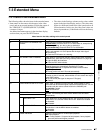
7-3 Extended Menu
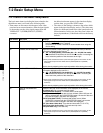
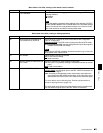
131 AUDIO VOLUME Select whether each of the ALL/CH-1, CH-2 to CH-4 adjustment knobs
on the control panel is effective to control the audio recording level and
playback level on each channel or the ALL/CH-1 adjustment knob alone
functions as a master control to control the audio level on all channels
together.
each
: Each of the ALL/CH-1, CH-2 to CH-4 adjustment knobs is effective
to control each channel.
all: The ALL/CH-1 adjustment knob alone functions as a master control.
When “all” is selected, the ALL indicator to the right of the ALL/CH-1
adjustment knob lights up.
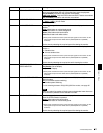
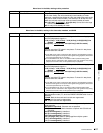
142
REPEAT MODE
Put the unit into repeat playback mode, or exit from repeat playback
mode.
off
: Exits from repeat playback mode.
play: Puts the unit into repeat playback mode.
143 INDEX PICTURE POSITION Select the frame of the clip to use as the thumbnail image (index picture)
when recording.
0sec
to 10sec: Can be set in the range from 0 seconds (first frame of the
clip) to10 seconds, in units of 1 second.
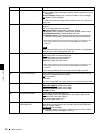
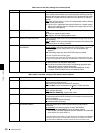
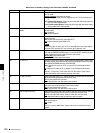
145 MODE KEY ENABLE DURING
RECORDING
Specify whether only the STOP button stops recording.
ena (all enable)
: Recording stops when the EJECT button is pressed
a)
and when the PLAY, STOP, SHUTTLE, and JOG buttons are
pressed.
b)
stop: Recording stops only when the STOP button is pressed.
a)The disc is ejected after recording stops.
b)The unit enters stop mode when the PLAY button is pressed, and enters still
image mode (jog/shuttle mode) when the SHUTTLE or JOG button is pressed.
146 POWER SAVE MODE Specifies whether to put the unit into power save mode.
off
: Do not put the unit into power save mode.
on: Put the unit into power save mode. The following operations take
slightly longer to start in power save mode.
• Recording, playback, jog and shuttle mode playback, search
• Display of the thumbnail screen and essence marks
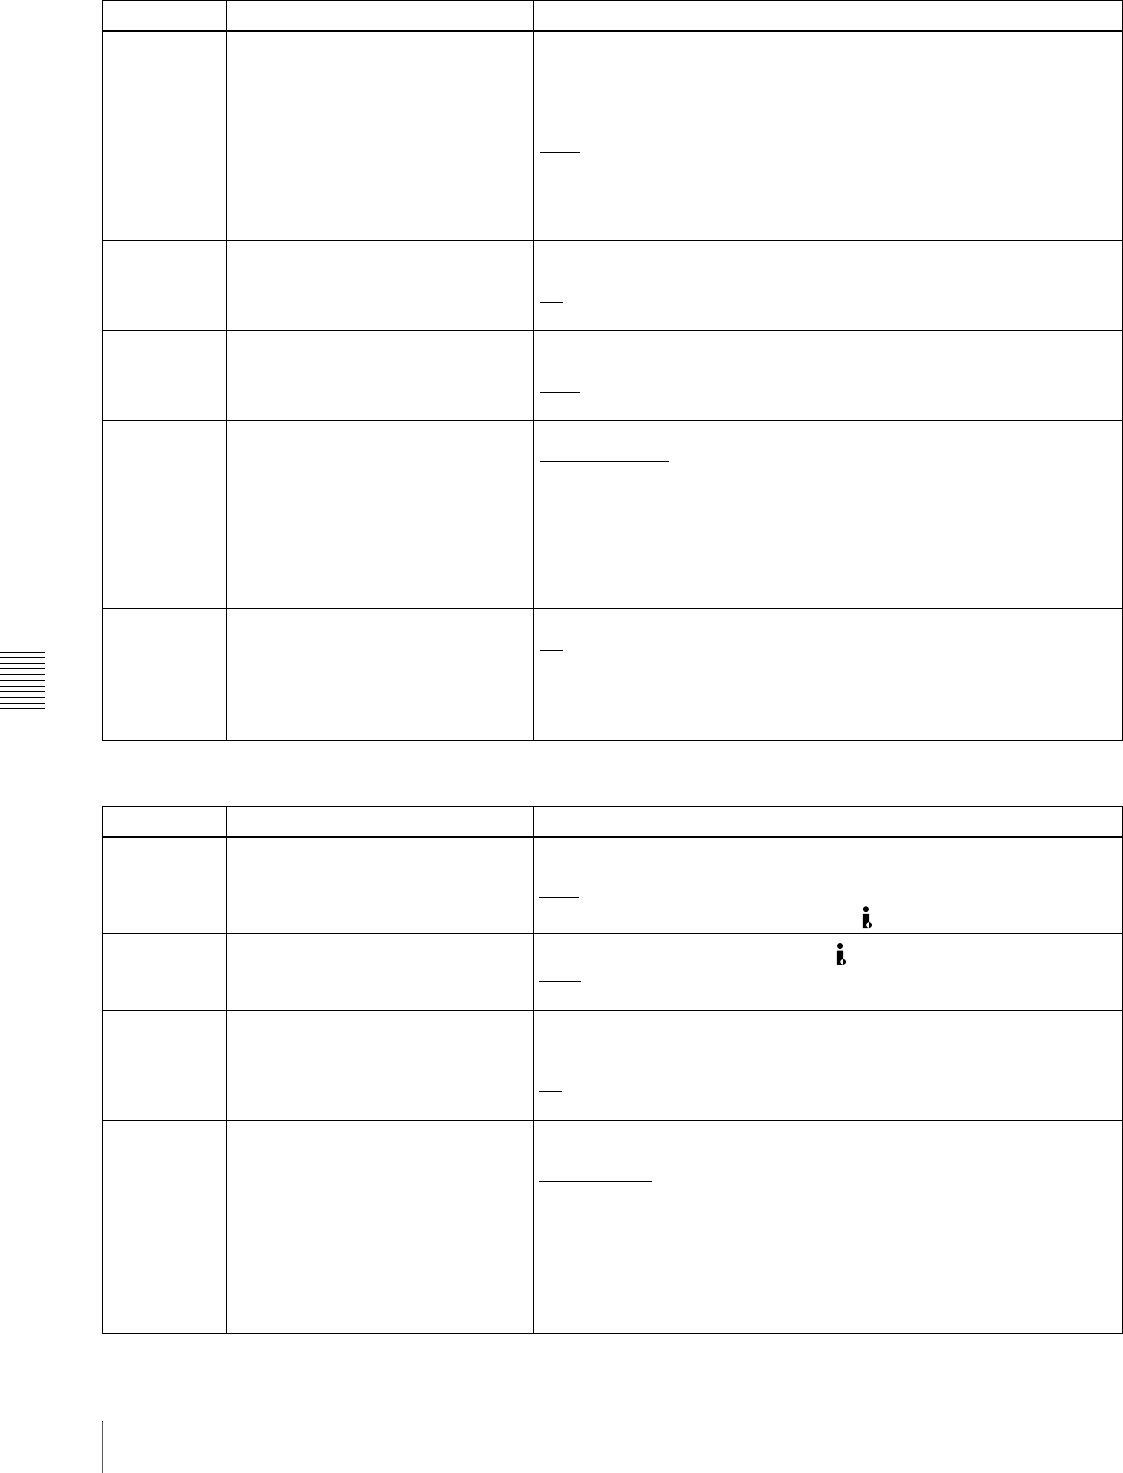
Menu items in the 100s, relating to the control panels
Item number Item name Settings
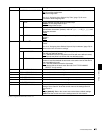
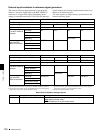
Menu items in the 200s, relating to the remote control interface
Item number Item name Settings
214 REMOTE INTERFACE When the remote control switch is set to REMOTE, select the device from
which to remote-control this unit.
9PIN
: Device connected to the REMOTE connector.
i.LNK (i.LINK): Device connected to the S400 (i.LINK) connector.
215 i.LINK MODE
Select the connection method for the S400 (i.LINK) connector.
AV/C
: Connect with AV/C.
FAM (FAM (PC REMOTE)): Connect with FAM.
216 PARALLEL RECORDING MODE Specifies whether recording of video and audio on this unit should start
and stop at the same time as recording on a camcorder connected to this
unit by i.LINK(AV/C).
off
: Do not conduct parallel recording.
on: Conduct parallel recording.
257 NETWORK ENABLE Select the remote control switch positions which enable network
connections.
net (network)
: Only when the switch is set to “NETWORK.”
n&9P (network & remote(9PIN)): When the switch is set to
“NETWORK,” and when the switch is set to “REMOTE” and extended
menu item 214 is set to “9PIN.”
a)
a)FTP connections can be made only when the device connected to the REMOTE
connector (D-sub 9 pin) is in stop mode. During FTP connections, the device
connected to the REMOTE connector cannot be used to control this unit.