


Technical Services Group ~ 1-800-283-5936 (USA) ~ 1-801-974-3760
There are many ways to control your XAP 400 and networked units. This chapter
explains how to set up control for the Control/Status A port using GPIO Builder, the
XAP IR Remote and ClearOne Control Panels using Remote Builder, and RS-232 port.
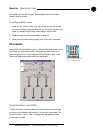
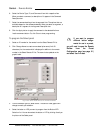
Control/Status A
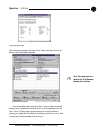
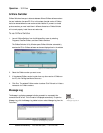
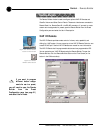
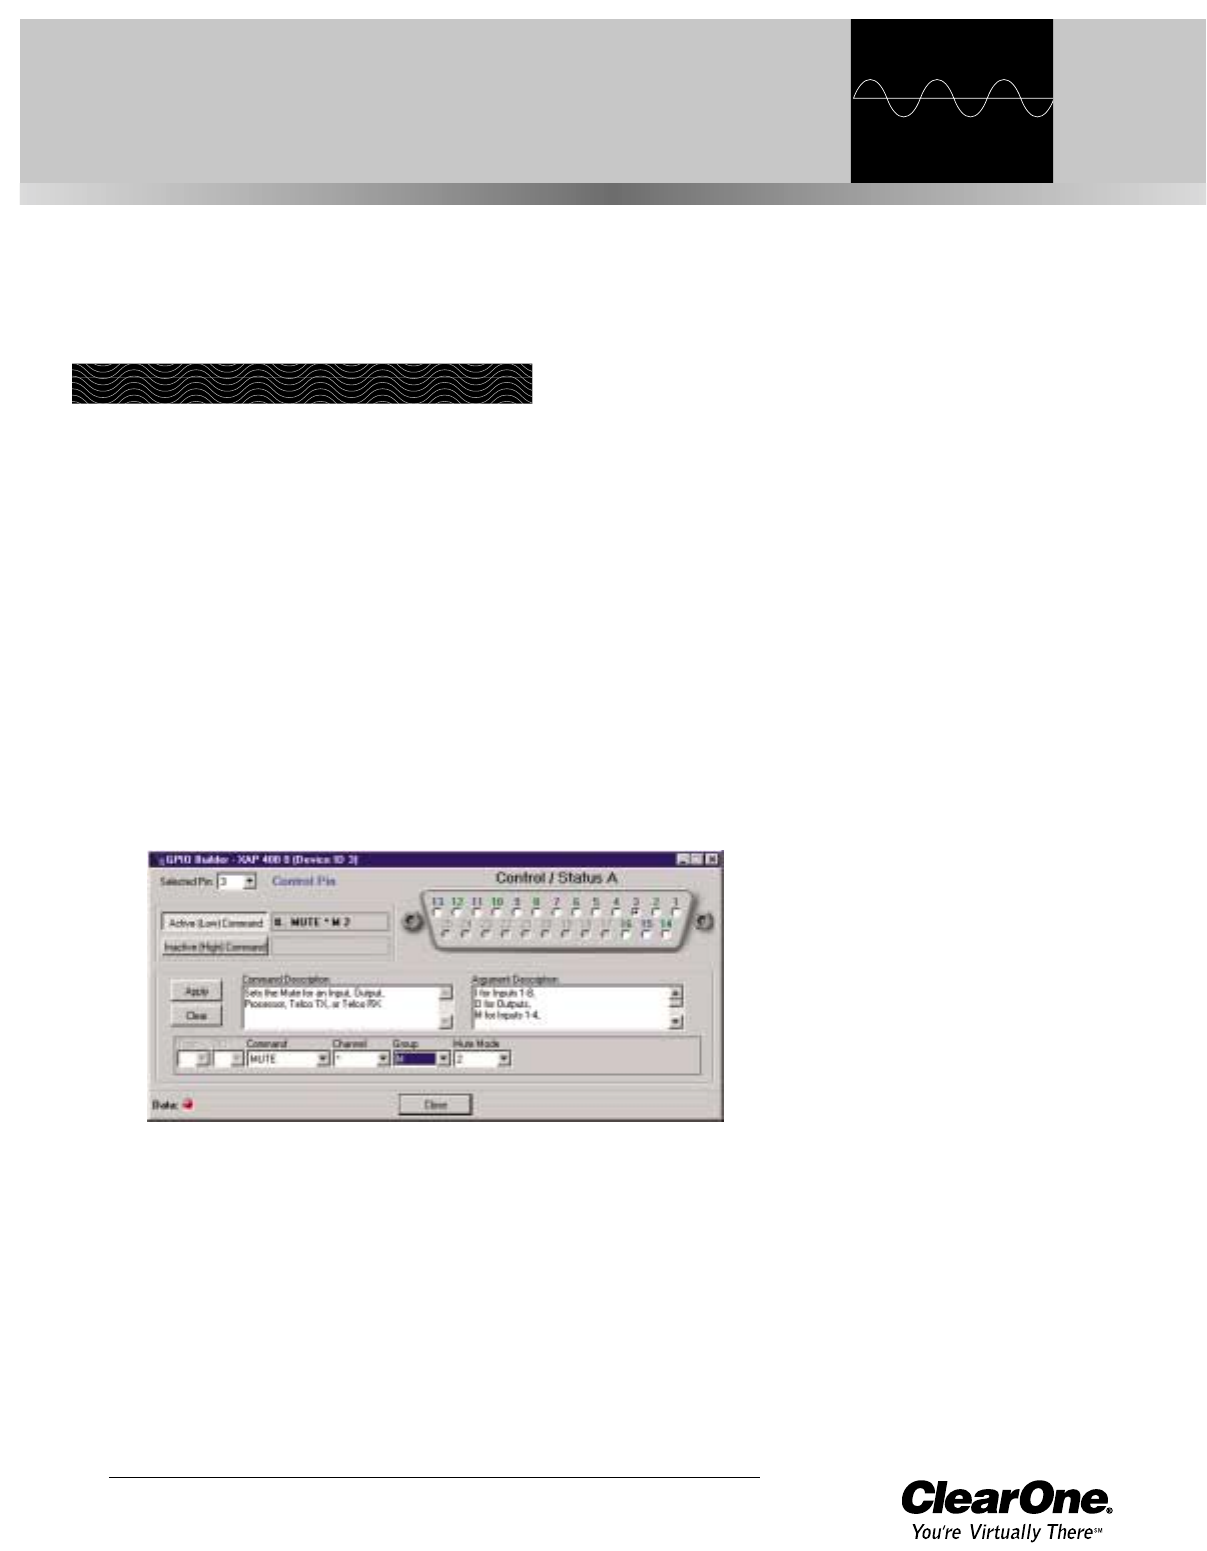
GPIO stands for general-purpose input/output. The GPIO Builder is used to establish
the pin assignments for the 16 user definable pins on Control/Status Port A. These
pins provide control via contact closure and status via open collector functions in the
unit. Note that the pins numbered in blue are command pins; the pins numbered in
green are status pins. The default pin assignments are listed on page 96. You can
open GPIO Builder from the Flow Screen or the G-Ware toolbar.
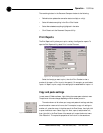
To program control/status pins
1. Select the Control/Status A pin you want to configure.
The current (default) pin assignment is displayed in the Active
(Low)/Inactive (High) Command box.
2. Select the Device Type and ID from their respective lists.
3. Select the Command from the Command list. When you select a command,
a description of it appears in the Command Description box.
4. Select the argument settings from the argument lists. The options that are
available depend on the command selected. When you select an argument, a
description of it appears in the Argument Description box.
5. Click Apply to apply the changes you have made to the selected pin. Or,
click Clear to clear any programming for the pin.
CHAPTER 6: Control
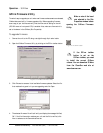
GPIO Builder
If you want to create pin
assignments specific to a
preset, you will need to
open the GPIO Builder from the
Preset Configuration pane (see page
61) and select Use in Preset.
✍
Figure 6.1. GPIO Builder Window
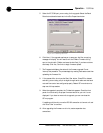
GPIO commands can be
configured only for the
local XAP 400 unit.
✍