Setting up Your System
3 - 5
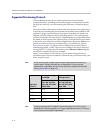
For downloading the bootROM and application images to the phone, the
secure HTTPS protocol is not available. To guarantee software integrity, the
bootROM will only download cryptographically signed bootROM or
application images. For HTTPS, widely recognized certificate authorities are
trusted by the phone and custom certificates can be added (refer to Trusted
Certificate Authority List on page C-1).
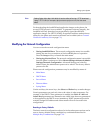
Modifying the Network Configuration
You can access the network configuration menu:
• During bootROM Phase. The network configuration menu is accessible
during the auto-boot countdown of the bootROM phase of operation.
Press the Setup soft key to launch the main menu.
• During Application Phase. The network configuration menu is accessible
from the phone’s main menu. Select Menu>Settings>Advanced>Admin
Settings>Network Configuration. Advanced Settings are locked by
default. Enter the administrator password to unlock. The factory default
password is 456.
Phone network configuration parameters may be modified by means of:
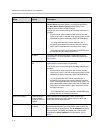
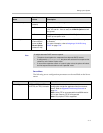
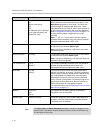
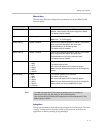
• Main Menu
• DHCP Menu
• Server Menu
• Ethernet Menu
• Syslog Menu
Use the soft keys, the arrow keys, the Select and Delete keys to make changes.
Certain parameters are read-only due to the value of other parameters. For
example, if the DHCP Client parameter is enabled, the Phone IP Addr and
Subnet Mask parameters are dimmed or not visible since these are guaranteed
to be supplied by the DHCP server (mandatory DHCP parameters) and the
statically assigned IP address and subnet mask will never be used in this
configuration.
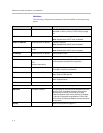
Resetting to Factory Defaults
The basic network configuration referred to in the subsequent sections can be
reset to factory defaults using a multiple key combination described in
Multiple Key Combinations on page C-10.
Note
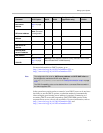
Setting Option 66 to tftp://192.168.9.10 has the effect of forcing a TFTP download.
Using a TFTP URL (for example, tftp://provserver.polycom.com) has the same
effect.


