


25
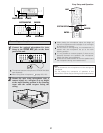
Easy Setup and Operation
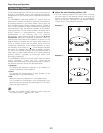
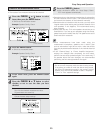
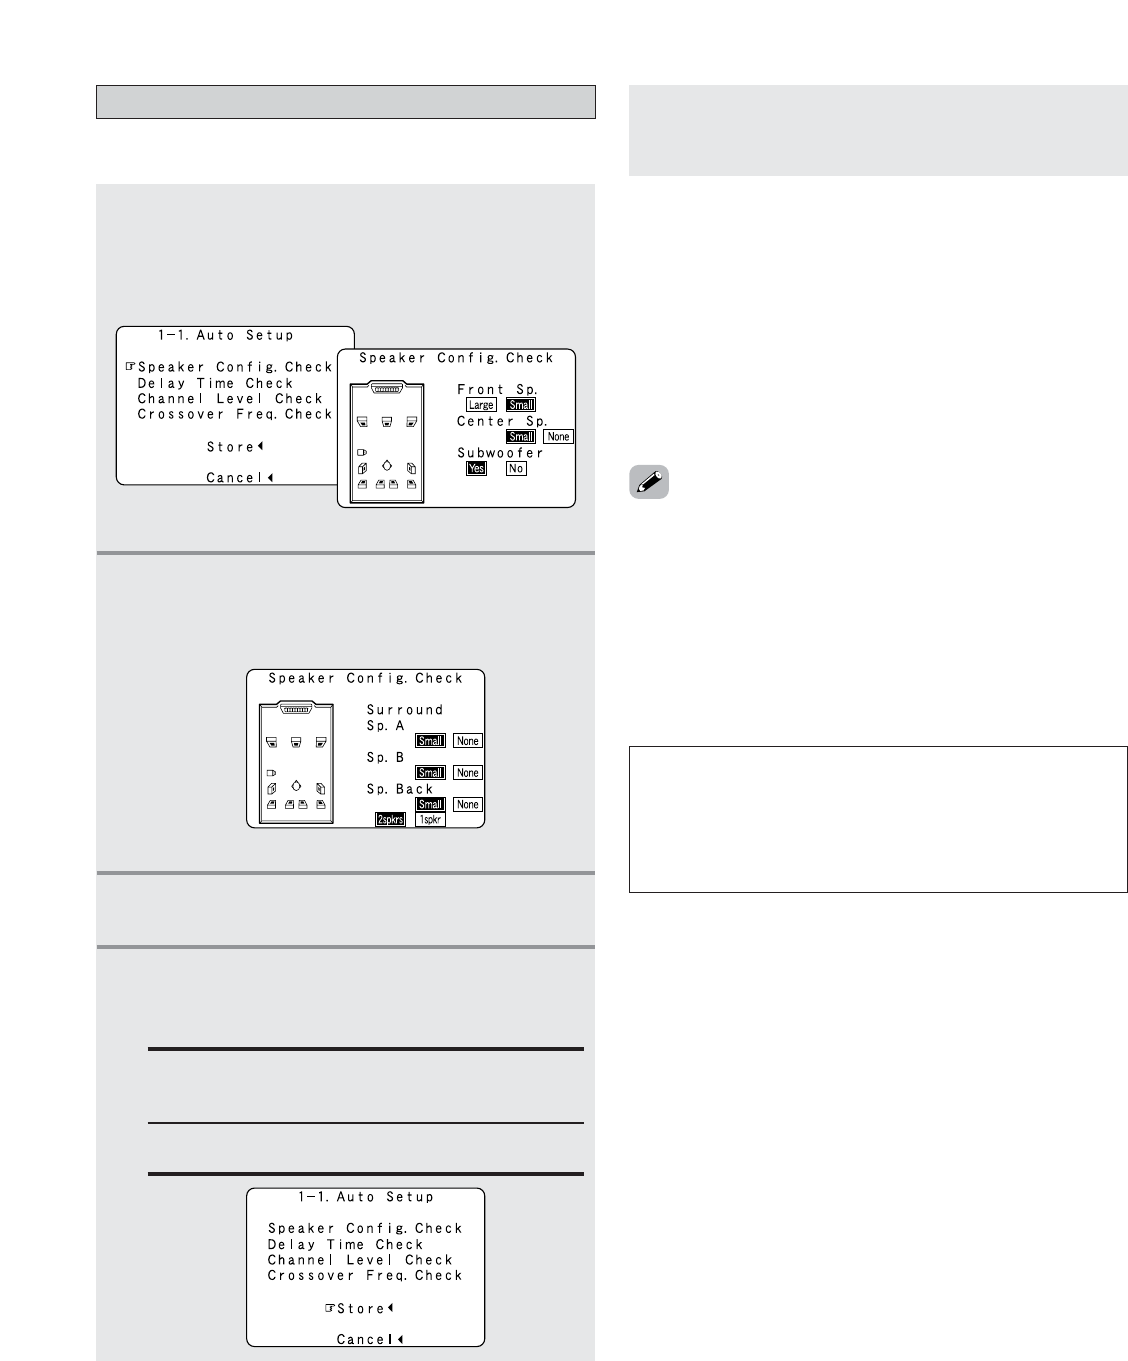
Check of the measurement result
• The results of the measured items can be checked.
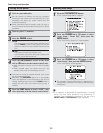
1
Press the CURSOR
DD
or
HH
button to select
items, then press the
ENTER button.
• Switch to the verification screen.
Example: Speaker Config. Check
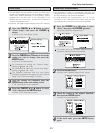
2
Press the ENTER button.
• Switch to the second screen.
Example: Speaker Config. Check
[ First screen ]
[ Second screen ]
3
If the check ends, press the ENTER button
again.
• Sometimes due to the electrical complexities of subwoofers
and the interaction with the room, THX recommends setting
the level and the distance of the subwoofer manually.
• Sometimes due to interaction with the room, you may notice
irregular results when setting the level and/or distance of the
main speakers. If this happens, THX recommends setting
them manually.
• Please note that any THX main speakers should be set to
Small (80 Hz). If you set up your speakers using Auto Setup,
please make sure manually that any THX speakers are set to
Small with 80 Hz crossover.
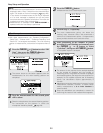
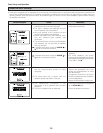
Store:
Set with the checked measurement value.
All parameters are stored up.
Cancel:
Cancel the auto setup settings.
NOTE:
• Do not turn off the power while the data is being stored.
If the power is turned off while the data is being stored,
the Room EQ parameters stored in the memory will be
cleared, and it will not be possible to select “Audyssey”,
“Front” or “Flat” equalizer settings.
5
Press the CURSOR
FF
button.
•After the data is stored, the “Auto Setup / Room
EQ” menu appears automatically.
• When measurements have been made using the
measurement microphone, speakers with a built-in filter
such as subwoofers might be set with a value that differs
from the physical distance because of the internal electrical
delay.
• If the “Channel Setup” or “Power Amplifier Assignment”
settings are changed after completing the auto setup,
perform the auto setup procedure again. In the same way, if
the speaker layout has been changed, we recommended
performing the auto setup procedure over again.
4
Press the CURSOR
DD
or
HH
button to select
whether or not to save the data you have
checked.