113
Advanced Setup – Part 1
2
Press the CURSOR
DD
or
HH
button to select the
setting, then press the
CURSOR
FF
or
GG
button
to select the parameter.
Analog to HDMI Convert:
• ON:
Setting for converting analog video signals into
HDMI signals.
• OFF:
Setting for not converting analog video signals into
HDMI signals.
Color Space:
• Y Cb Cr:
The Y Cb Cr format video signals is output via the
HDMI output terminal.
• RGB:
The RGB format video signals is output via the
HDMI output terminal.
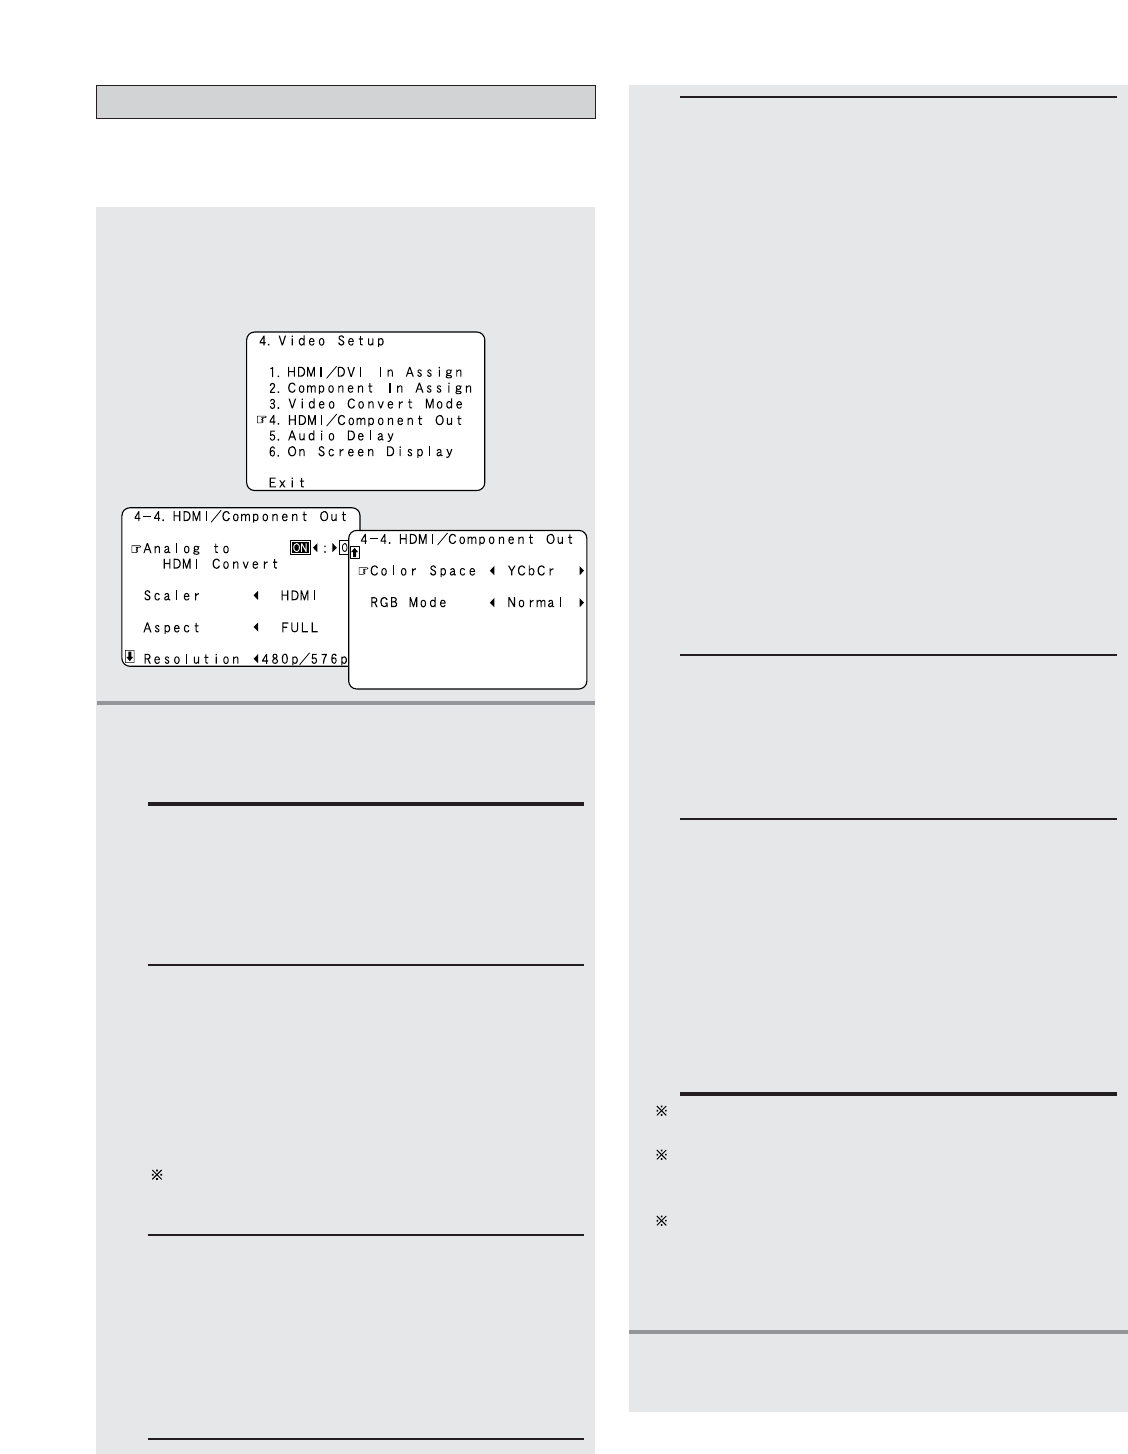
Setting the HDMI/Component Out Setup
• Set the format of the signal up-converted to the HDMI
monitor output or component video output terminal.
1
Press the CURSOR
DD
or
HH
button to select
“HDMI/Component Out” at the “Video
Setup” menu, then press the
ENTER button.
• The “HDMI/Component Out” screen appears.
Aspect:
• FULL:
The video is output while maintaining the aspect
ratio of the input video.
This mode is suited for playing back 16:9 video.
• NORMAL:
A black band is added to the left and right of the
input video and the video is output.
This mode is suited for playing back 4:3 video.
RGB Mode Setup:
• Normal:
Signals are output via the HDMI output terminal
with a digital RGB video range (data range) of 16
(black) to 235 (white).
• Enhanced:
Signals are output via the HDMI output terminal
with a digital RGB video range (data range) of 0
(black) to 255 (white).
When the HDMI terminal is connected, the black
may seem to stand out, depending on the TV or the
monitor. In this case, set this to “Enhanced”.
When “Y Cb Cr” is selected under “Color Space”,
“RGB Mode Setup” will have no effect.
The “Aspect” setting is valid when the resolution is set
to 1080i, 720p or 1080p. To output with other
resolutions, set the aspect ratio on the TV.
When “Through” is set, the signal is output with the
same resolution as input from the video, S-Video and
component video terminals.
The OSD, however, is output with a resolution of 480i,
so use a monitor compatible with this resolution.
3
Press the ENTER button to enter the setting.
• The “Video Setup” menu reappears.
Resolution:
• 480p/576p:
When the video signal being input is a video, S-
Video or 480i/576i component video signal, the
resolution is converted to 480p/576p and the signal
is output from the HDMI MONITOR OUT terminal.
• 1080i:
When the video signal input is a video, S-Video or
480i/576i/480p/576p component video signal, the
resolution is converted to 1080i and the signal is
output from the HDMI MONITOR OUT terminal.
• 720p:
When the video signal input is a video, S-Video or
480i/576i/480p/576p component video signal, the
resolution is converted to 720p and the signal is
output from the HDMI MONITOR OUT terminal.
• 1080p:
The input video signal is converted to a resolution
of 1080p for output.
This cannot be selected when “Scaler” is set to
“Component”.
• Through:
The video signal input is output as such from the
HDMI MONITOR OUT terminal without being
converted.
Scaler:
• HDMI:
The i/p scaler can be used when outputting the
input analog video signal to the HDMI monitor
output terminal.
• Component:
The i/p scaler can be used when outputting the
input analog video signal to the component video
output terminal.
When “Analog to HDMI Convert” is set to “OFF”,
the “Scaler” setting is automatically set to
“Component” and fixed there.
