


104
Advanced Setup – Part 1
Setting the Digital In Assignment
• This assigns the digital input terminals for the different input
sources.
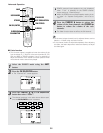
1
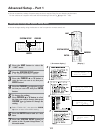
Press the CURSOR
DD
or
HH
button to select
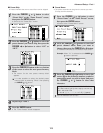
“Audio Input Setup” at the “System Setup
Menu”, then press the
ENTER button.
• The “Audio Input Setup” menu appears.
2
Press the CURSOR
DD
or
HH
button to select
“Digital In Assign”, then press the
ENTER
button.
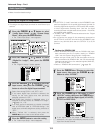
• The “Digital In Assign” screen appears.
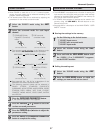
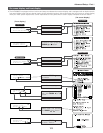
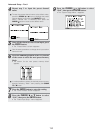
3
Press the CURSOR
DD
or
HH
button to select the
input source, then press the
CURSOR
FF
or
GG
button to select the digital input terminal.
Select from among COAX 1 to 6, OPT 1 to 5.
If the same digital input terminal is selected, the
setting for the input source that was previously
assigned switches to “OFF”.
The HDMI input terminal is displayed when it is
assigned to the input source at “HDMI/DVI In Assign”
( page 111, 112).
If an input source is assigned to a device connected
with an IEEE1394 cable at “IEEE1394 Assign”, the
digital input terminal’s assignment setting switches to
“OFF”.
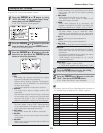
When “Default Yes” is selected, then press the
CURSOR
FF
button to reset to the default values.
Audio Input Setup
•Make the audio-related settings.
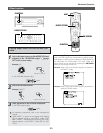
4
Press the ENTER button to enter the setting.
• The “Audio Input Setup” menu reappears.
• The OPTICAL 3, 4 and 5 terminals on the AVR-5805CI’s rear
panel are equipped with an optical digital output terminal for
recording digital audio signals to a CD recorder, MD recorder,
or other digital audio recording deck. Use this for digital
recording between a digital audio source (stereo – 2 channel)
and a digital audio recorder.
• “PHONO” and “TUNER” cannot be selected on the “Digital
In Assign” screen.
• Do not connect the output of the component connected to
the OPTICAL 3 (to 5) OUT terminal on the AVR-5805CI’s rear
panel to any terminal other than the OPTICAL 3 (to 5) IN
terminal.
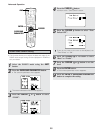
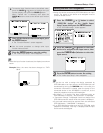
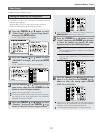
1
Press the CURSOR
DD
or
HH
button to select the
input source, then press the
CURSOR
FF
or
GG
button to select “DLINK”.
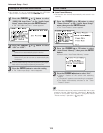
2
Press the CURSOR
DD
or
HH
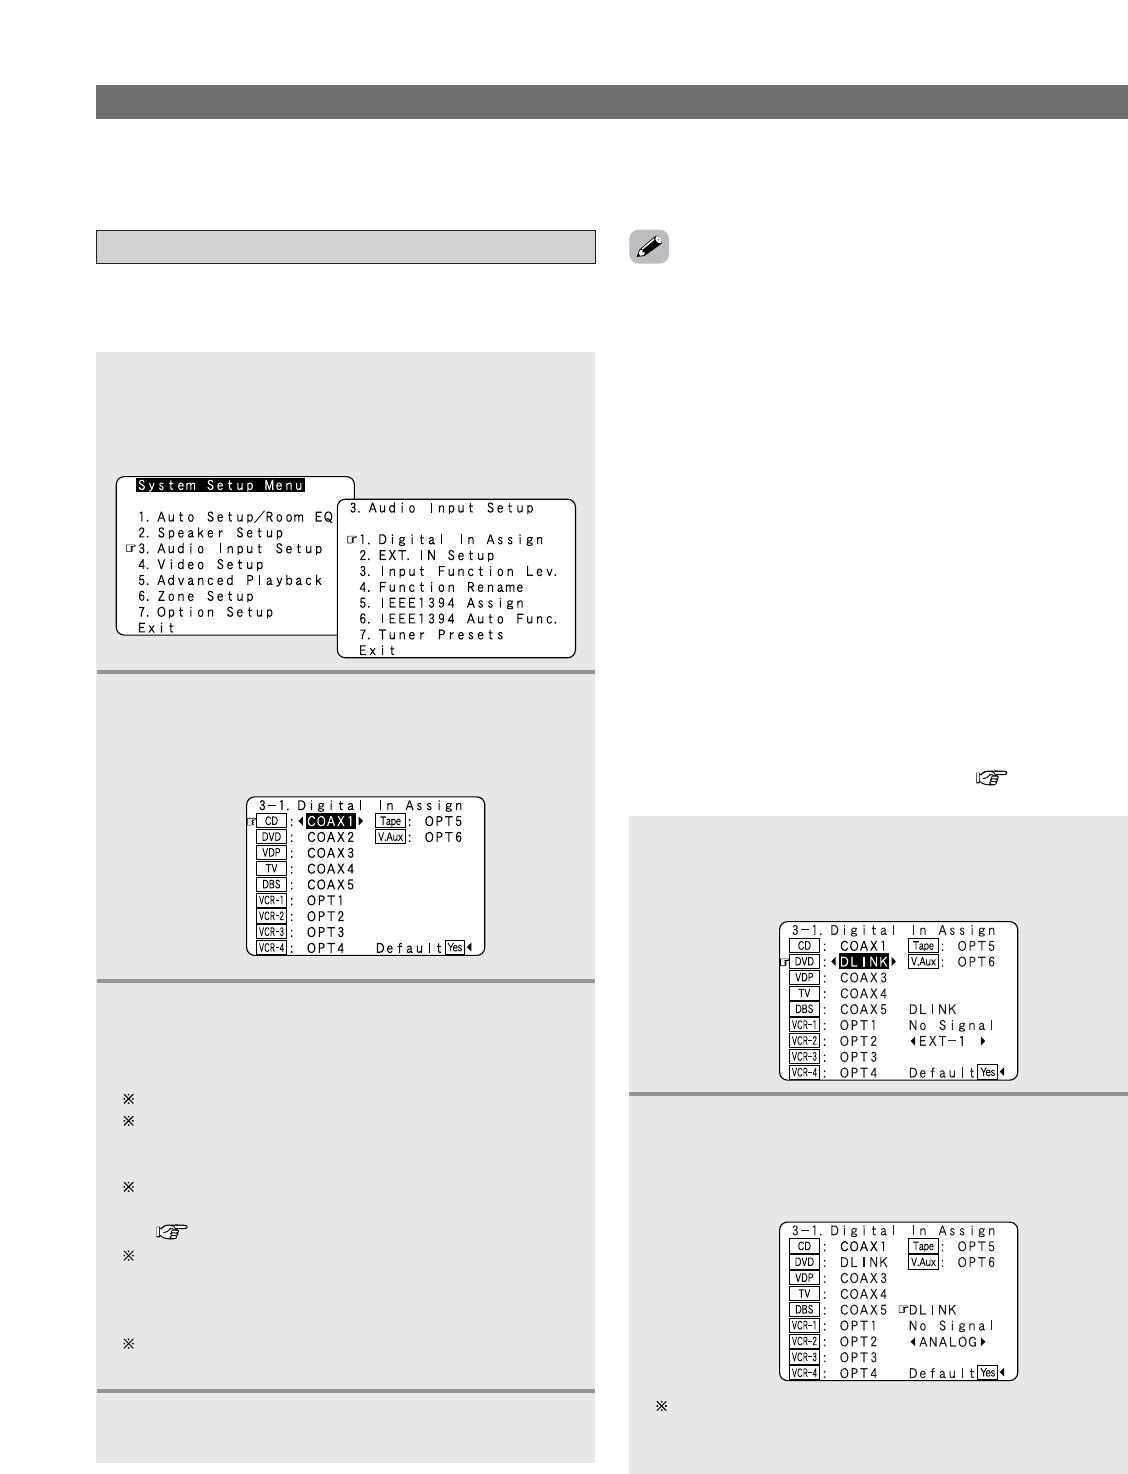
button to select
“DLINK” setting, then press the
CURSOR
FF
or
GG
button to select the input signal (ANALOG,
EXT. IN or IEEE1394).
If the signal cannot be played with DENON LINK
connection, the signal automatically switches to the
input from the set terminal.
2
Setting the DENON LINK
• When a DENON DVD player and the DENON LINK have
been connected, be sure to make a setting to “DENON
LINK” with the System Setup Digital In Assignment.
• When the input mode is AUTO and the signals are not be
able to transferred by DENON LINK, the unit automatically
changes over the input to the selected signals (ANALOG,
EXT. IN or IEEE1394).
• Refer to “DENON LINK connections” ( page 35).