


26 LED-PRO • User’s Guide
4. Operation
Control Overview
`çåíêçä=lîÉêîáÉï
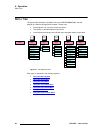
There are several ways to control the LED-PRO:
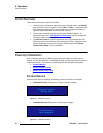
• The front panel is available for status and control using the display, the ADJUST
knob and the two menu “navigation” buttons (SEL and ESC). In conjunction with
other dedicated buttons, these controls enable you to configure the system, to
adjust all system parameters, and to utilize the “wizards.”
• The unit can be controlled remotely via RS-232 or Ethernet interface. In
Appendix B, refer to the “LED-PRO Remote Commands
” section on page 128
for remote control command details.
• The Director Toolset is a software application that is used to detect the LED-
PRO and provide it with information concerning the LED tiles. Operations of the
Director Toolset are not covered in this guide. Please refer to the “Director
Toolset User’s Guide” for more information.
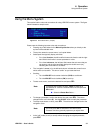
mçïÉêJré=fåáíá~äáò~íáçå
After connecting power to the LED-PRO, locate the power switch on the back of the
chassis, and turn the power ON. The LED button lights, and the display shows a series of
initialization screens. The screens vary depending upon the last state of the system:
• Standard Bootup
• Bootup in Ethernet Mode
• Bootup with a Stored LOGO
pí~åÇ~êÇ=_ççíìé
While the main board is initializing, the following screens are shown on the display
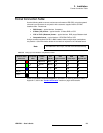
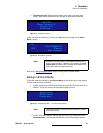
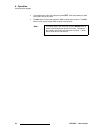
• Initialization Screen 1 displays the “Program Loading” message.
Figure 4-1. Initialization Screen 1
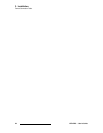
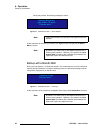
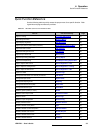
• Initialization Screen 2 displays the “Transferring” message.
Figure 4-2. Initialization Screen 2
Program Loading
Please Wait
Transferring to
main program